May Gibbs meets M7974: Toddler Chic for Adults
I'm starting 2023 off with a bang and I'm truly excited for this collaboration I was fortunate enough to be involved in.
As a young girl in Australia, I grew up reading Snugglepot and Cuddlepie. In fact, I still have the book and have passed it down to my kids, although only one of them can actually read it. They love it nonetheless (I mean the illustrations definitely help). So imagine my surprise when the May Gibbs Instagram account reached out to me and asked if I'd like to collaborate - it was a big YES from me!
That brings me to today's blog post. This was a high-pressure project for me. I wanted it to be my most magical creation to date. Being a sewer in North America means I don't get to collaborate with companies and personalities from home as much as I'd like, so this time was different. In fact, this is only my second collaboration with an Aussie brand. So, join me as I take you through my process and show you all the details of this dress. Full disclosure: I went all out with this dress and it's based on an inspiration picture I've had saved on my phone for about a year. Enough background, let's get to it!

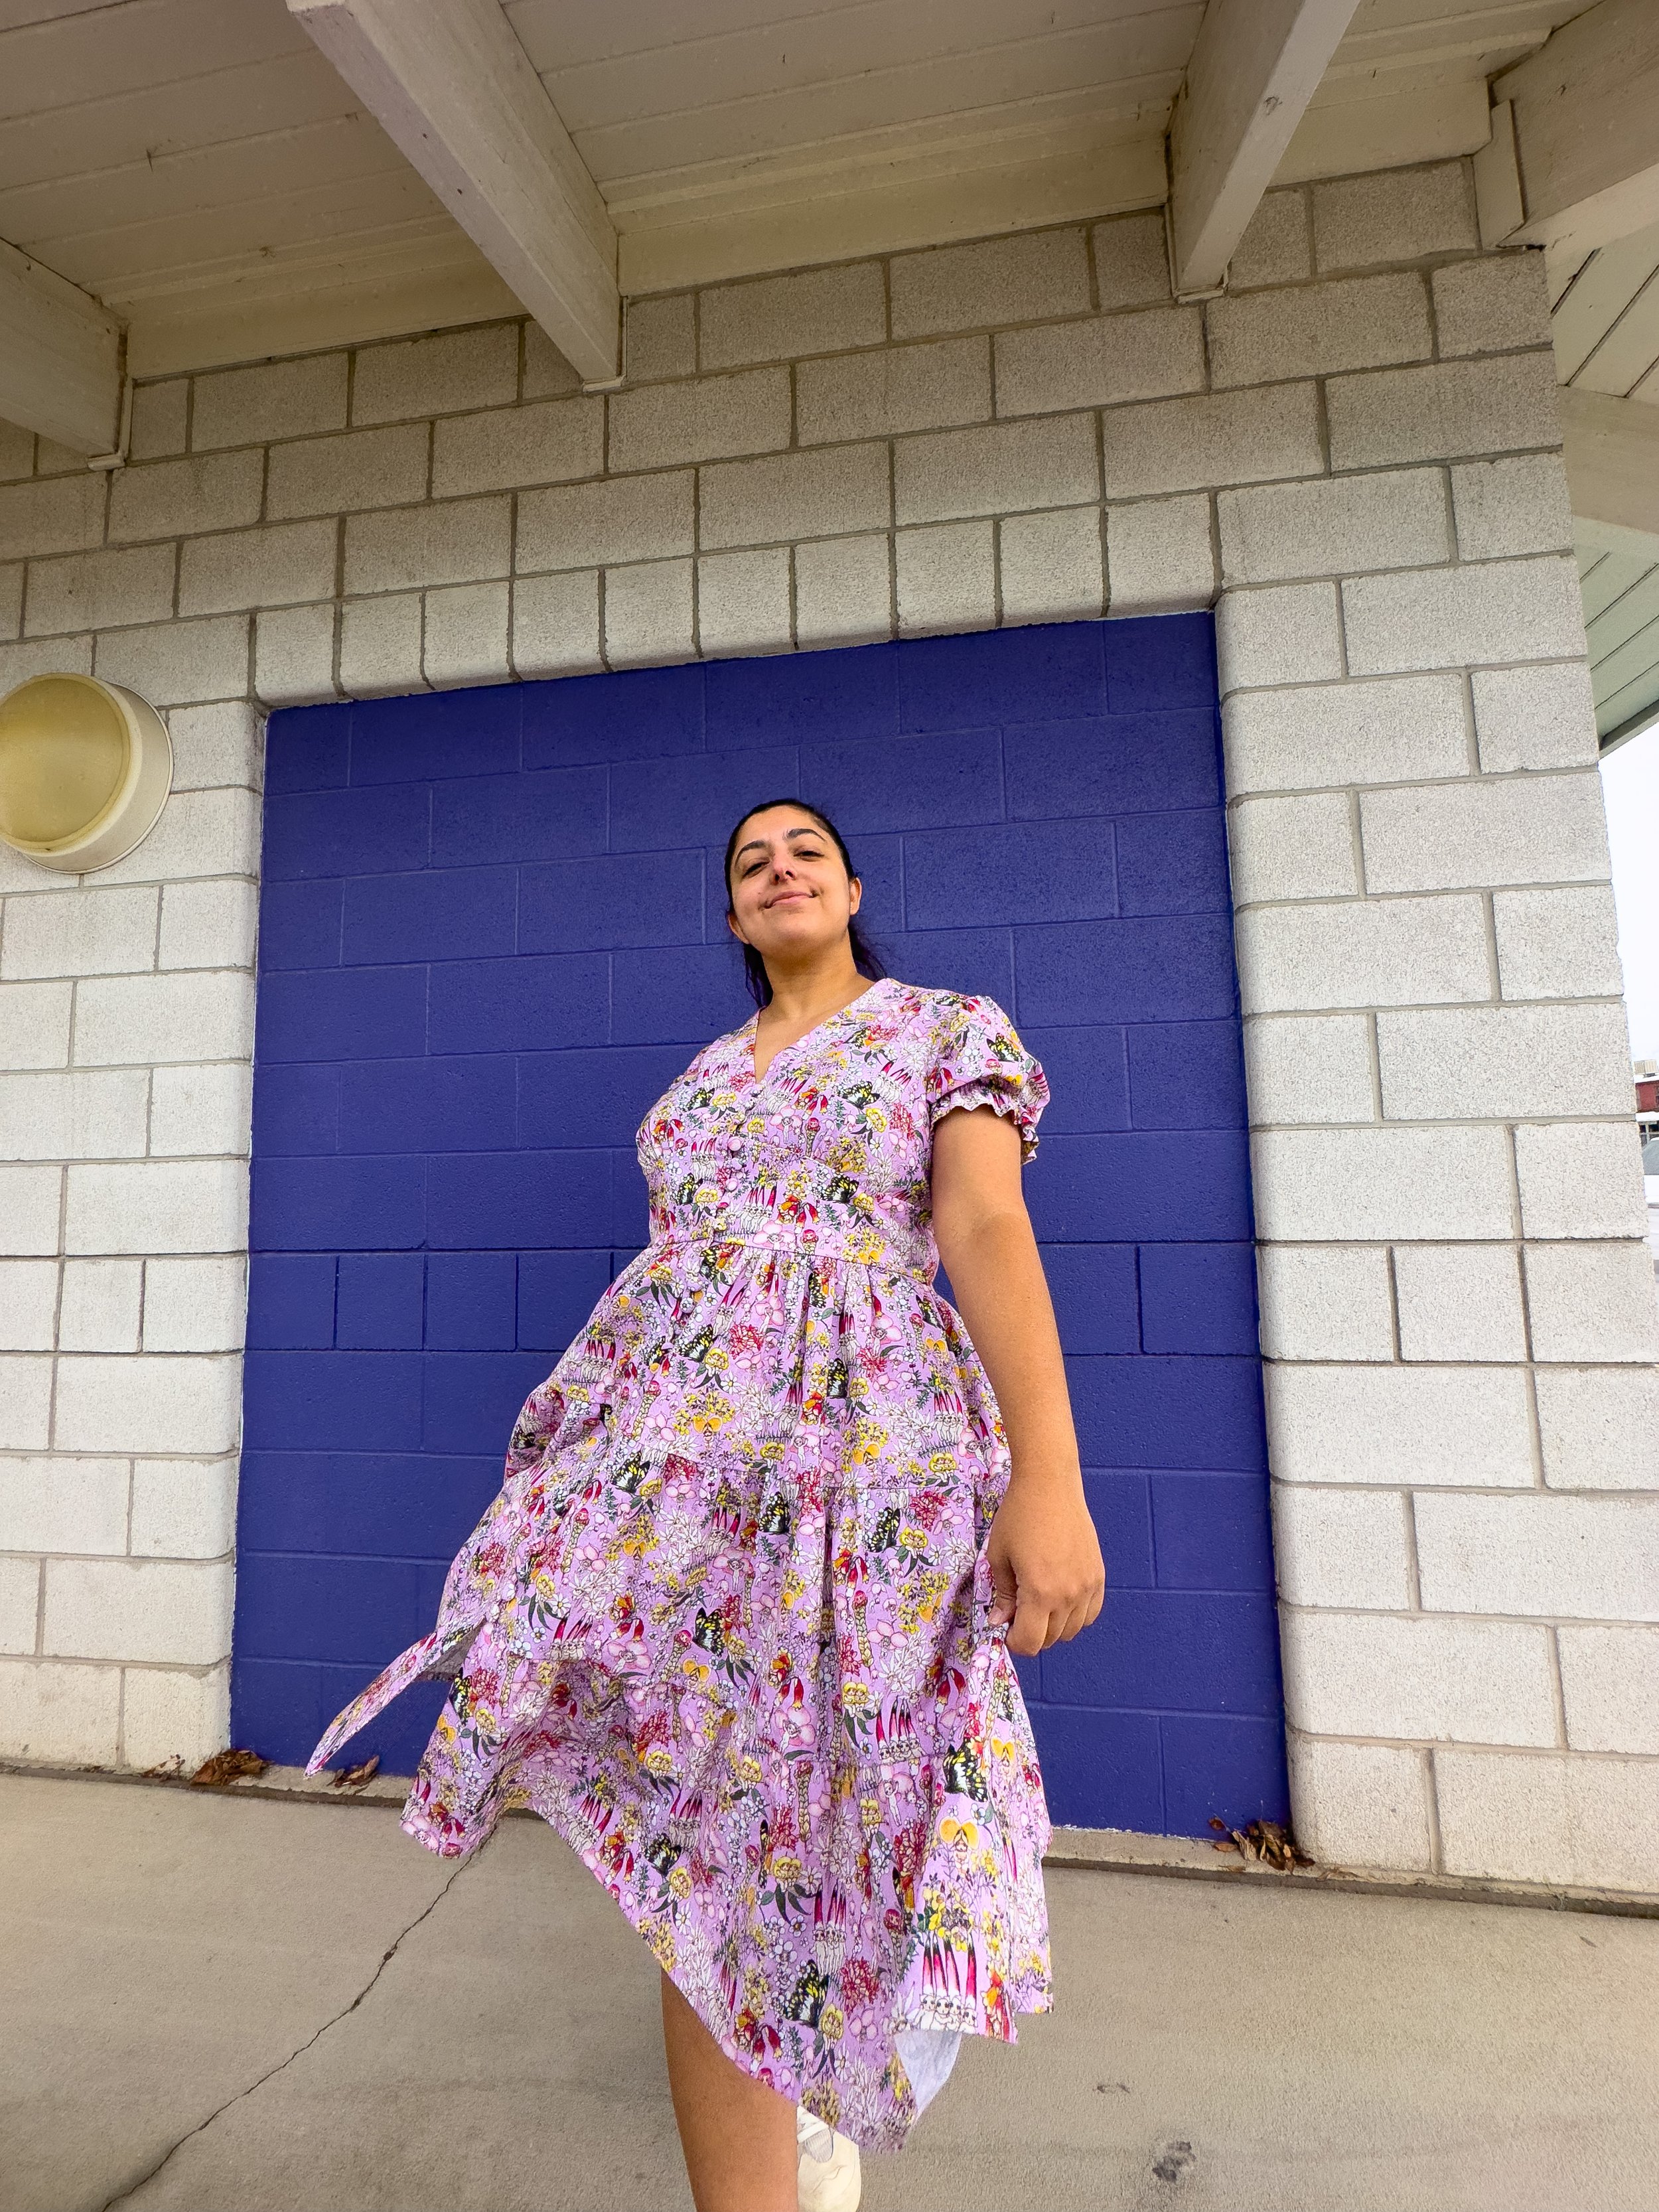
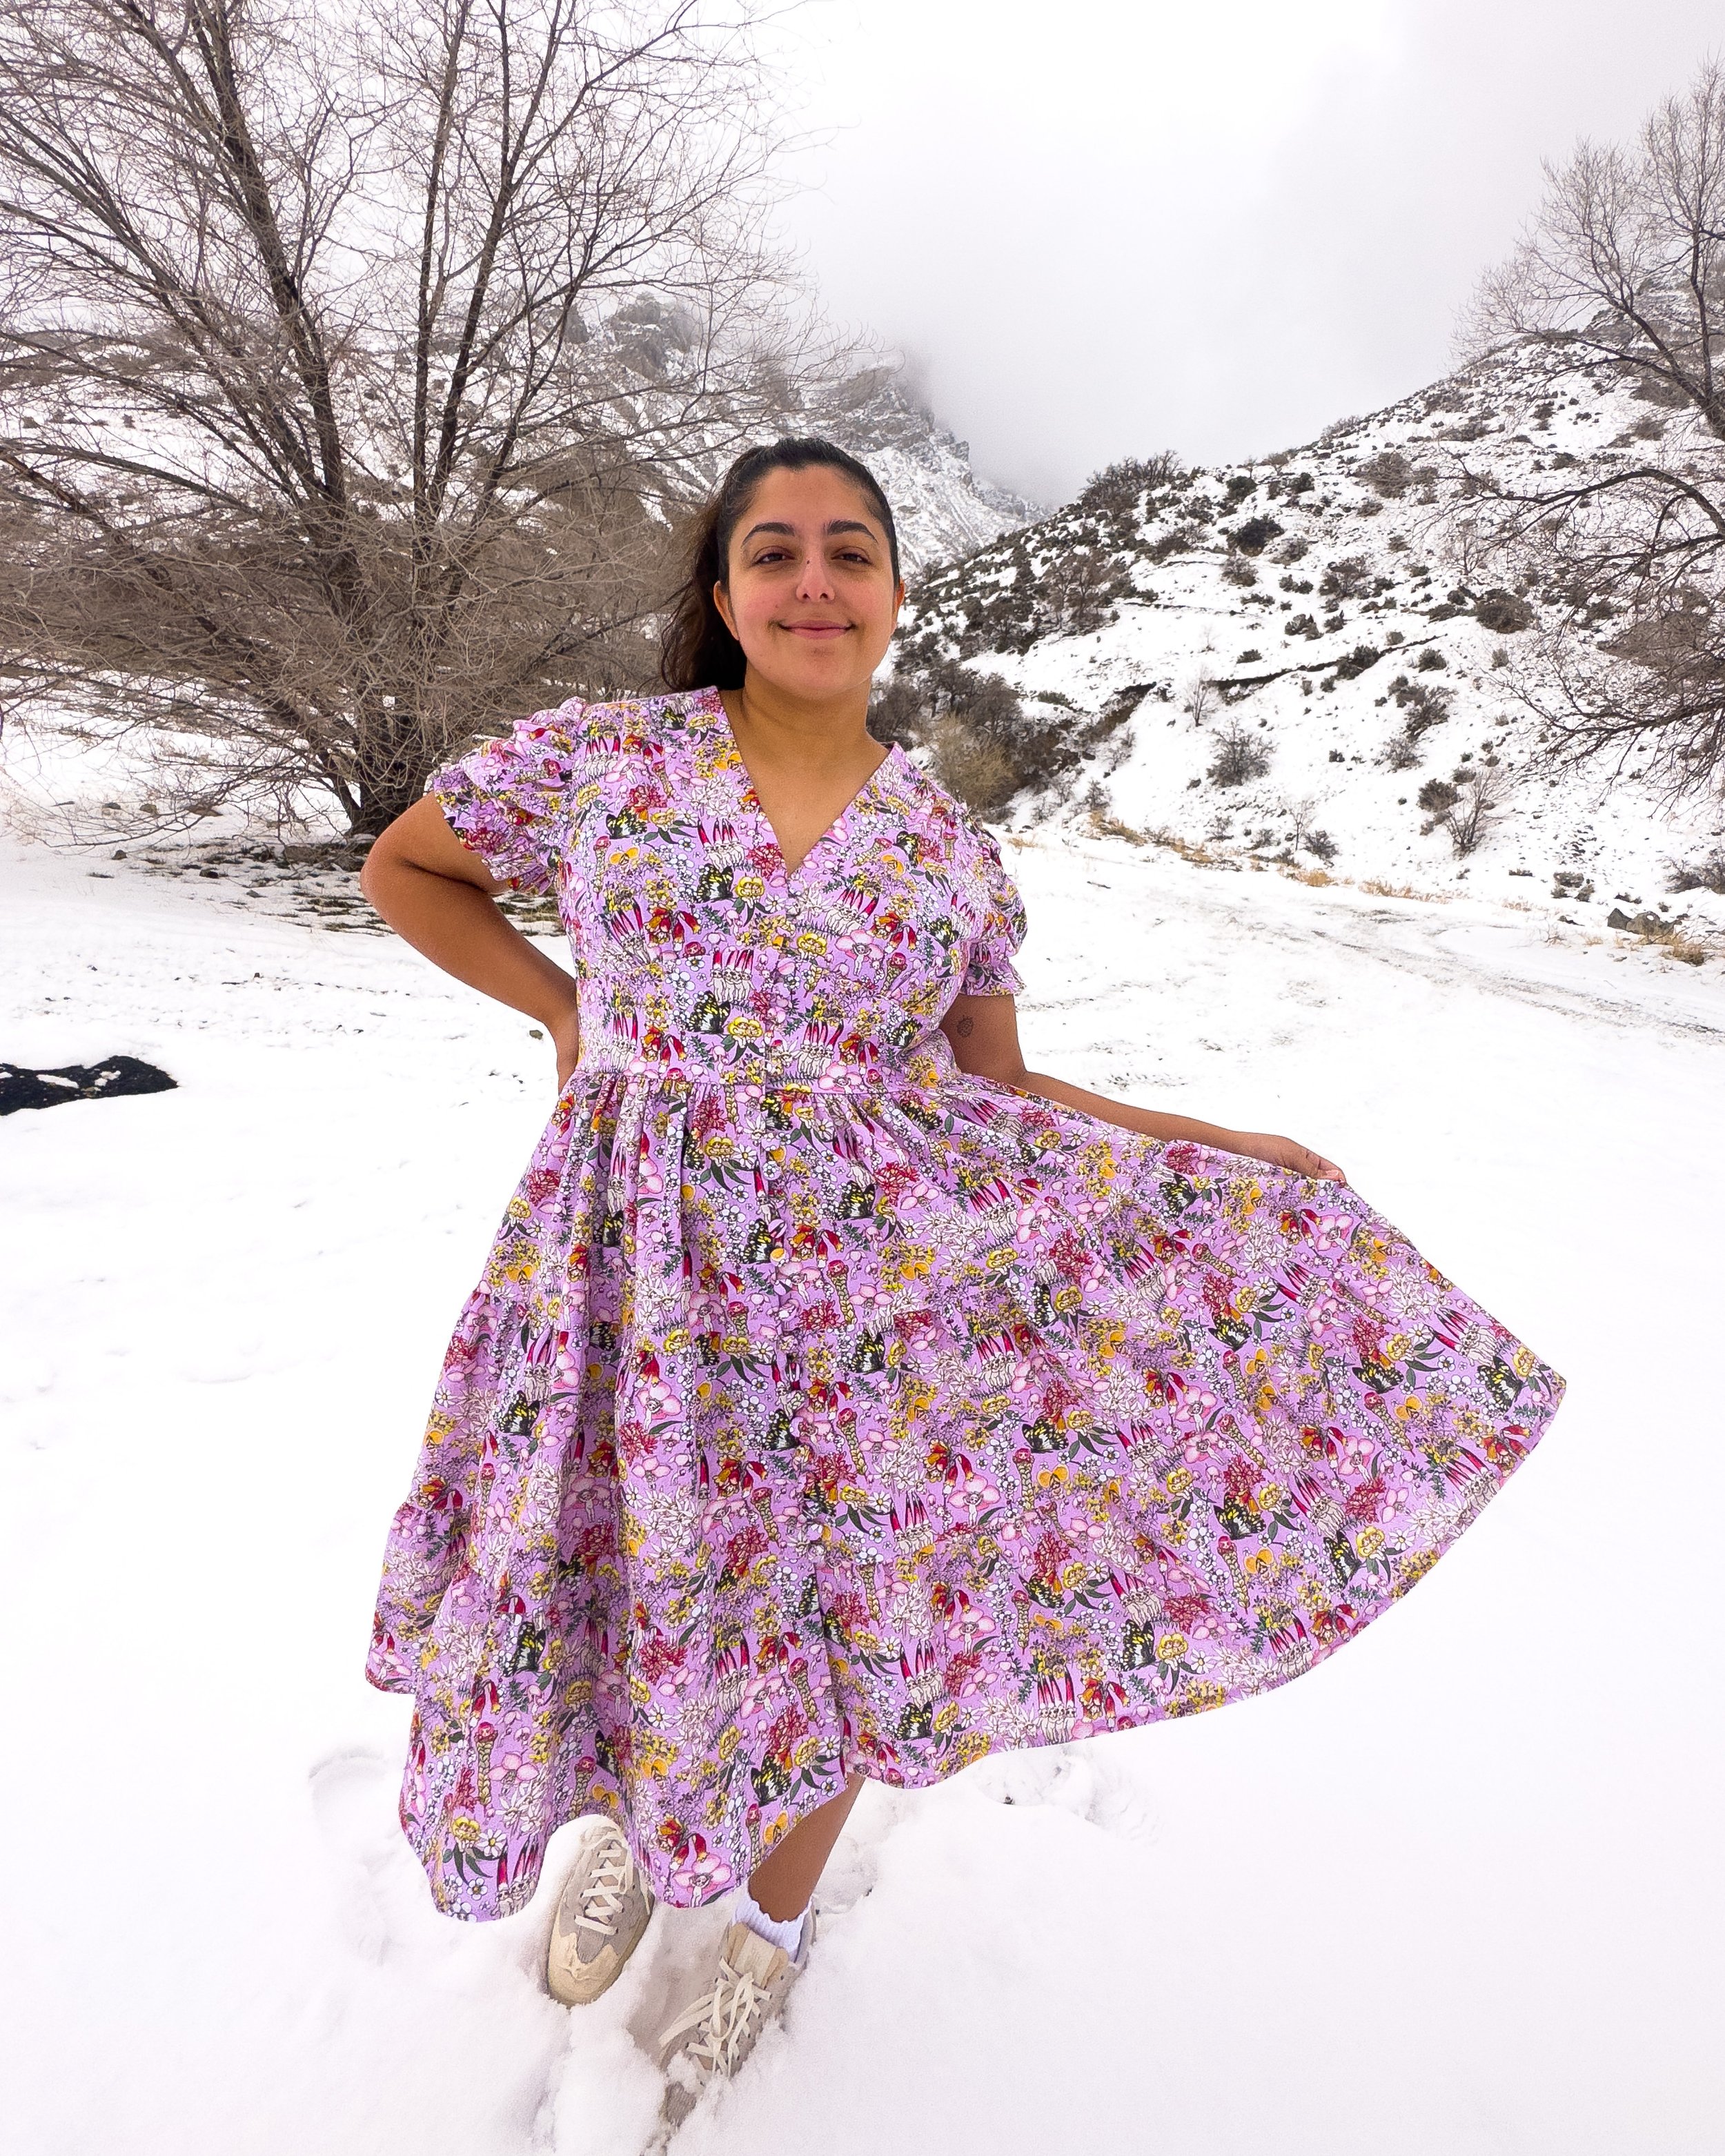
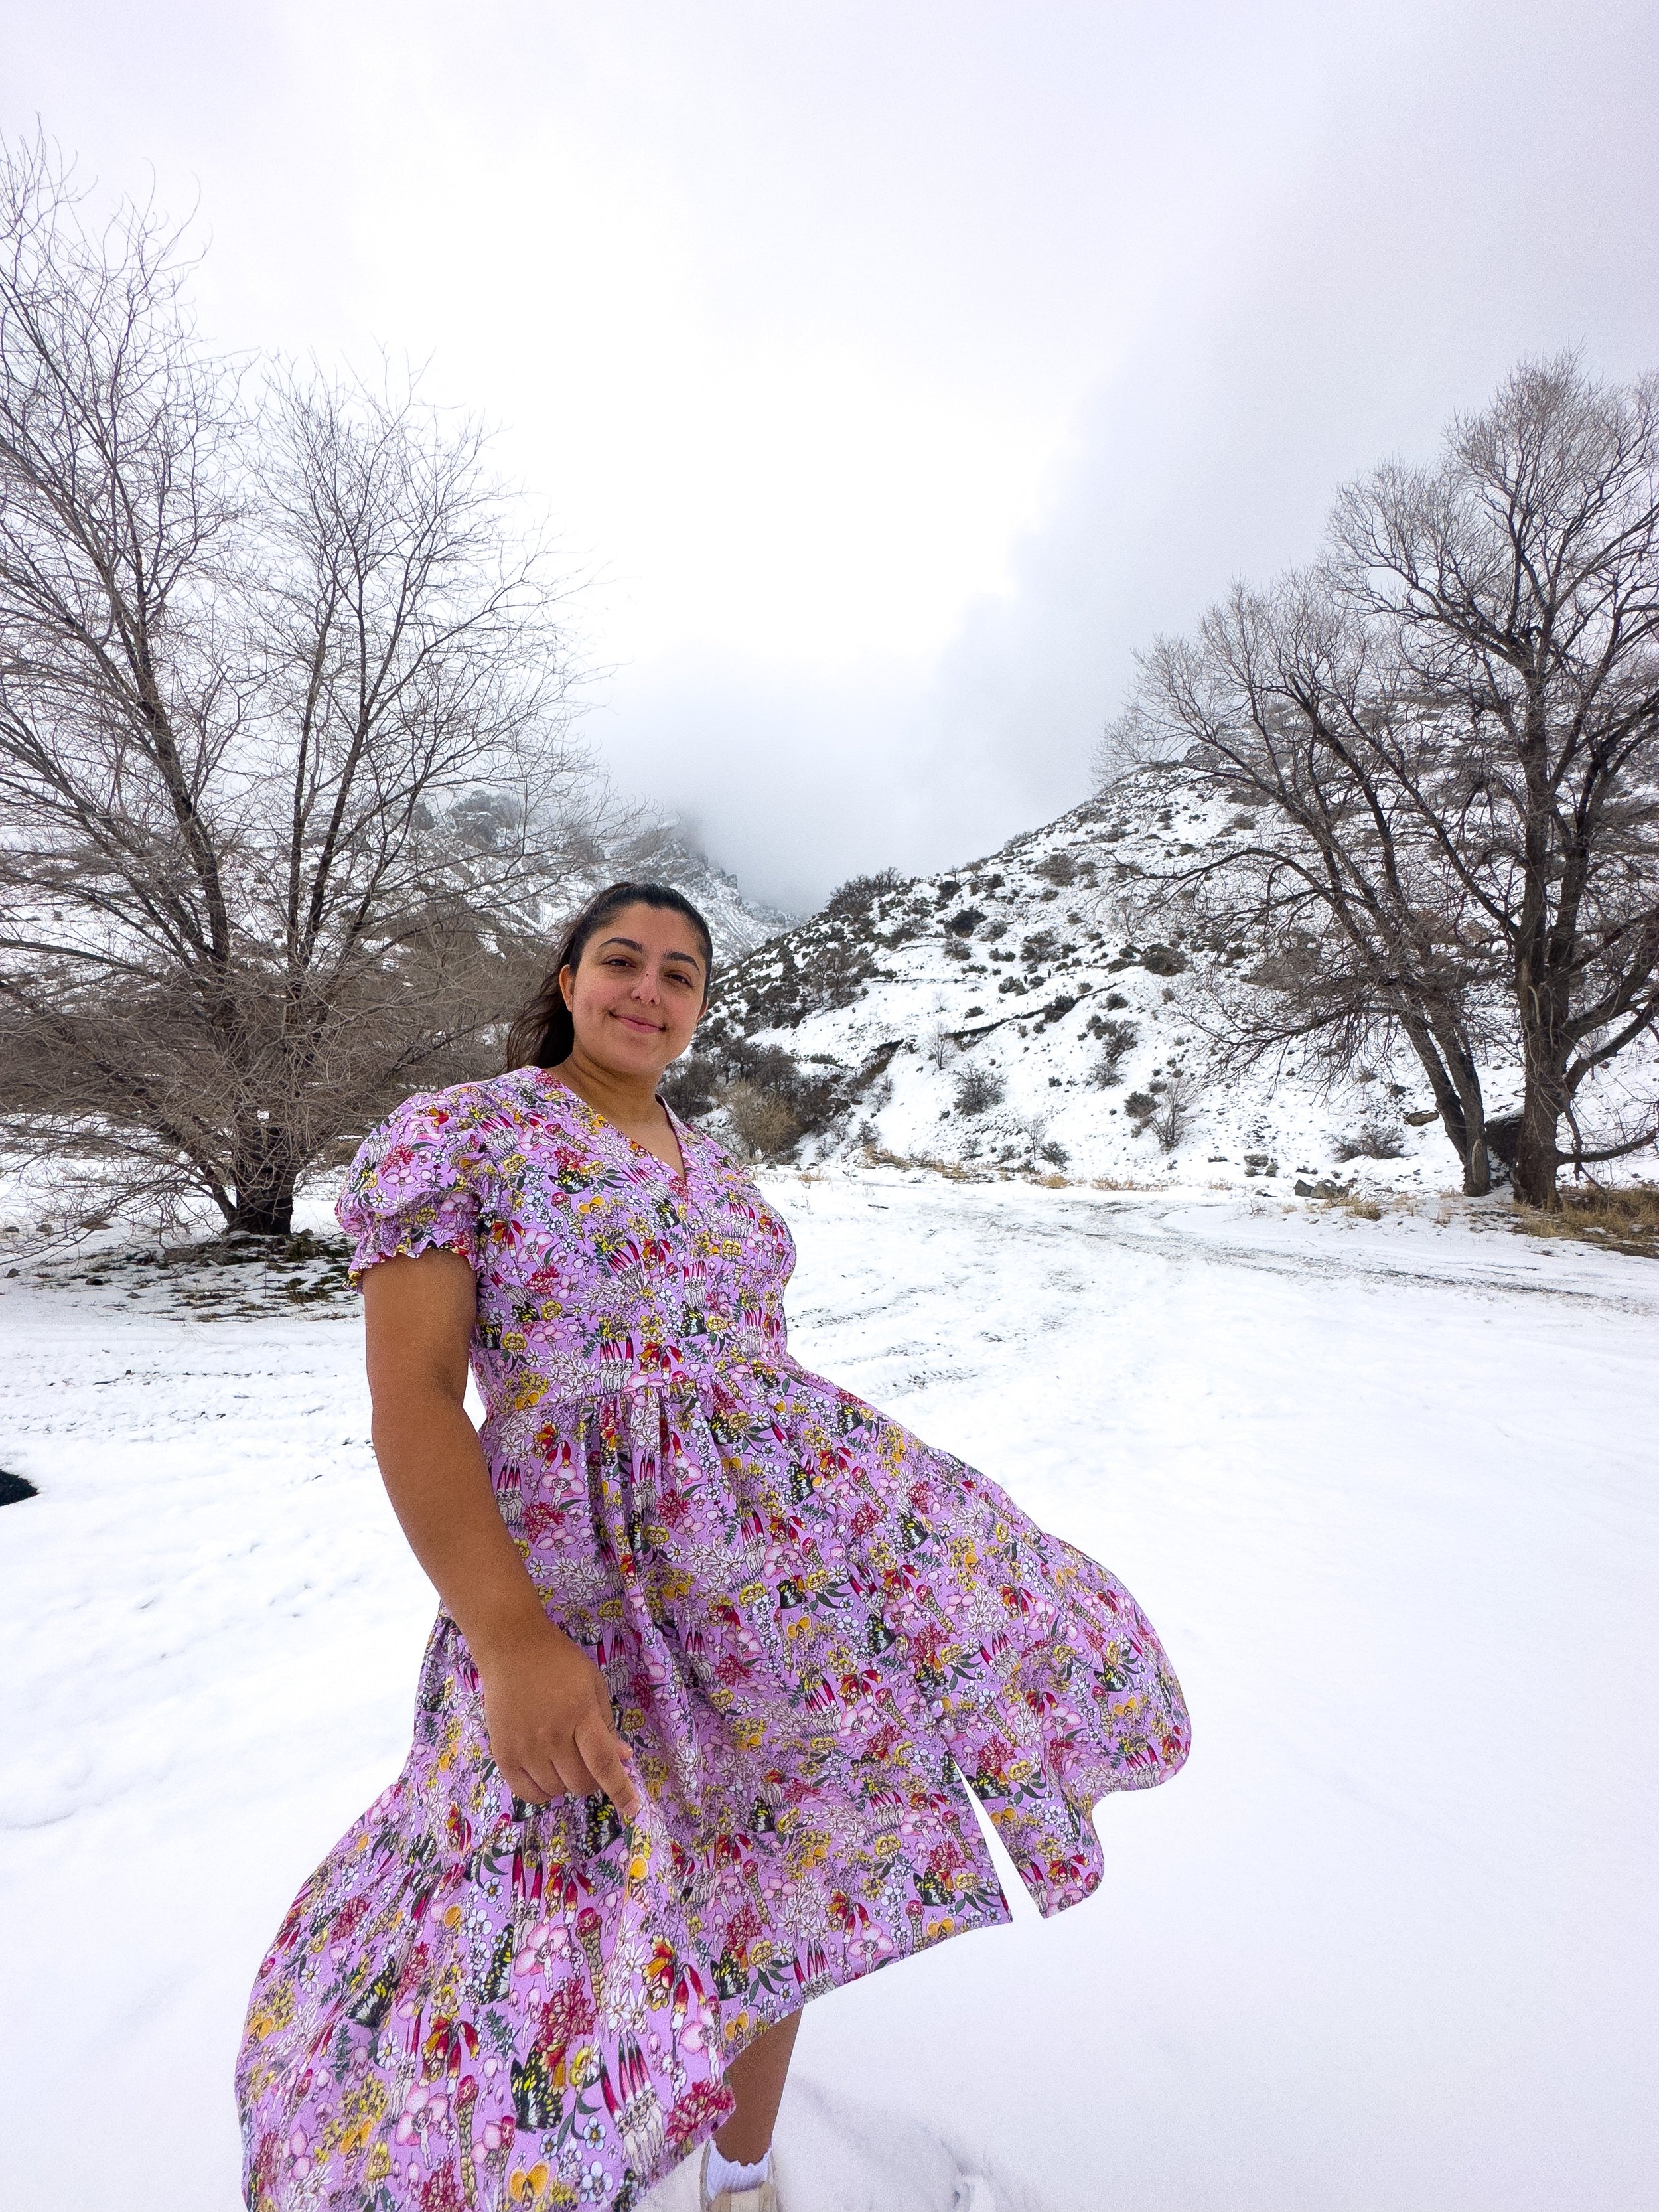
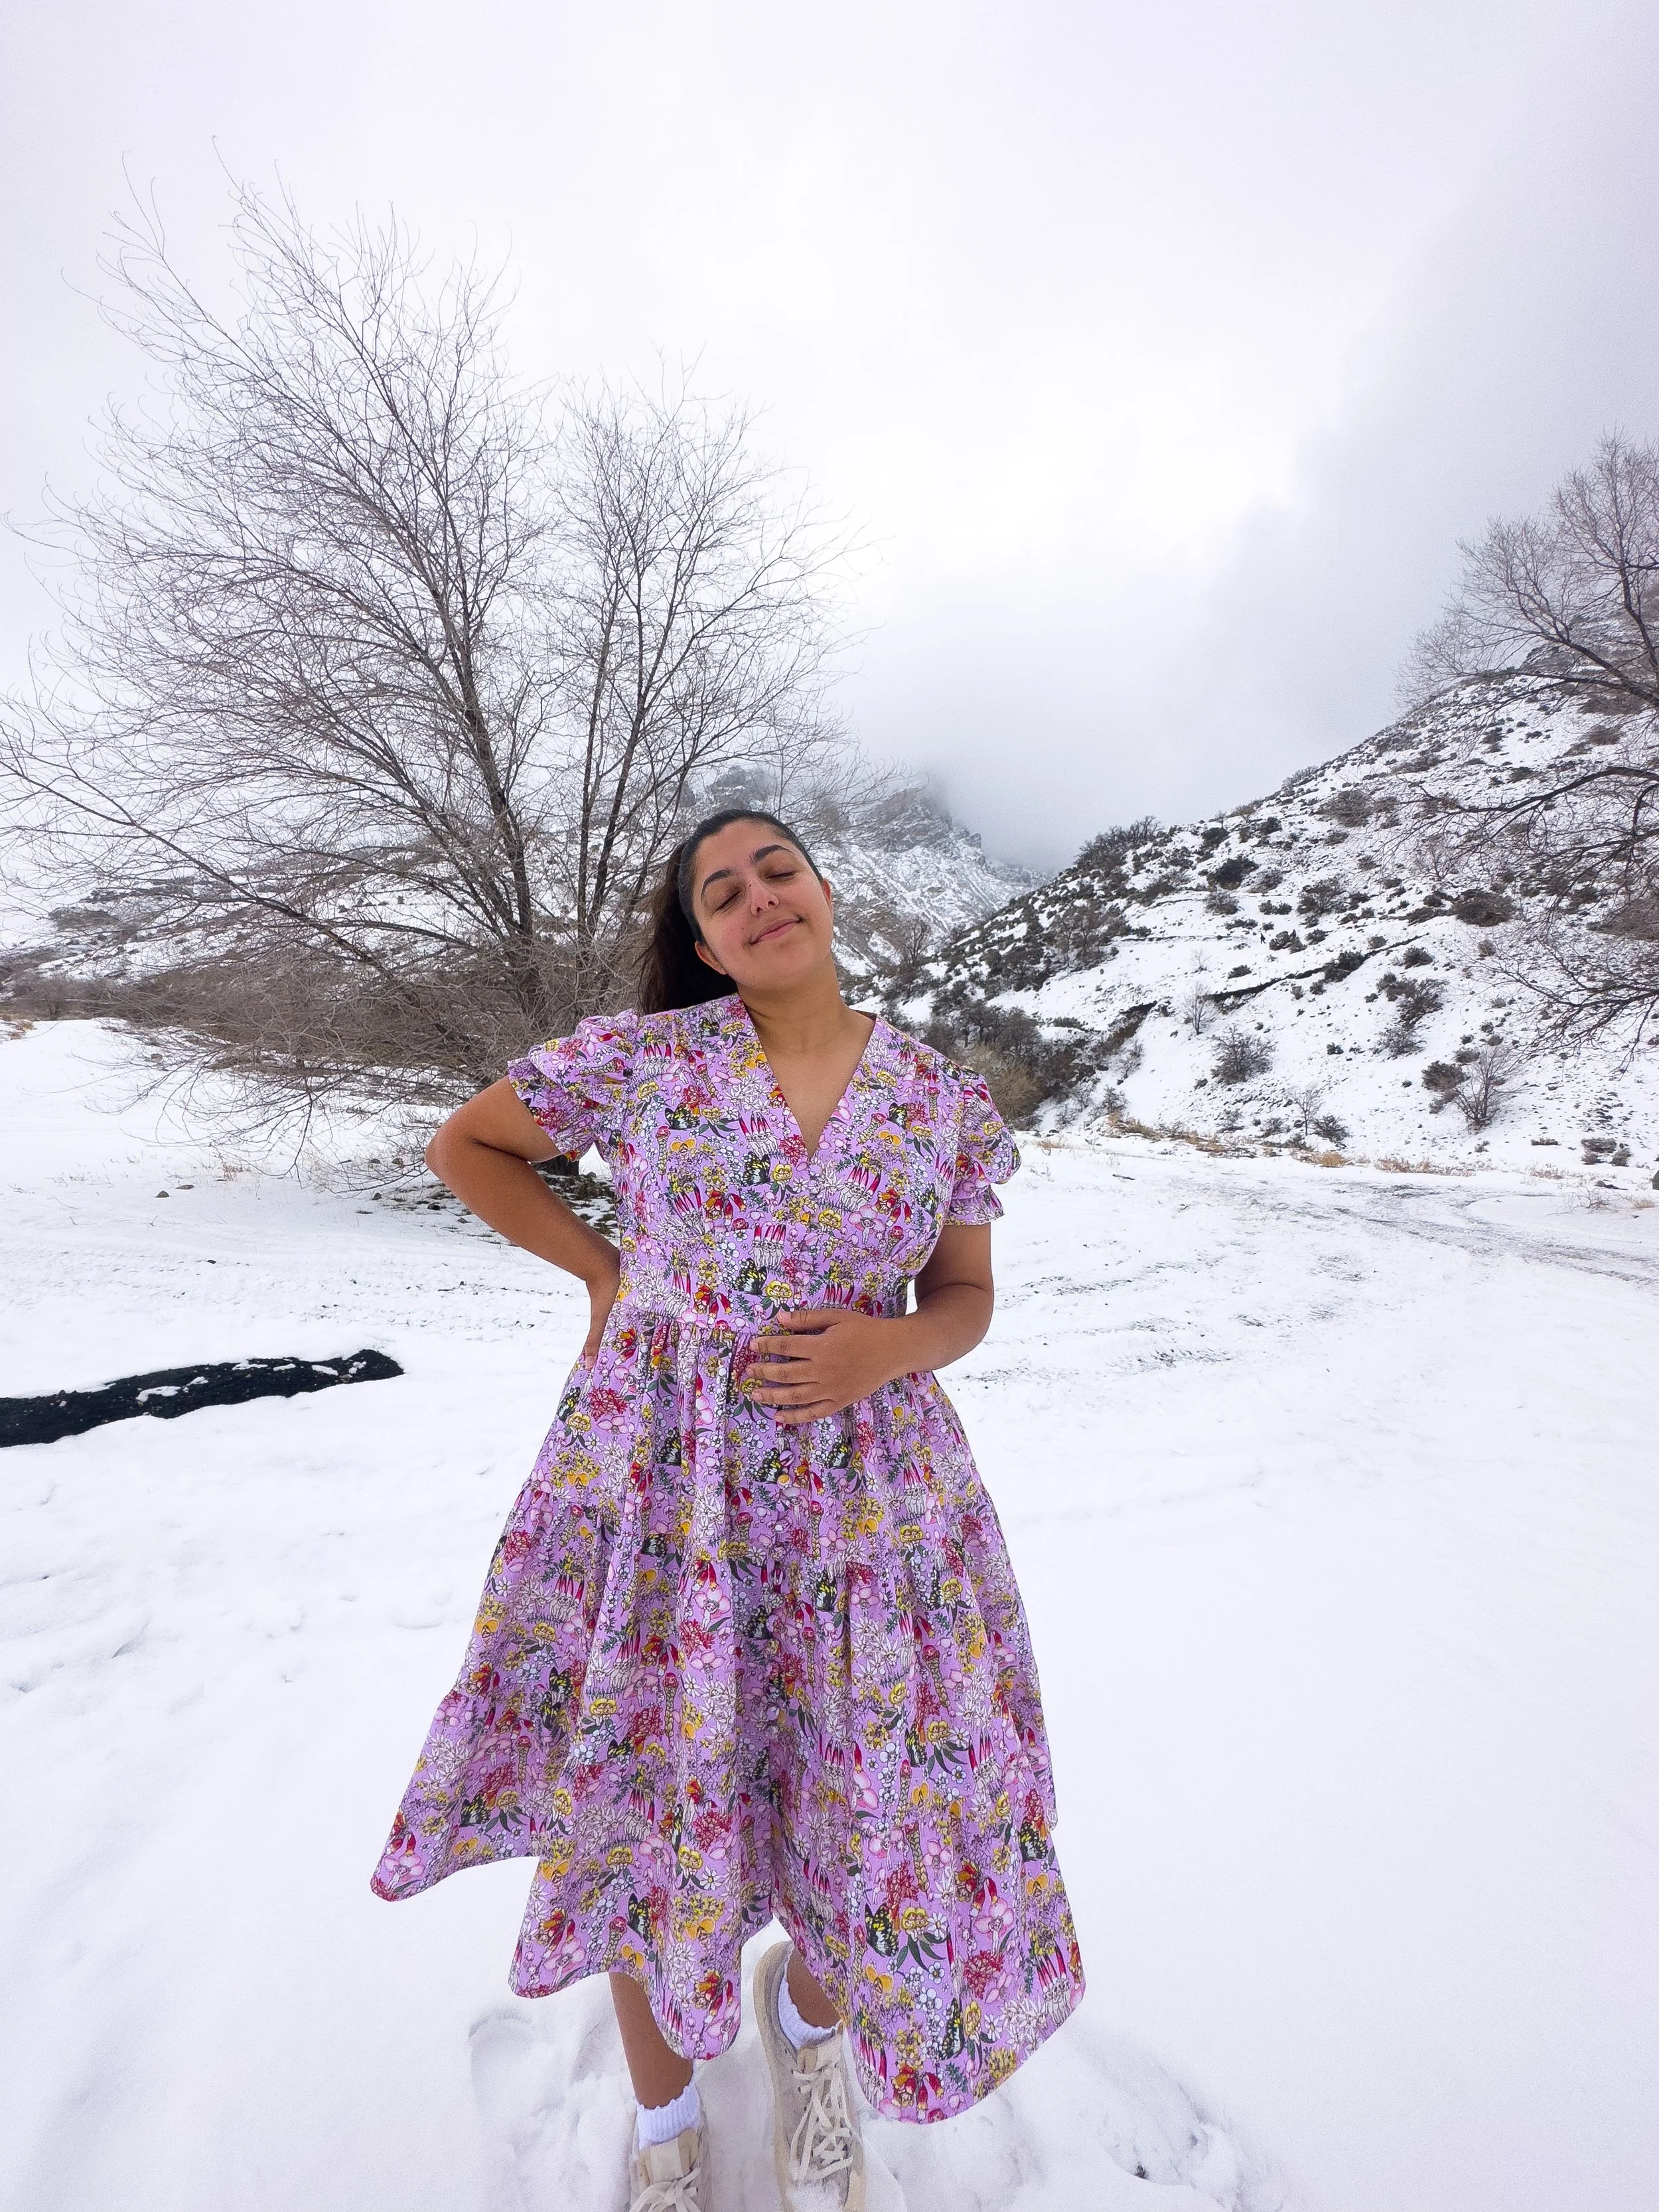
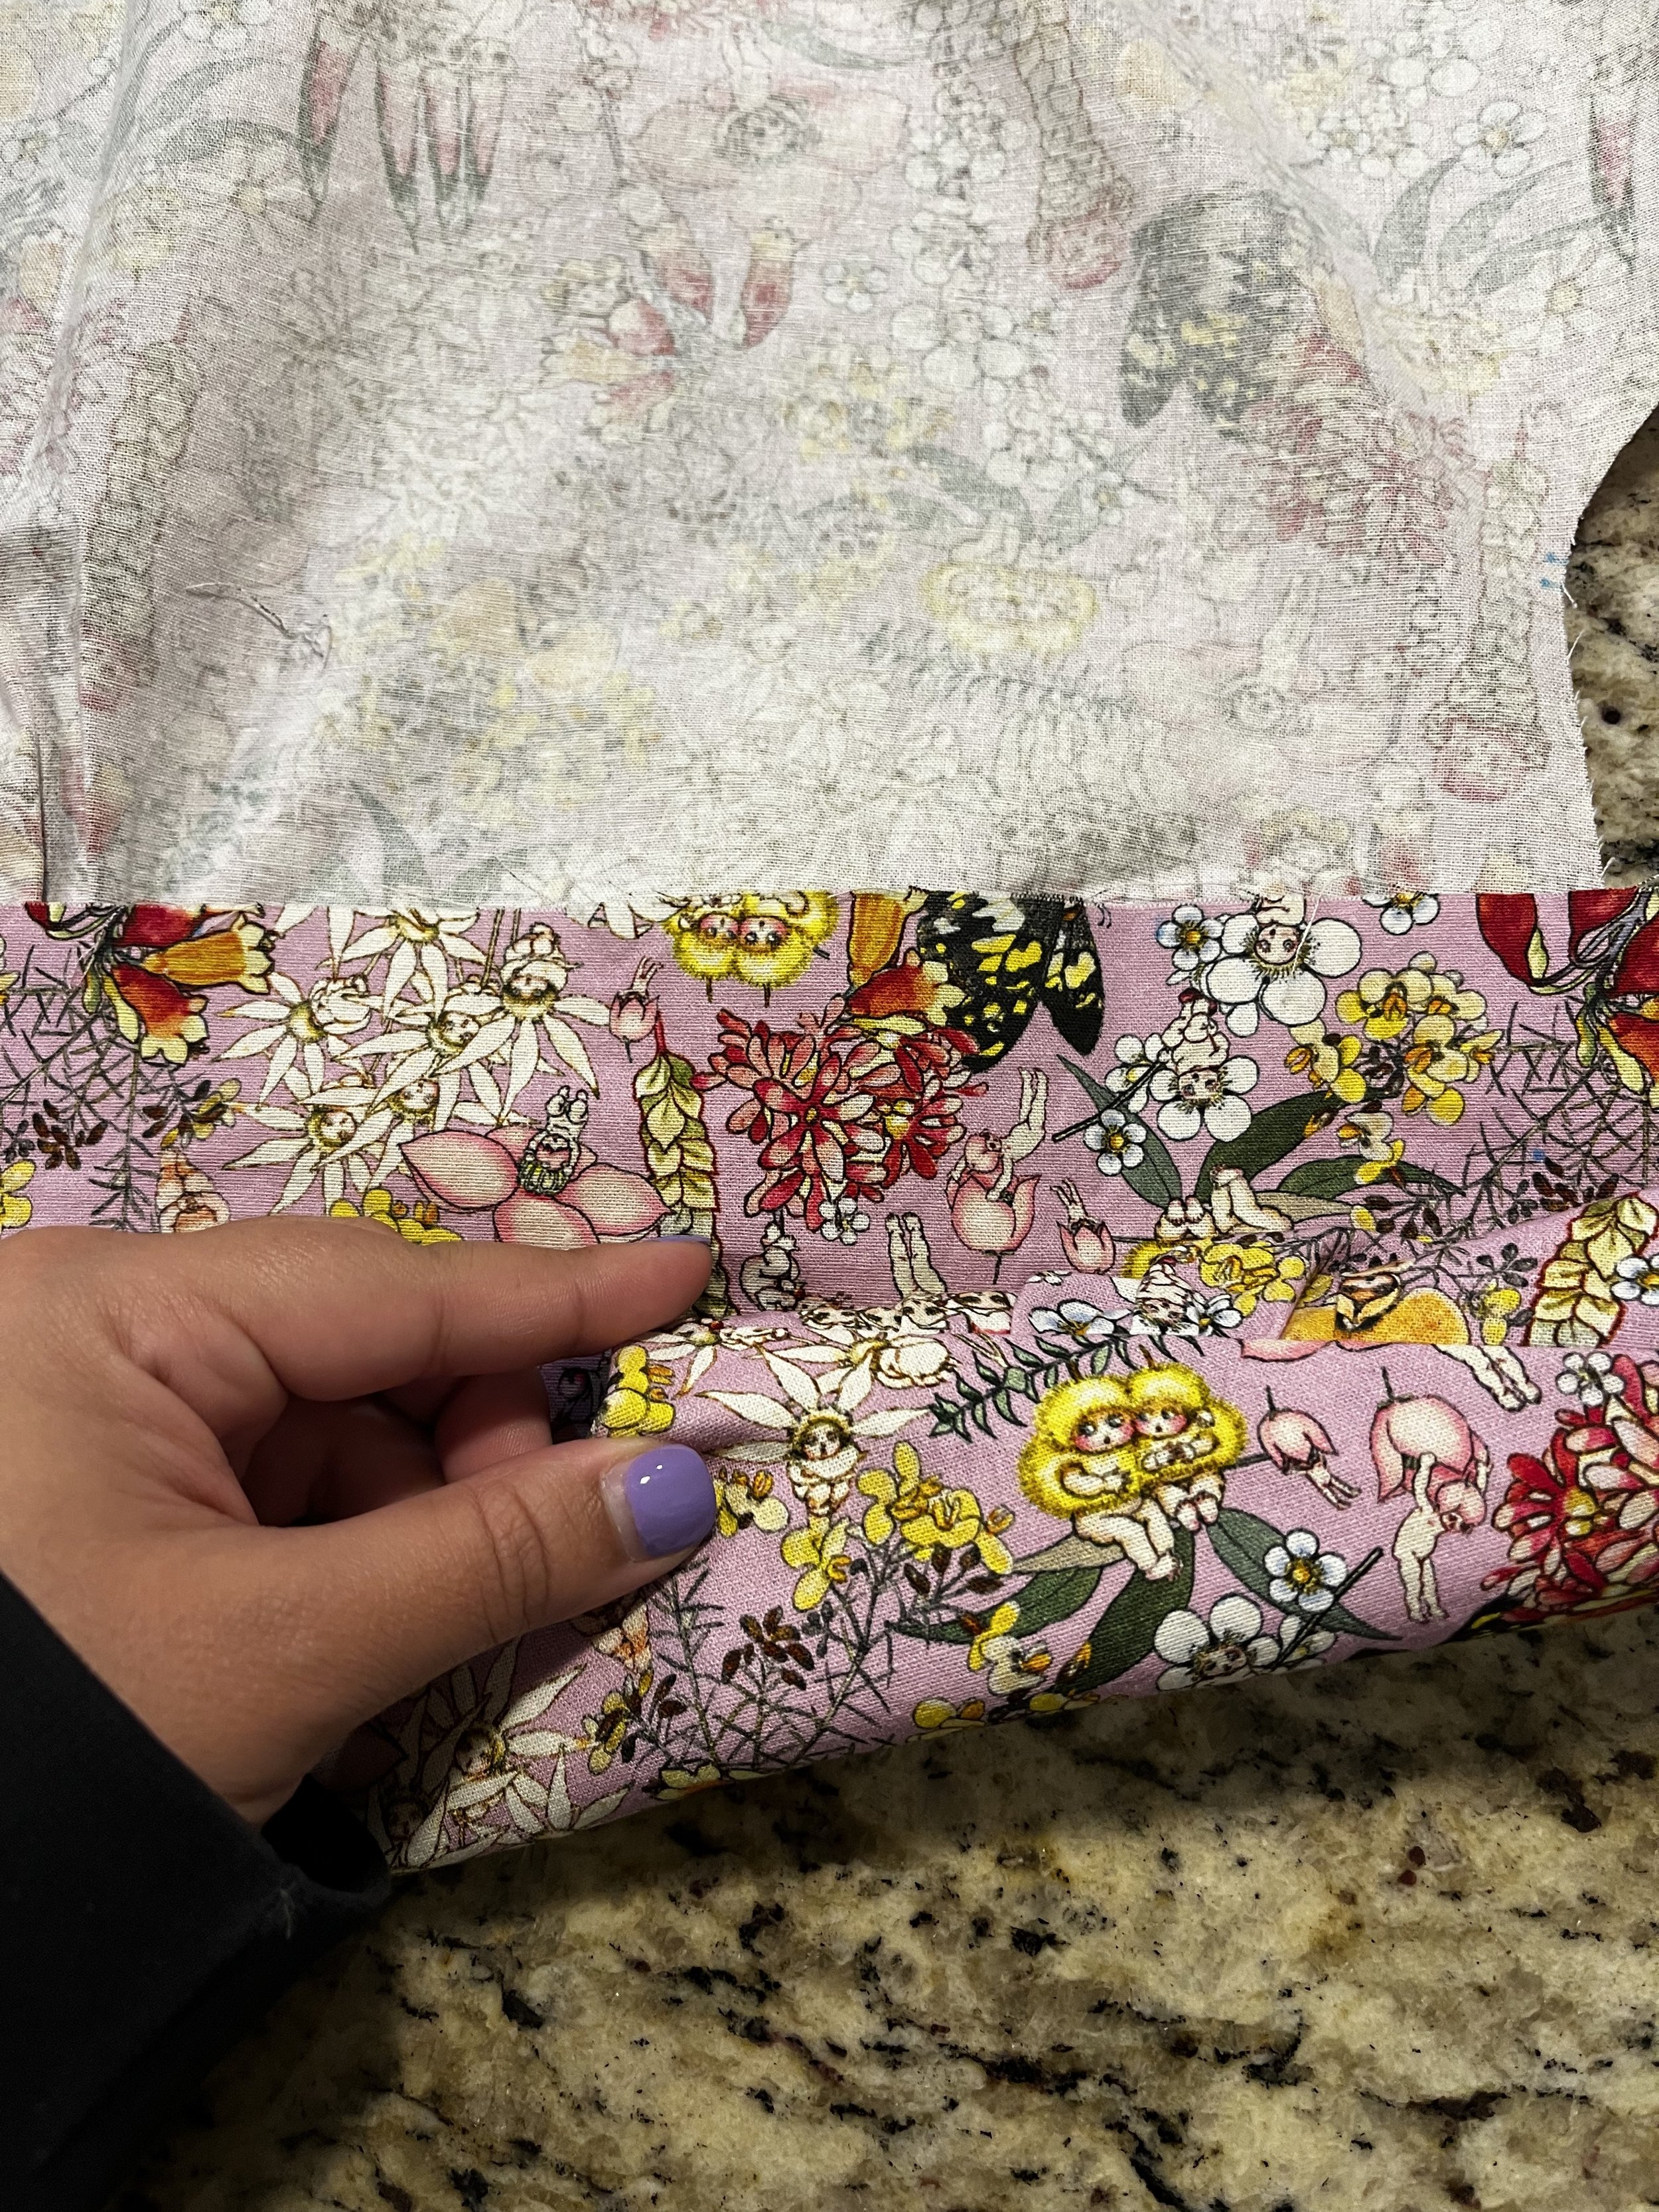
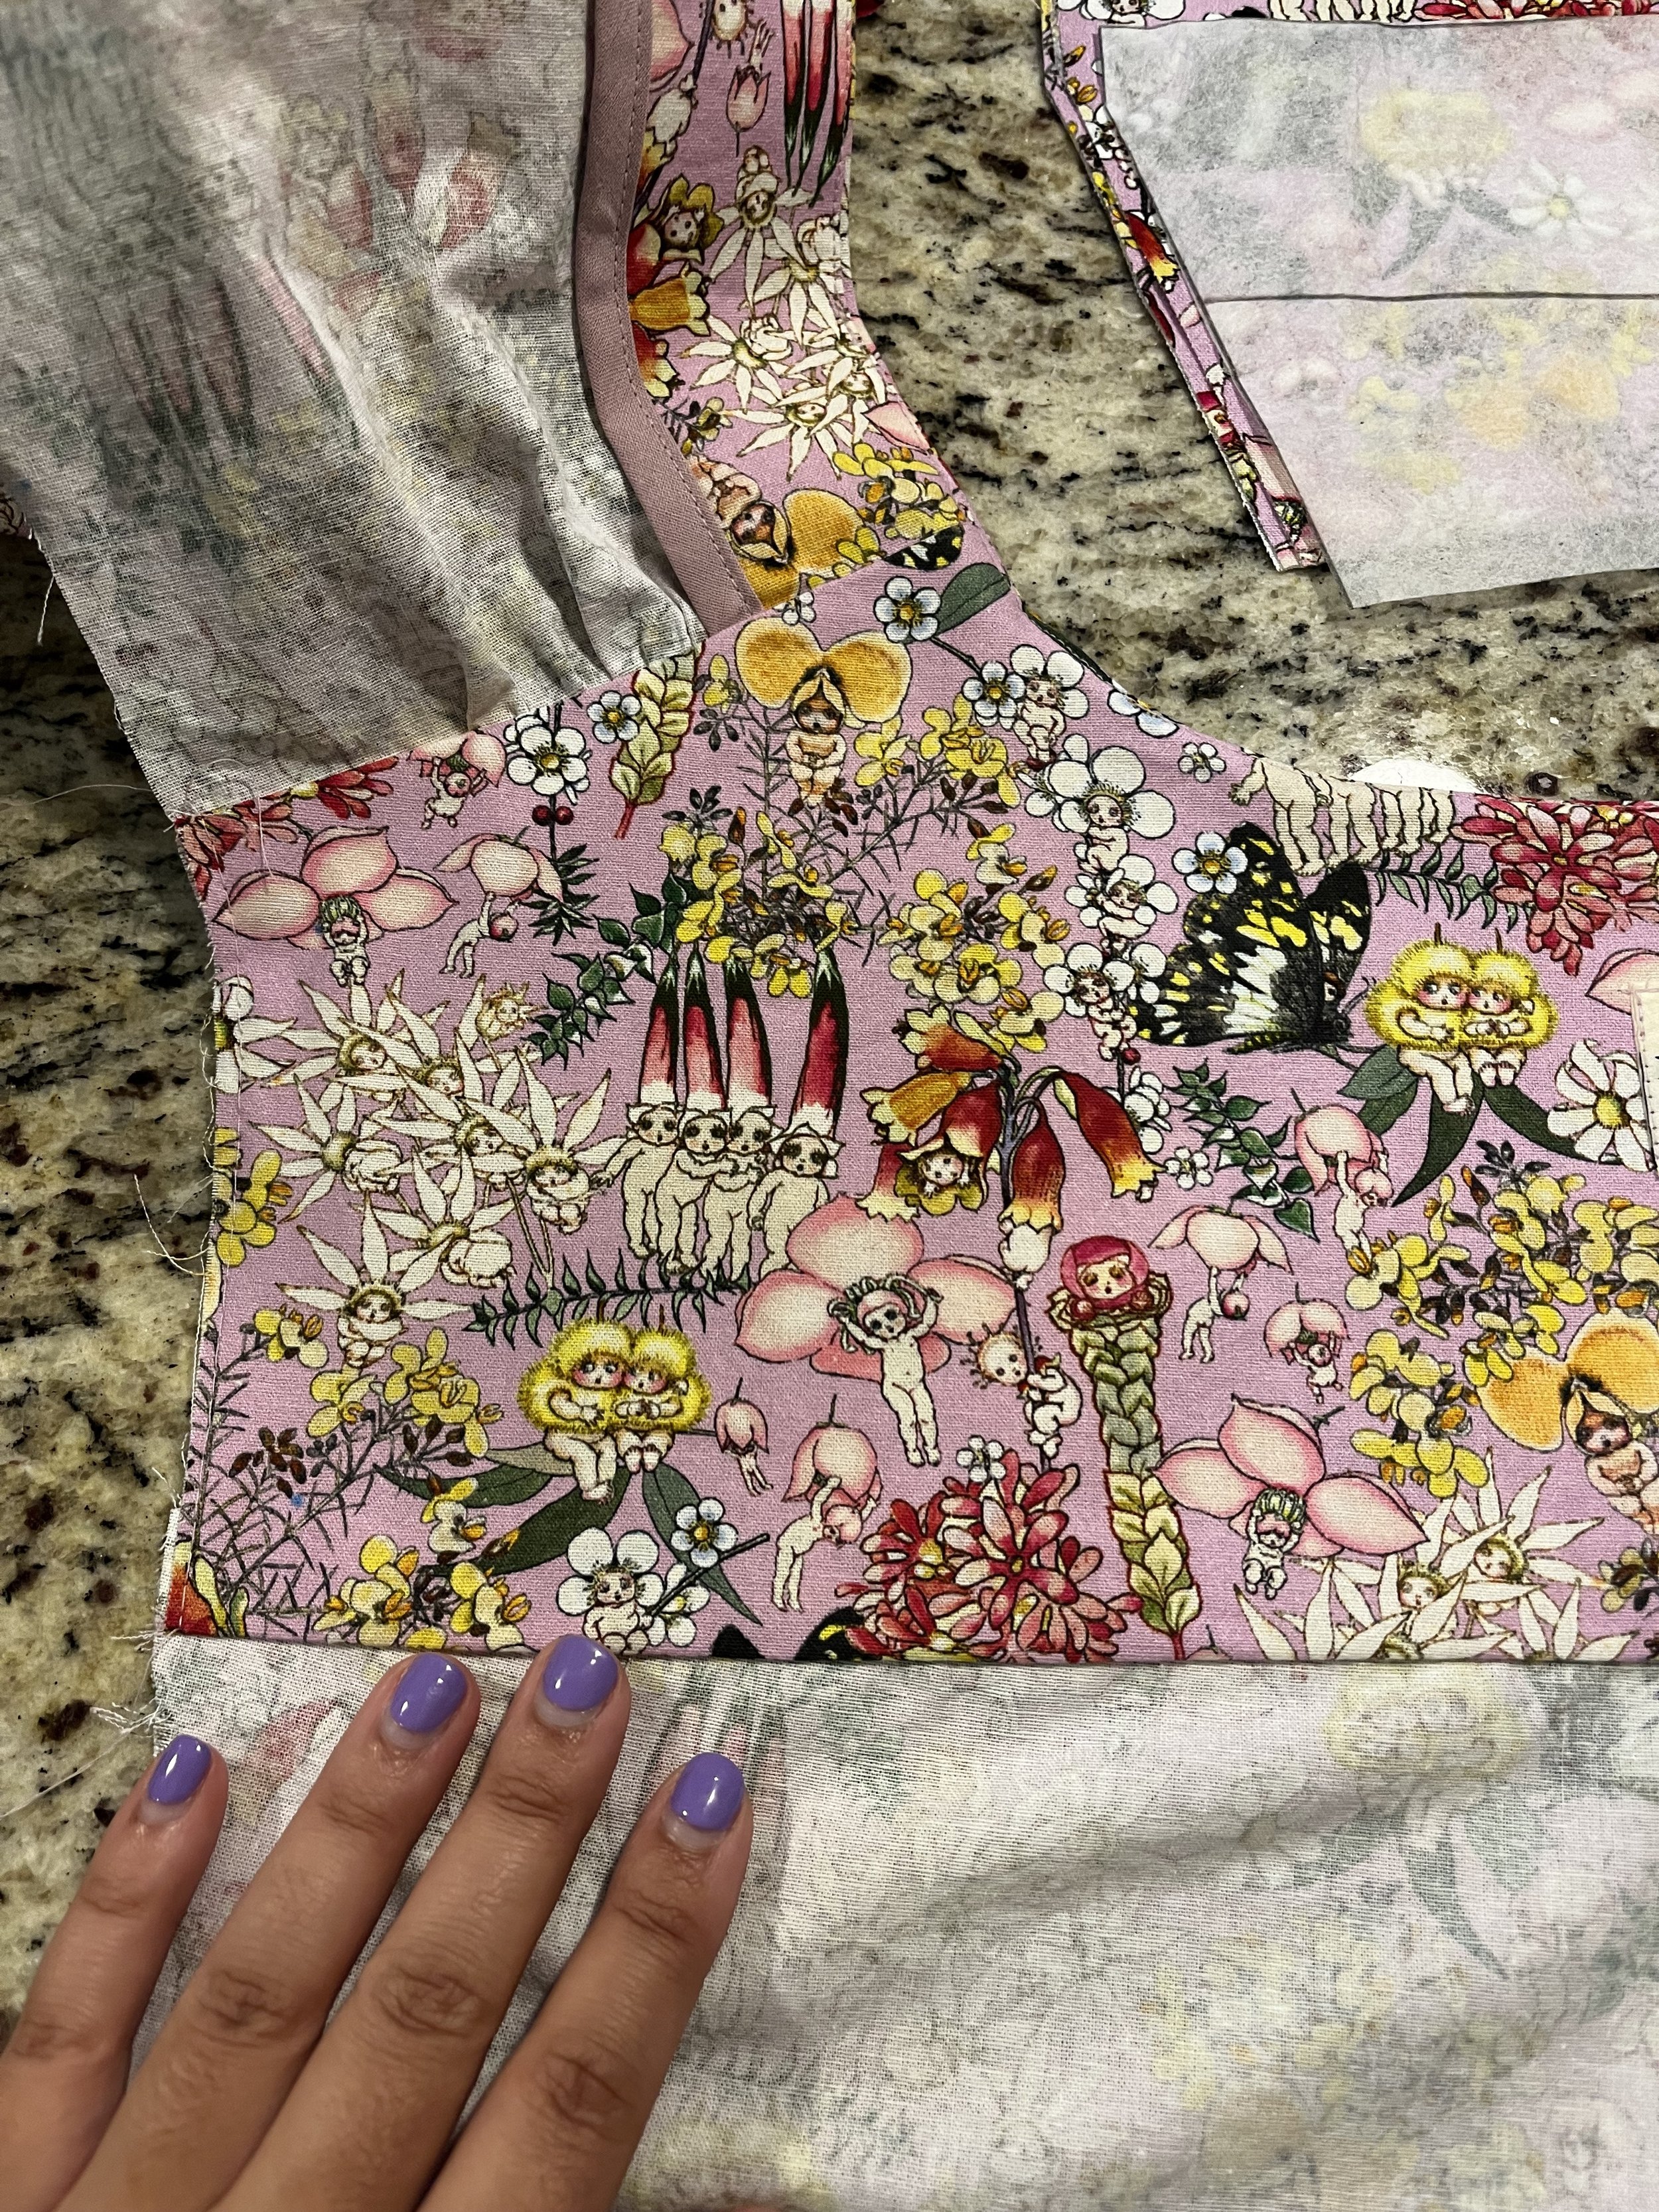
Do you ever feel like the kids' section always has the best prints and styles, while the adult section lacks that magic? Well, I'm here to say that we need to change that immediately. I'm done with pining after things that only come in my 4-year-old’s size. I chose this gorgeous May Gibbs fabric with its pink-purple background. The color was just so perfect and whimsical! But, choosing was the easy part. The next challenge was finding the right pattern to bring my vision to life.

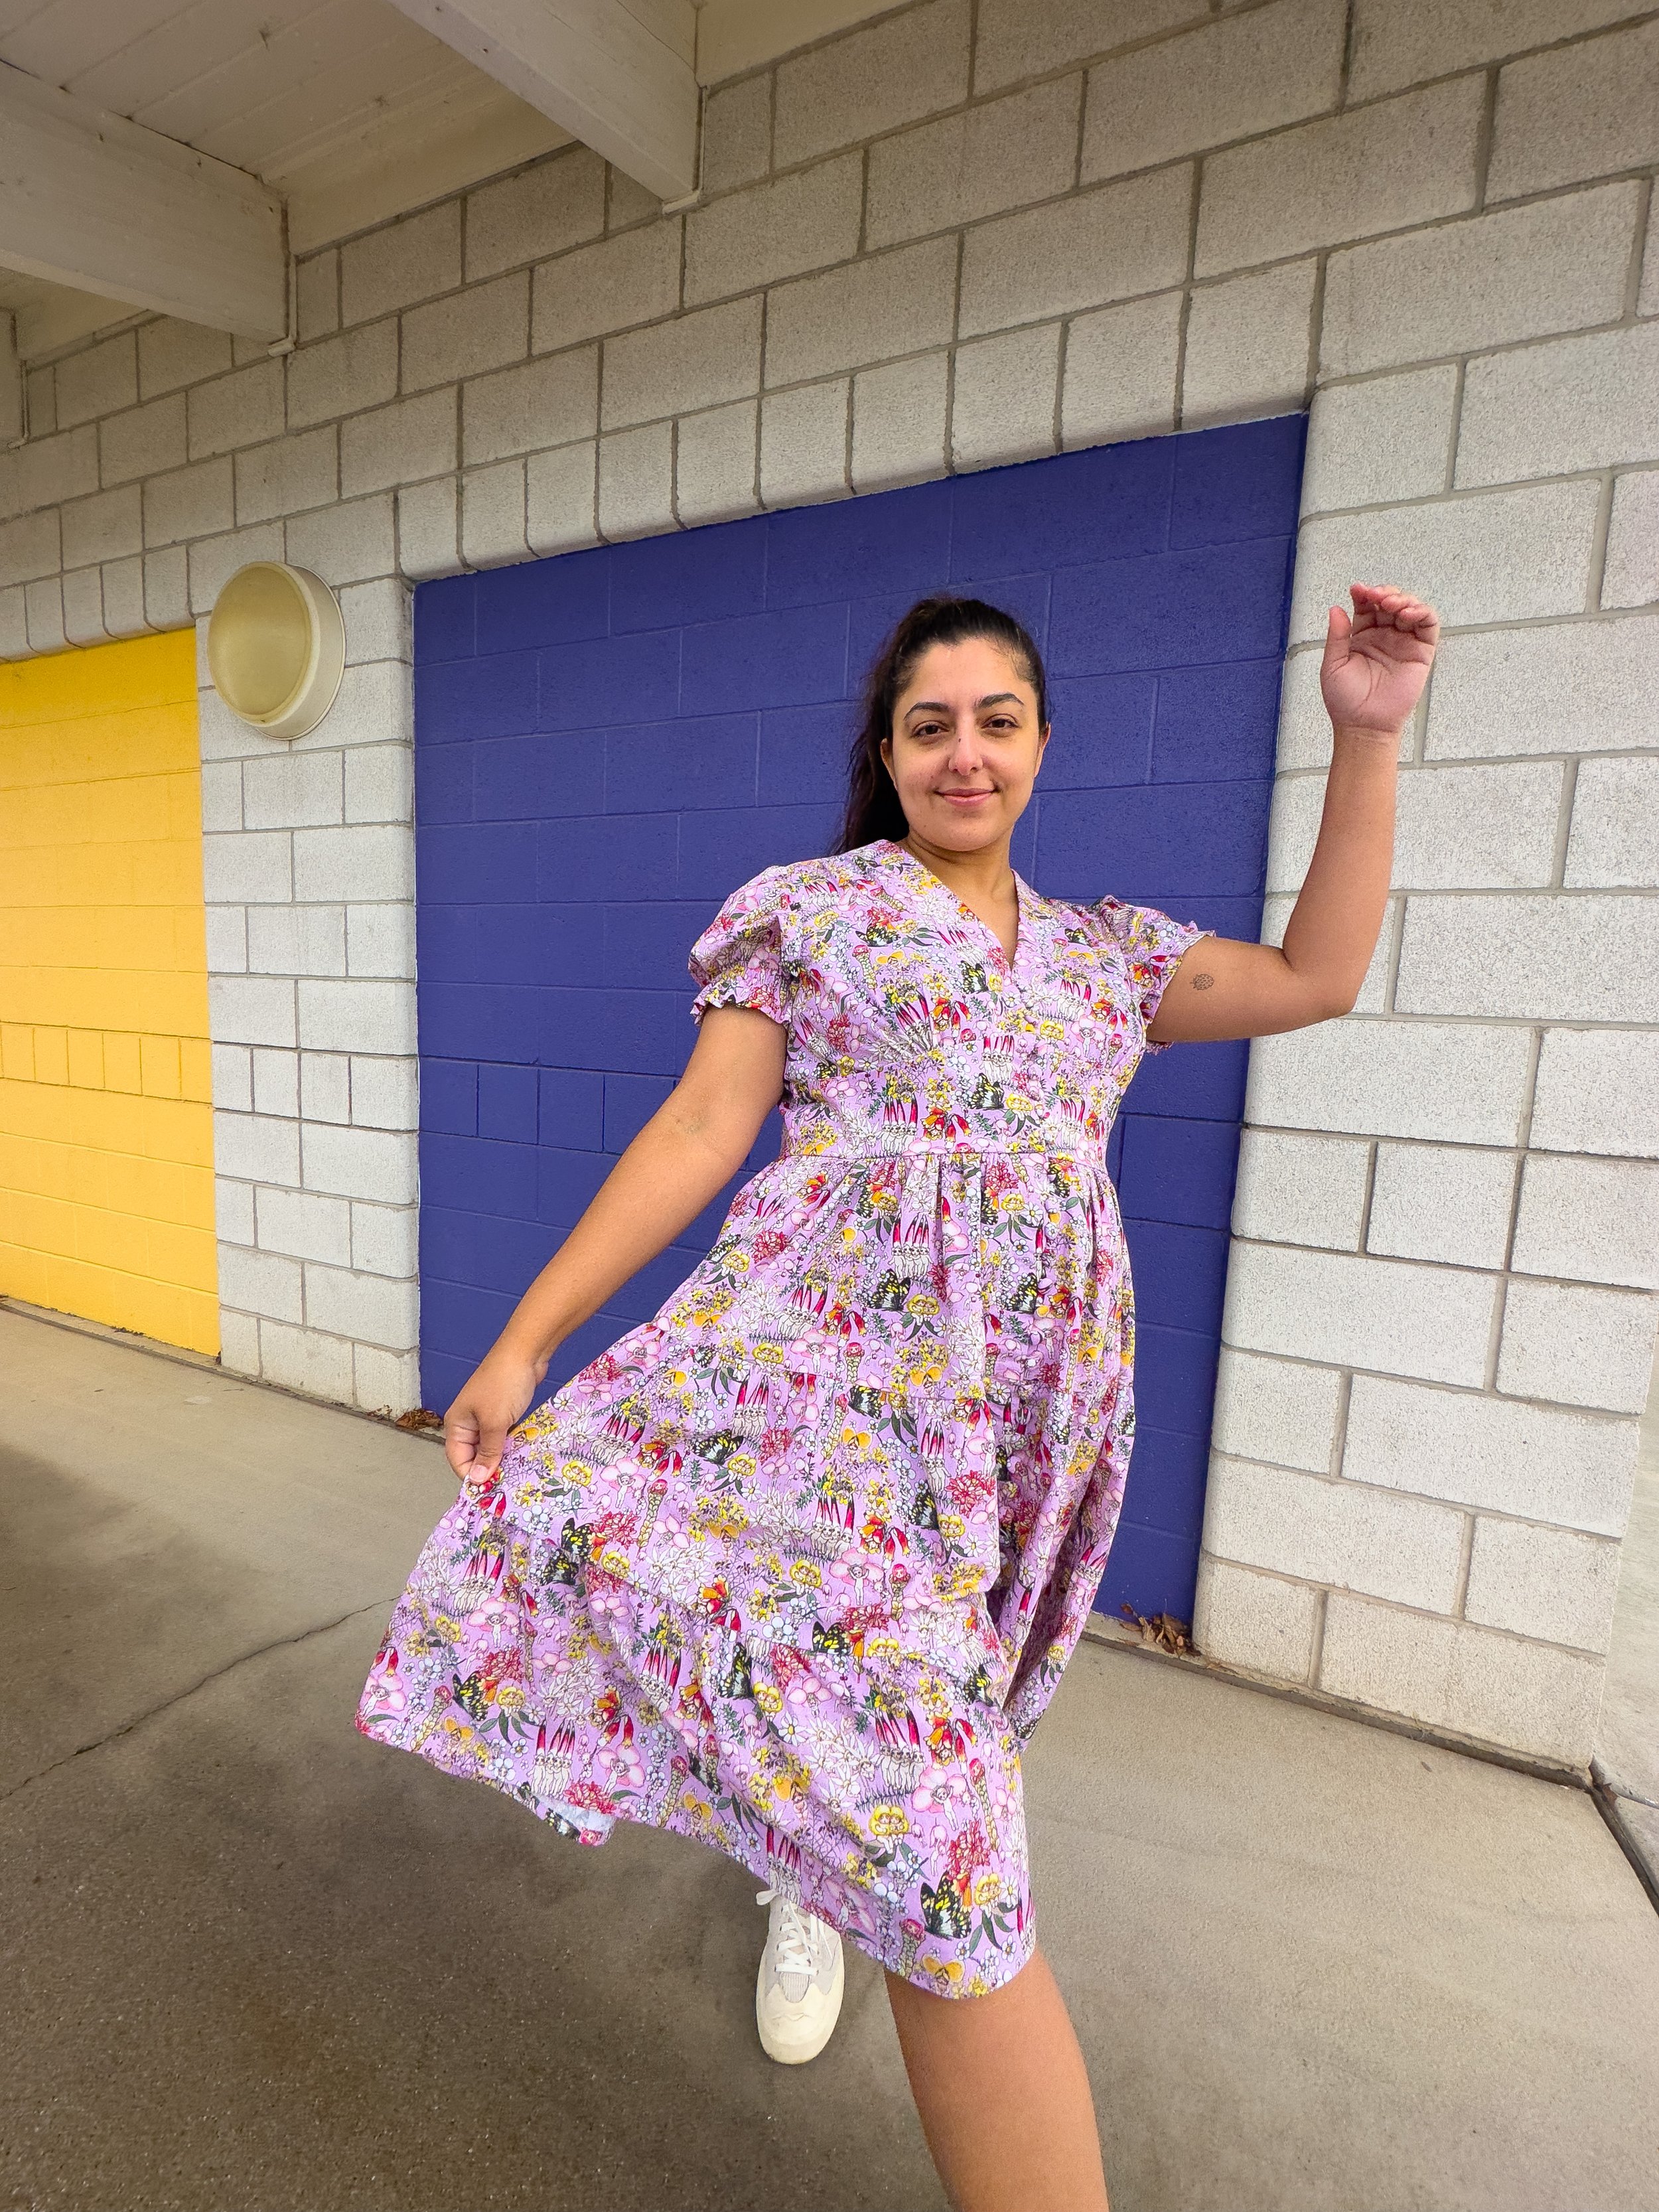
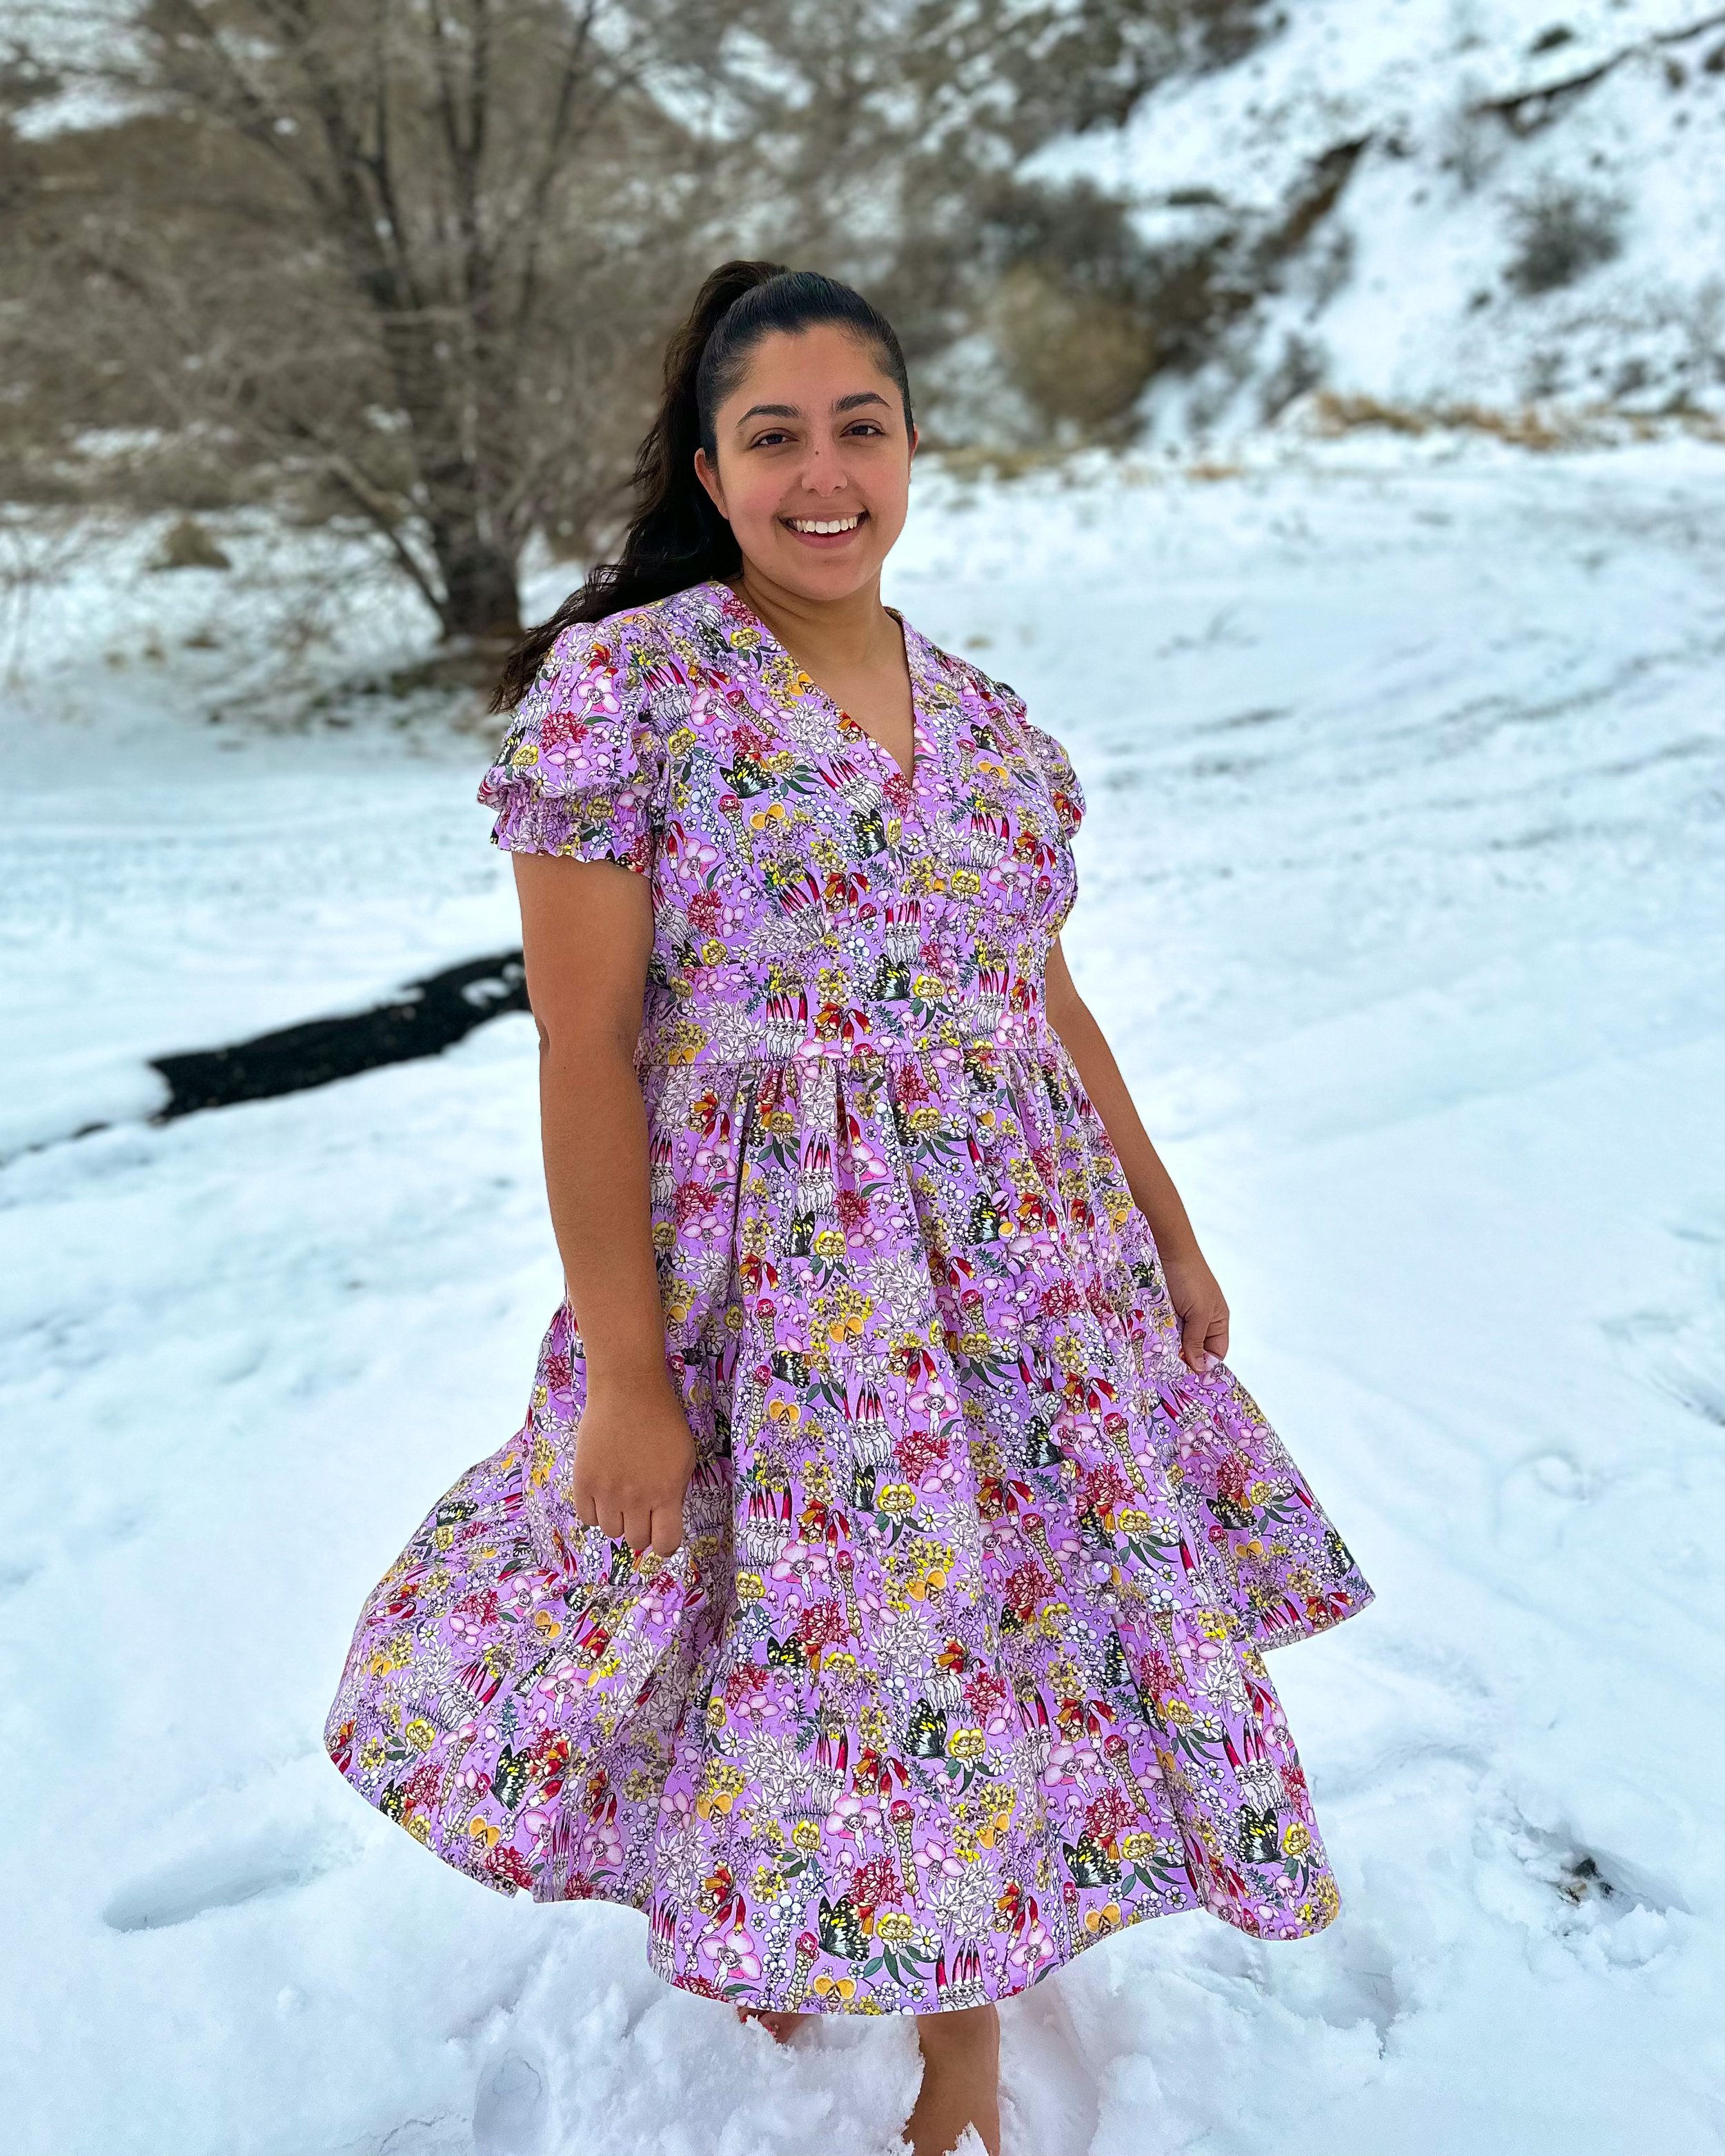
I opted to use McCall's 7974 in View A, as it was the closest dress pattern to what I wanted to achieve. But close wasn't good enough, so I made the following adjustments:
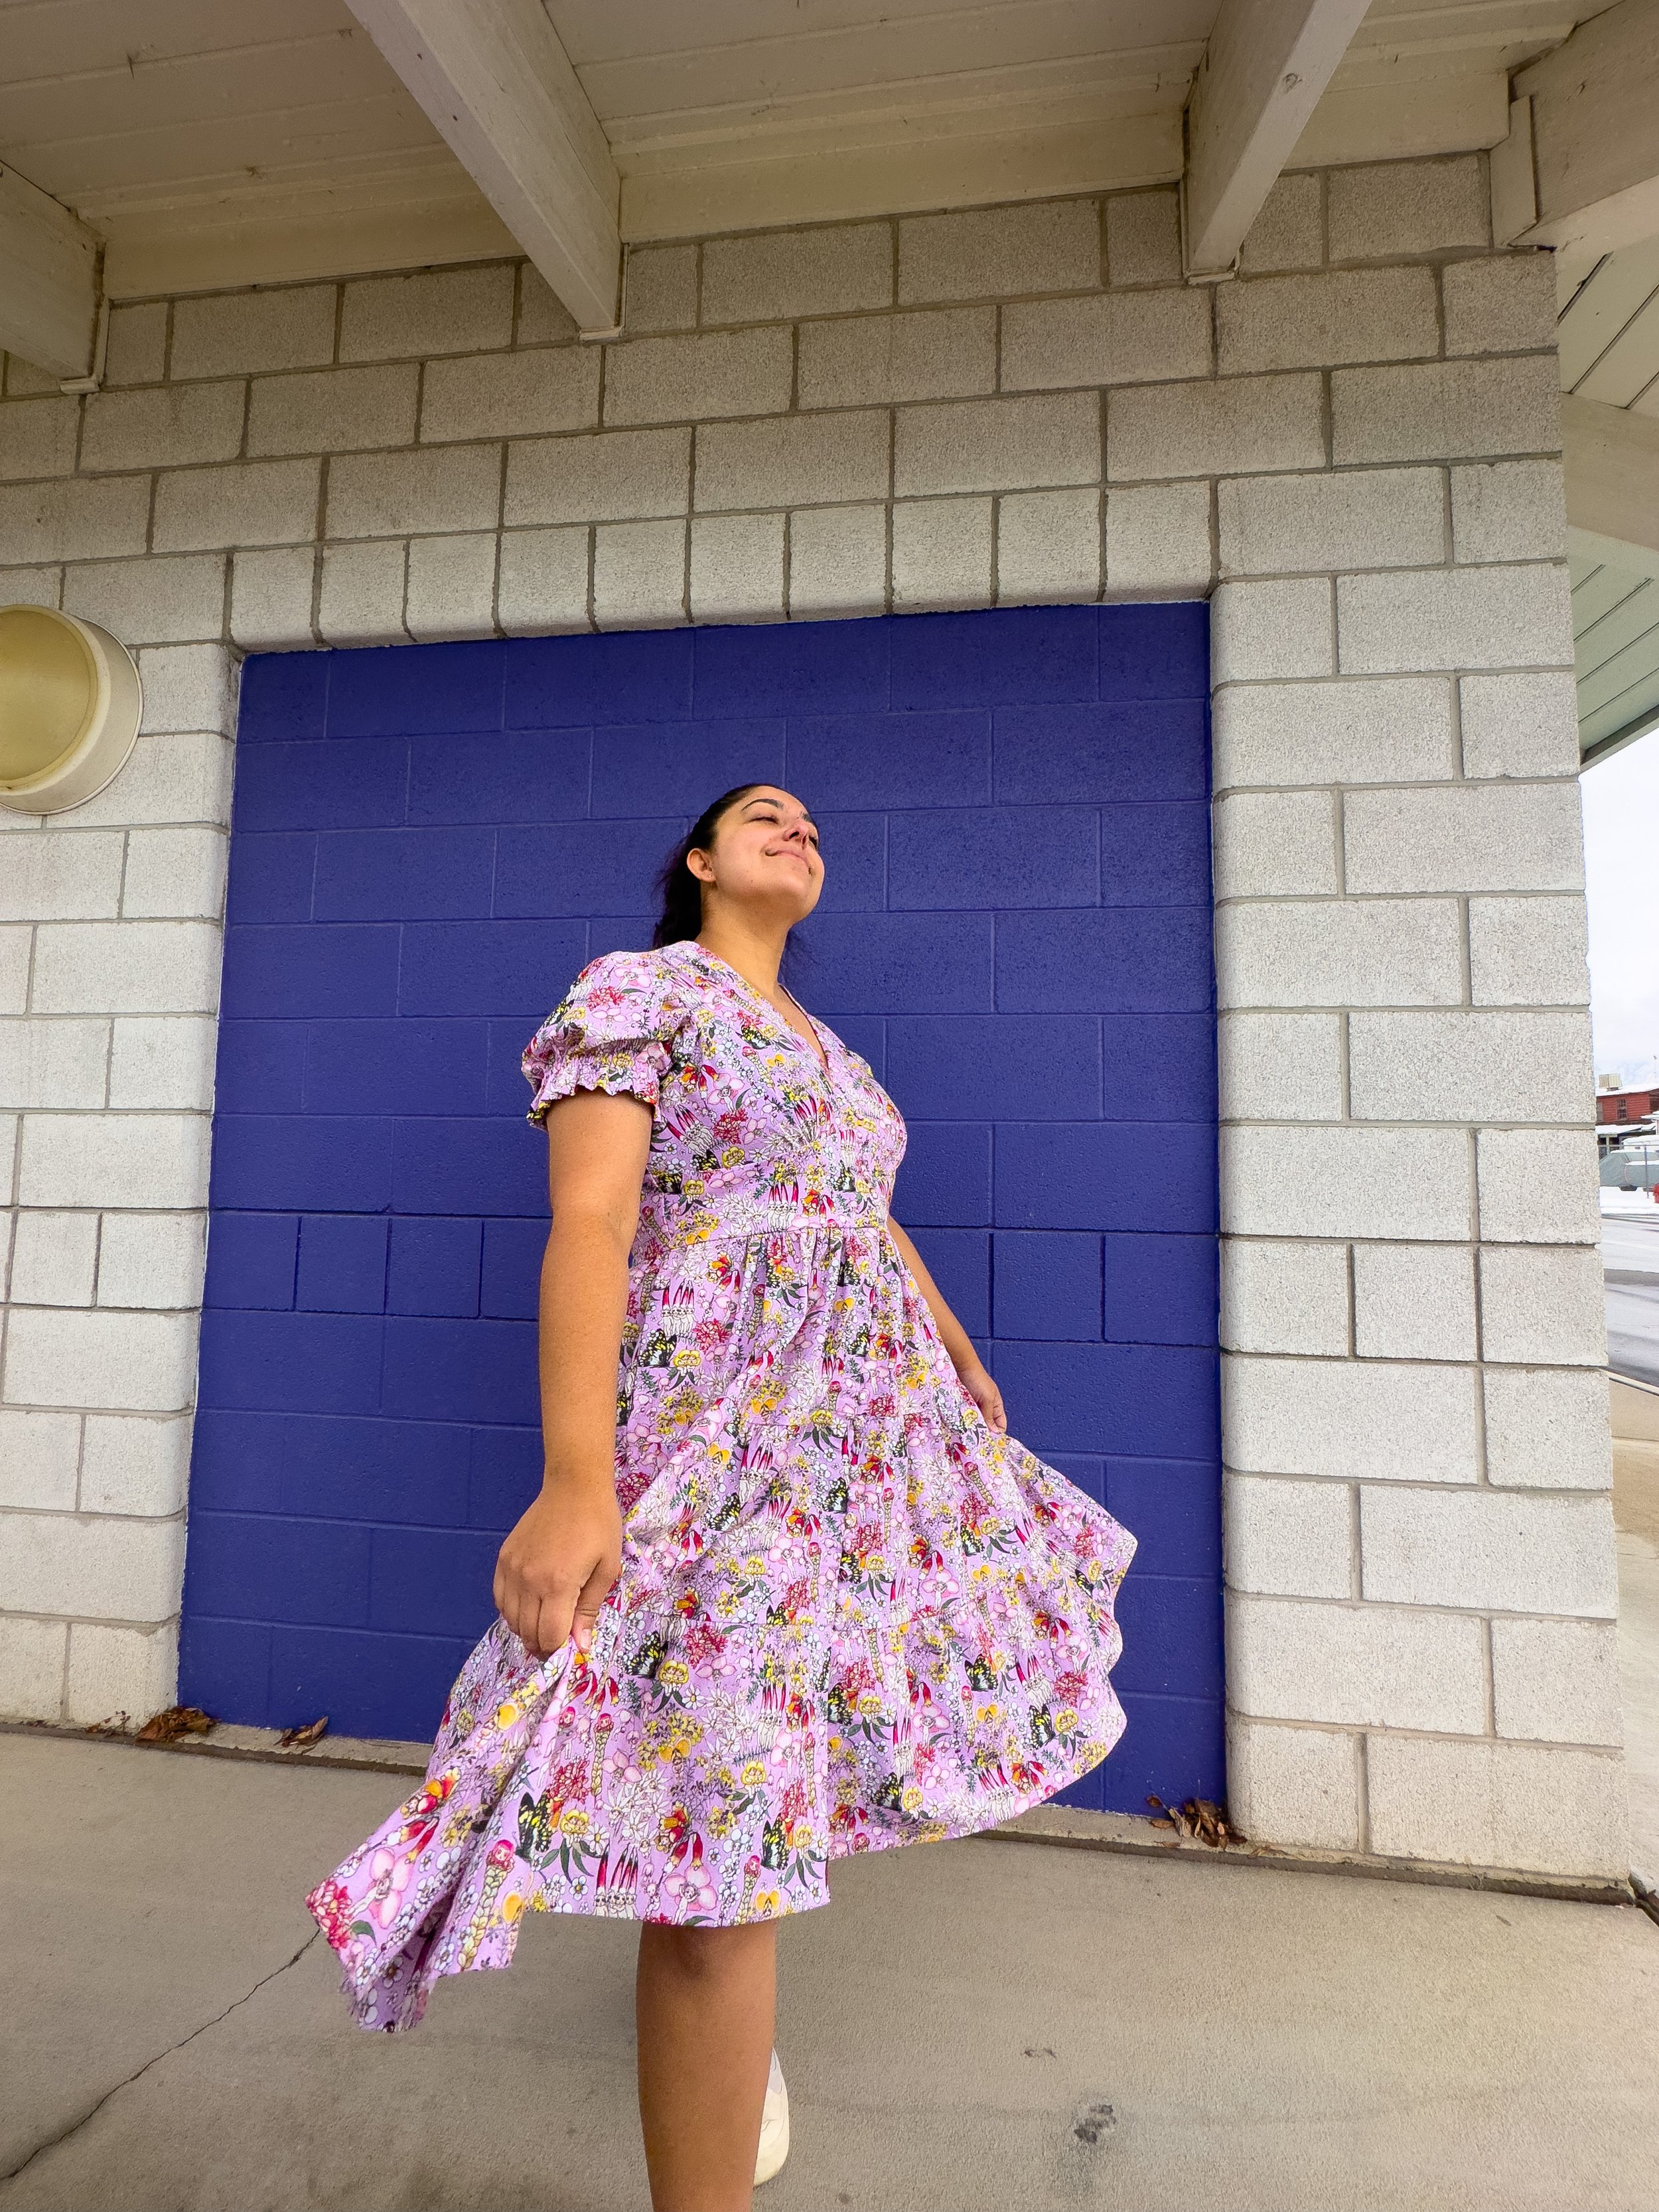
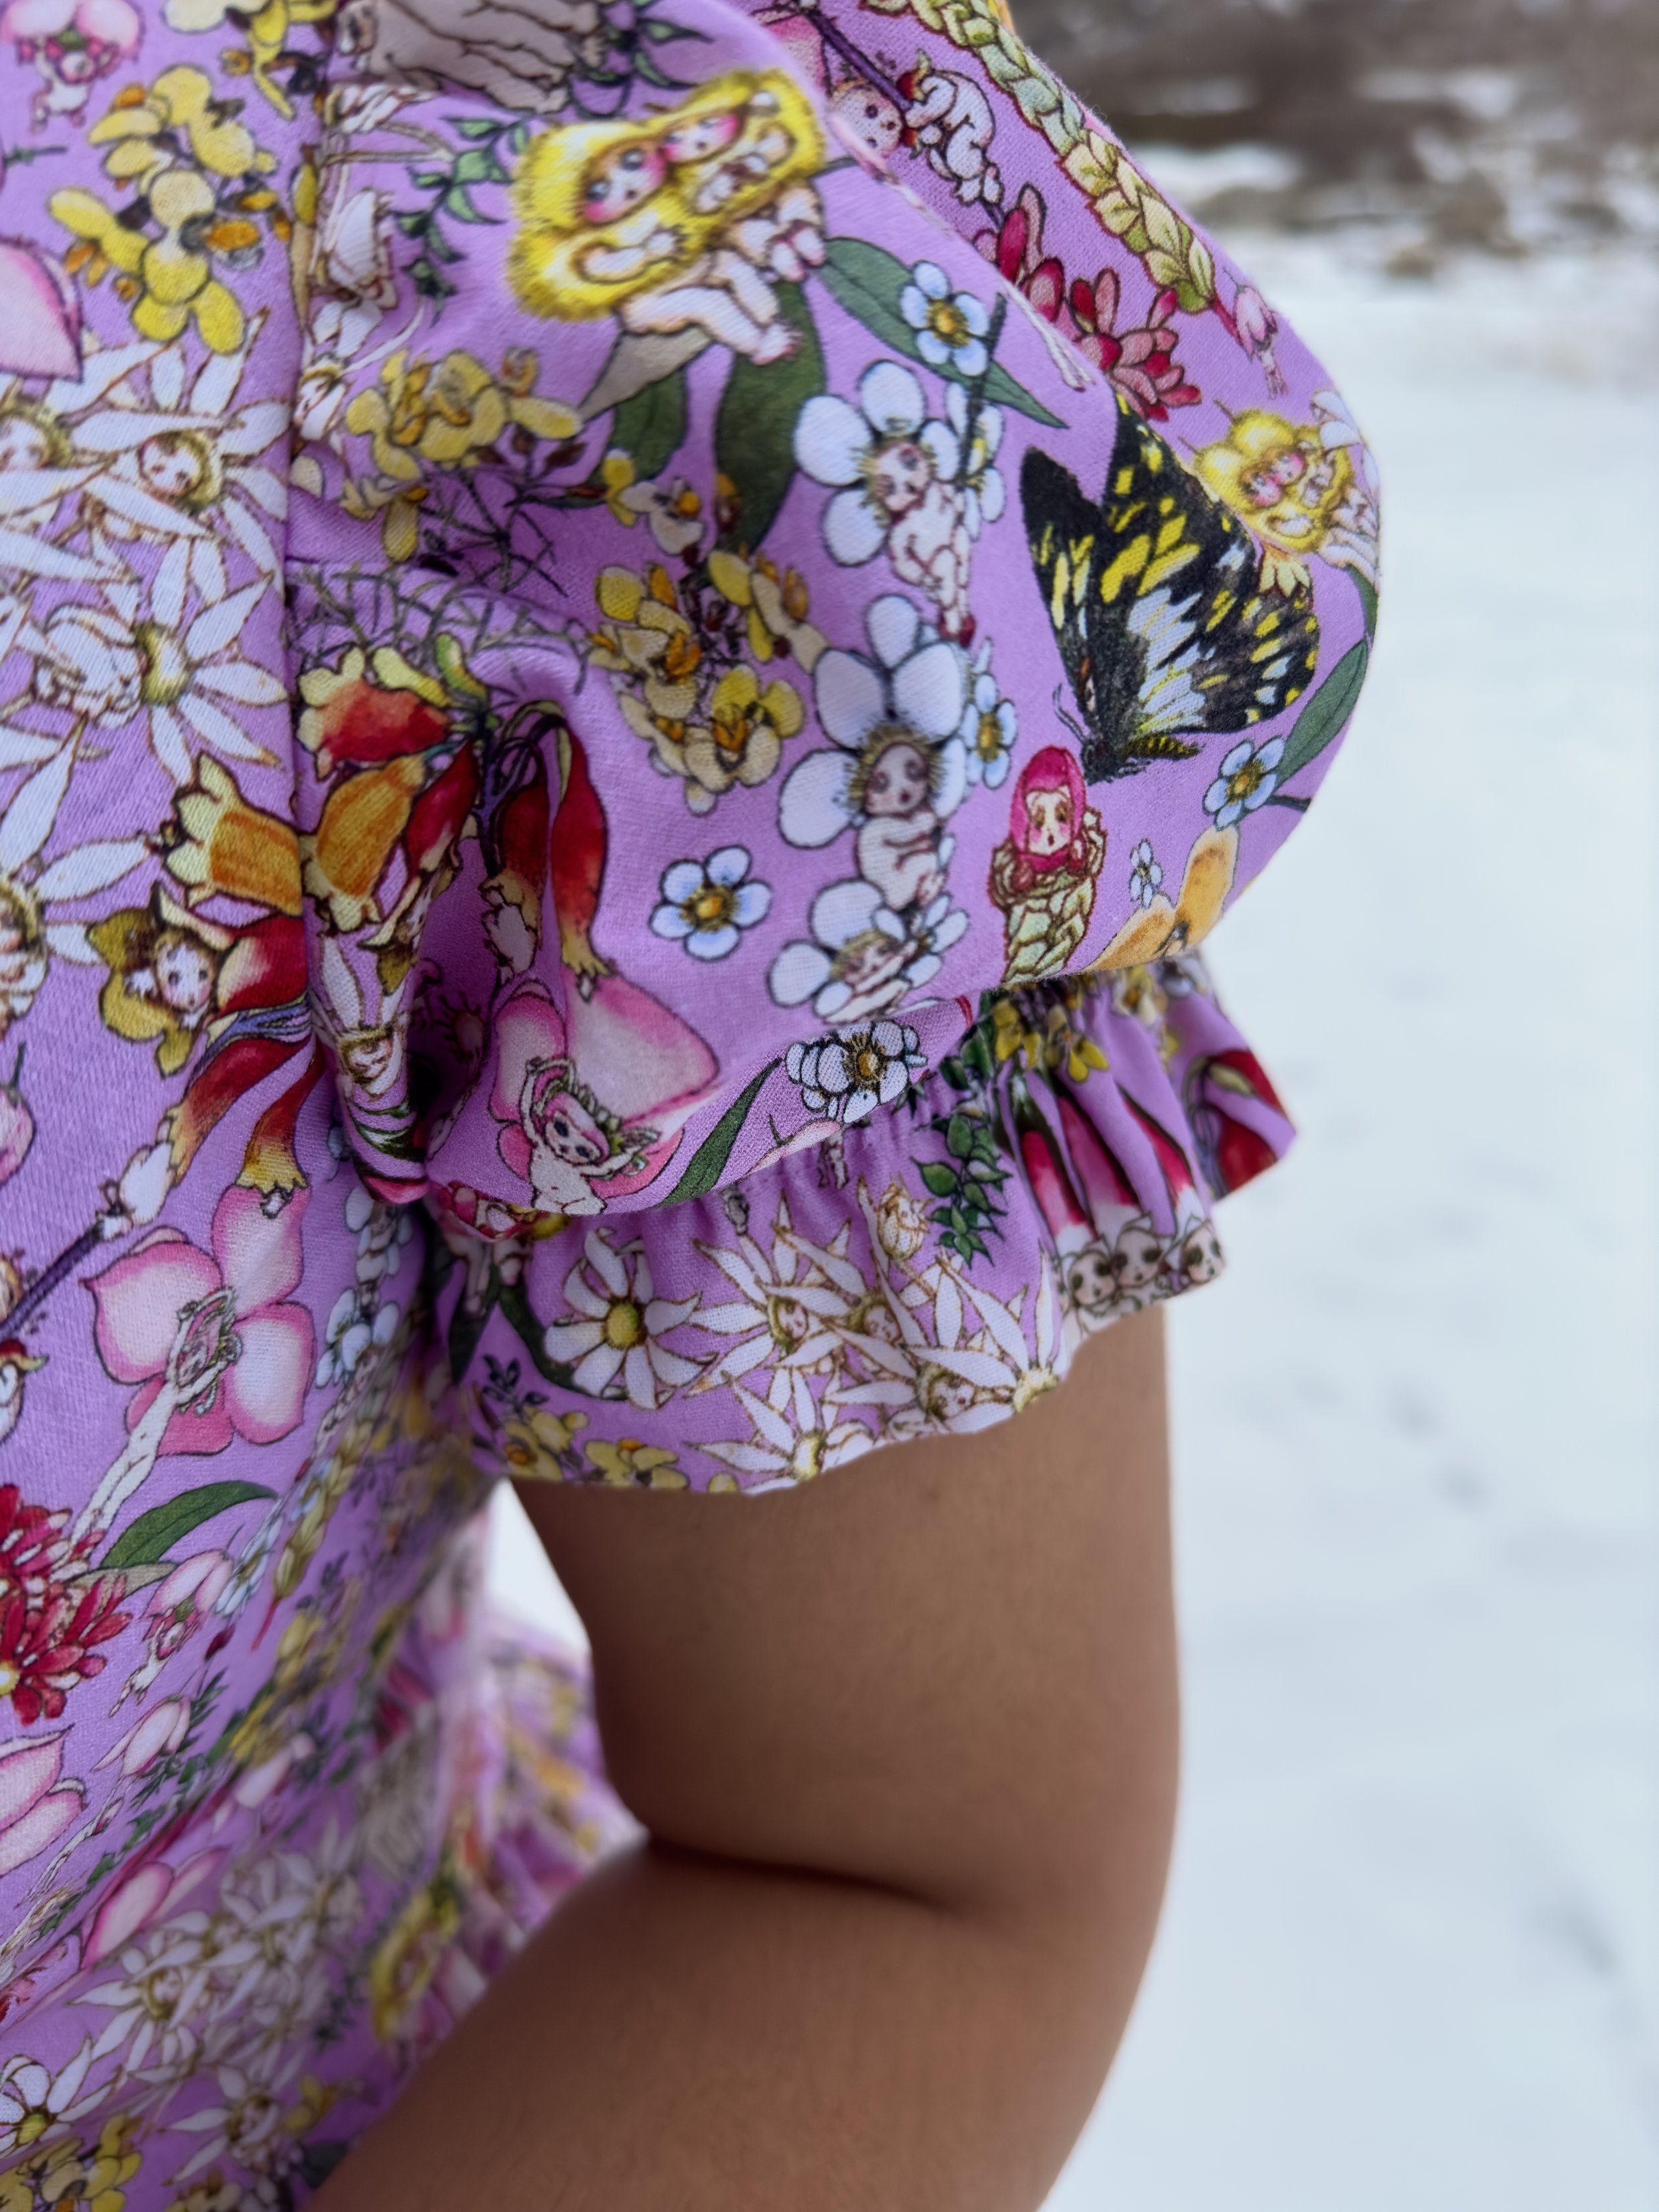
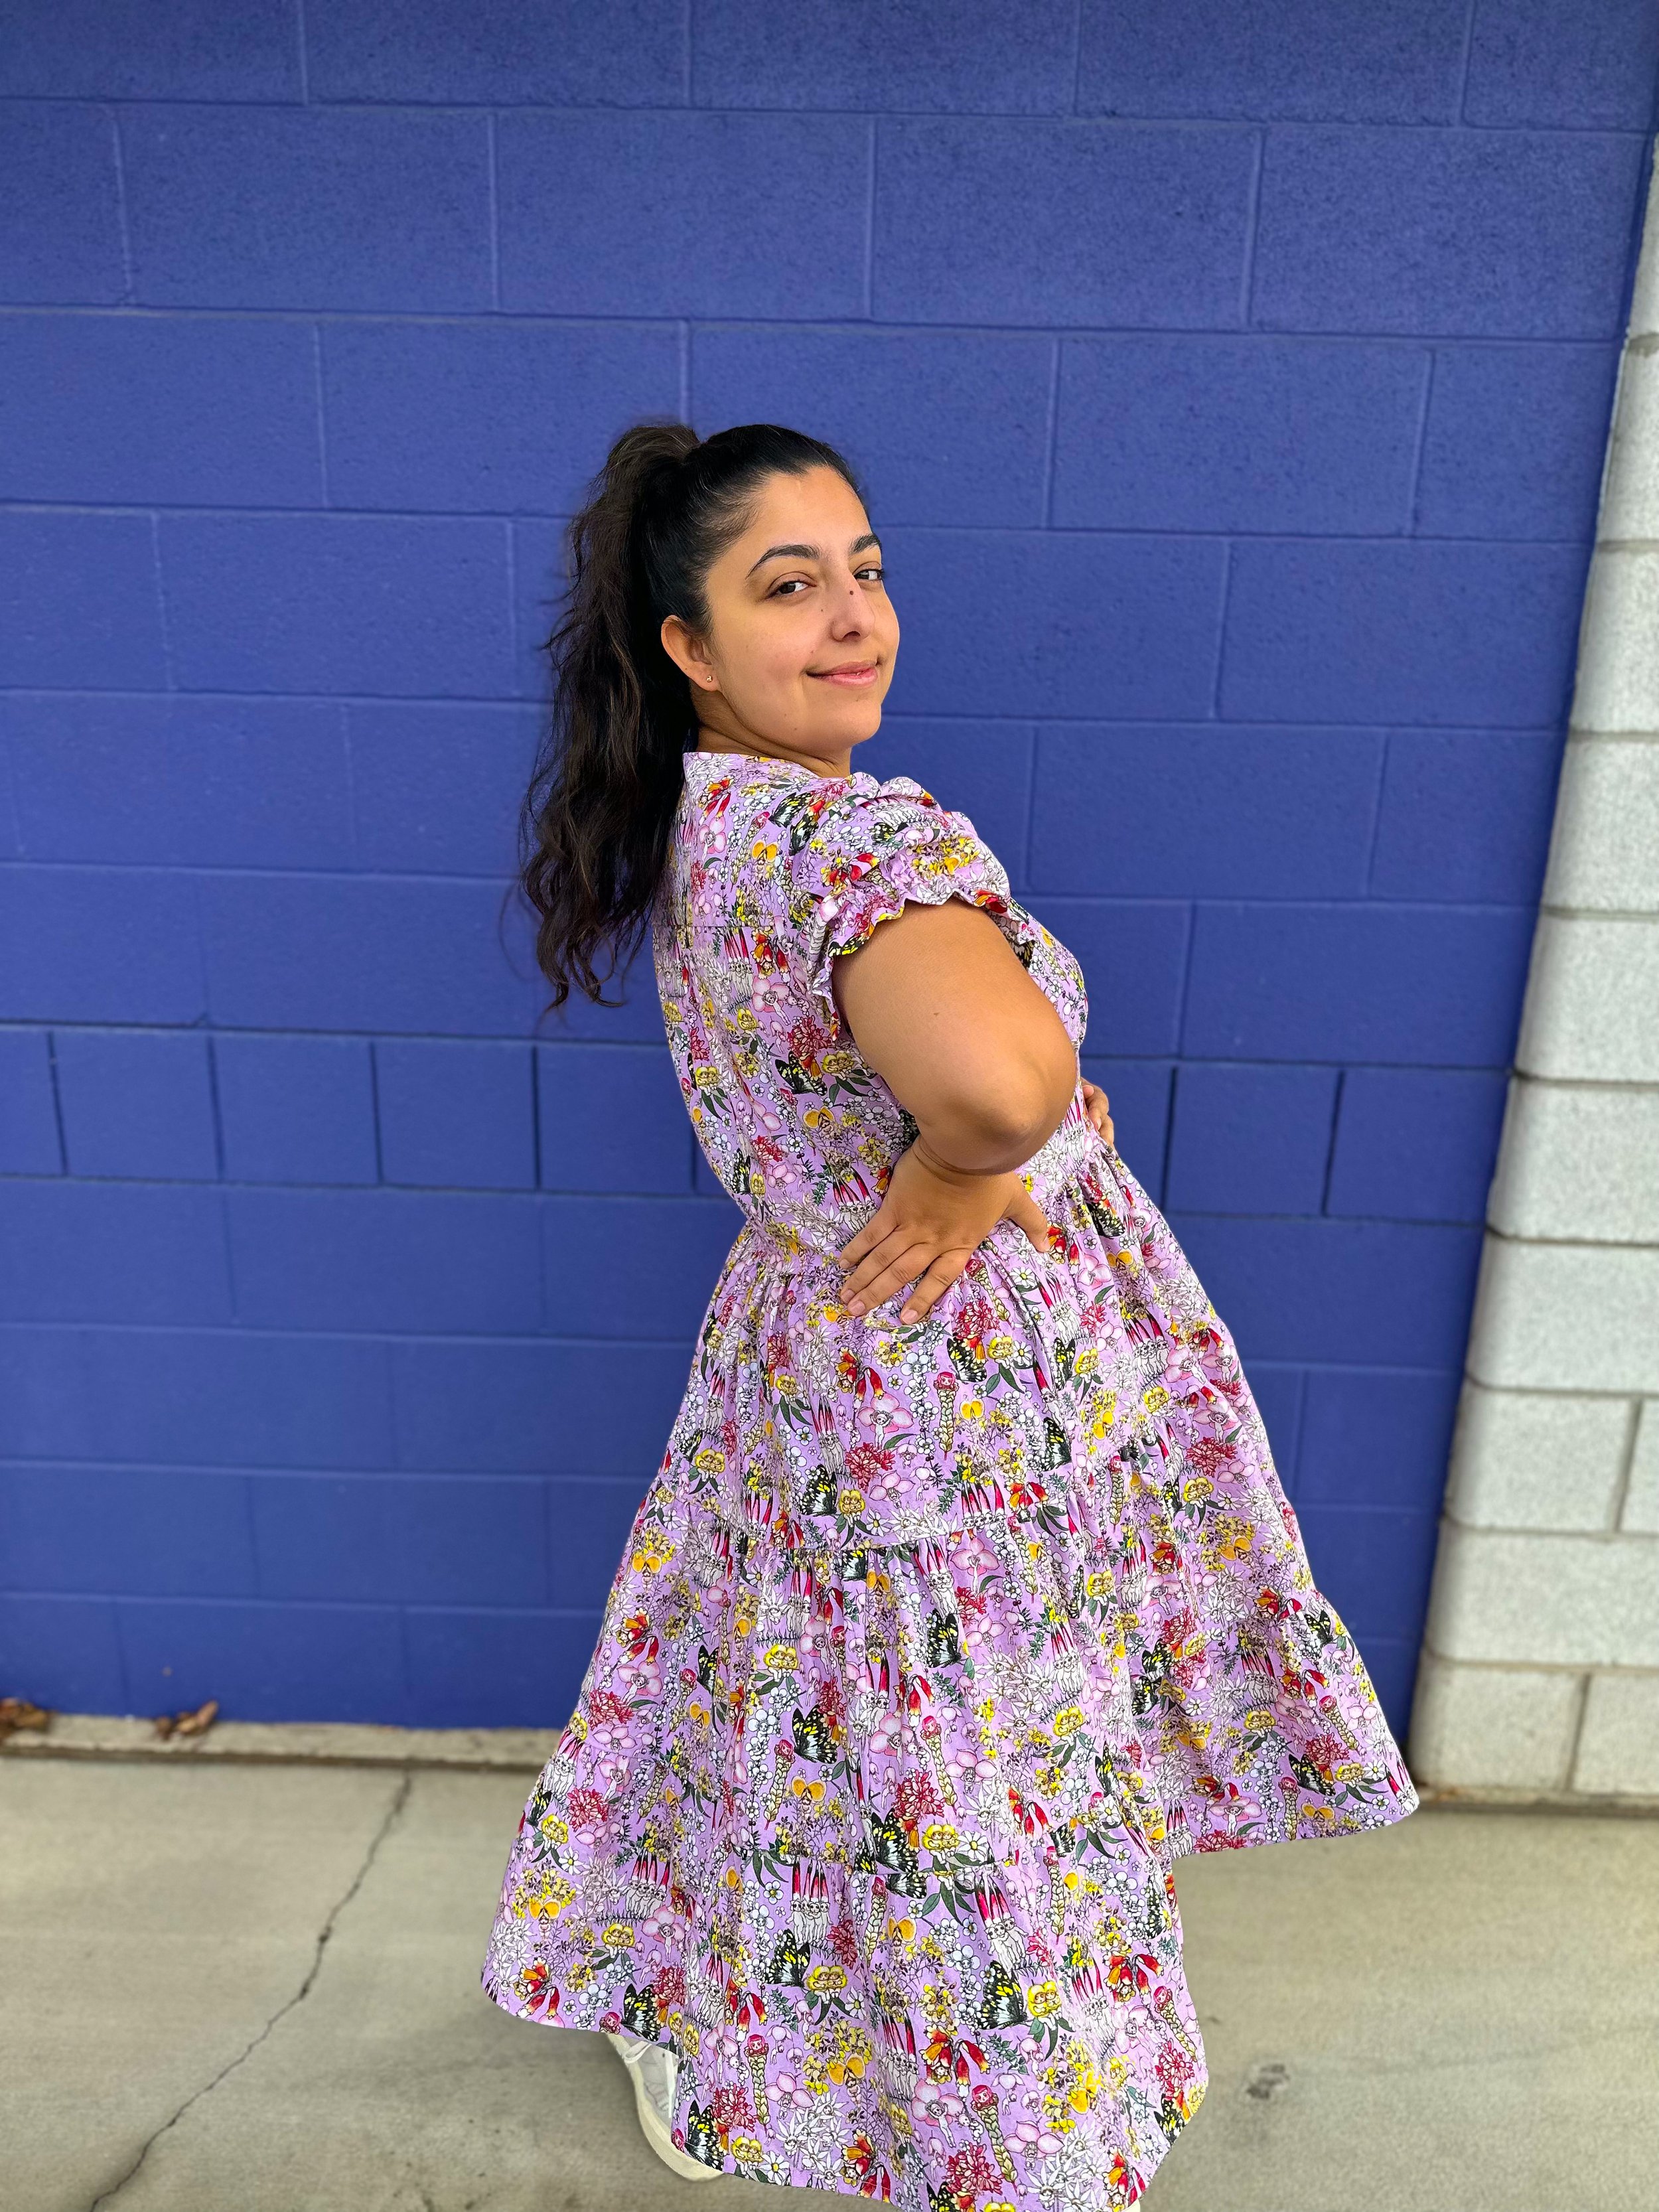
· Slashed and spread the sleeves, adding 3 inches in total and squaring them off so they wouldn't cause any issues when ironing up the hem for the ruffle effect.
· Omitted the tie feature entirely for View A.
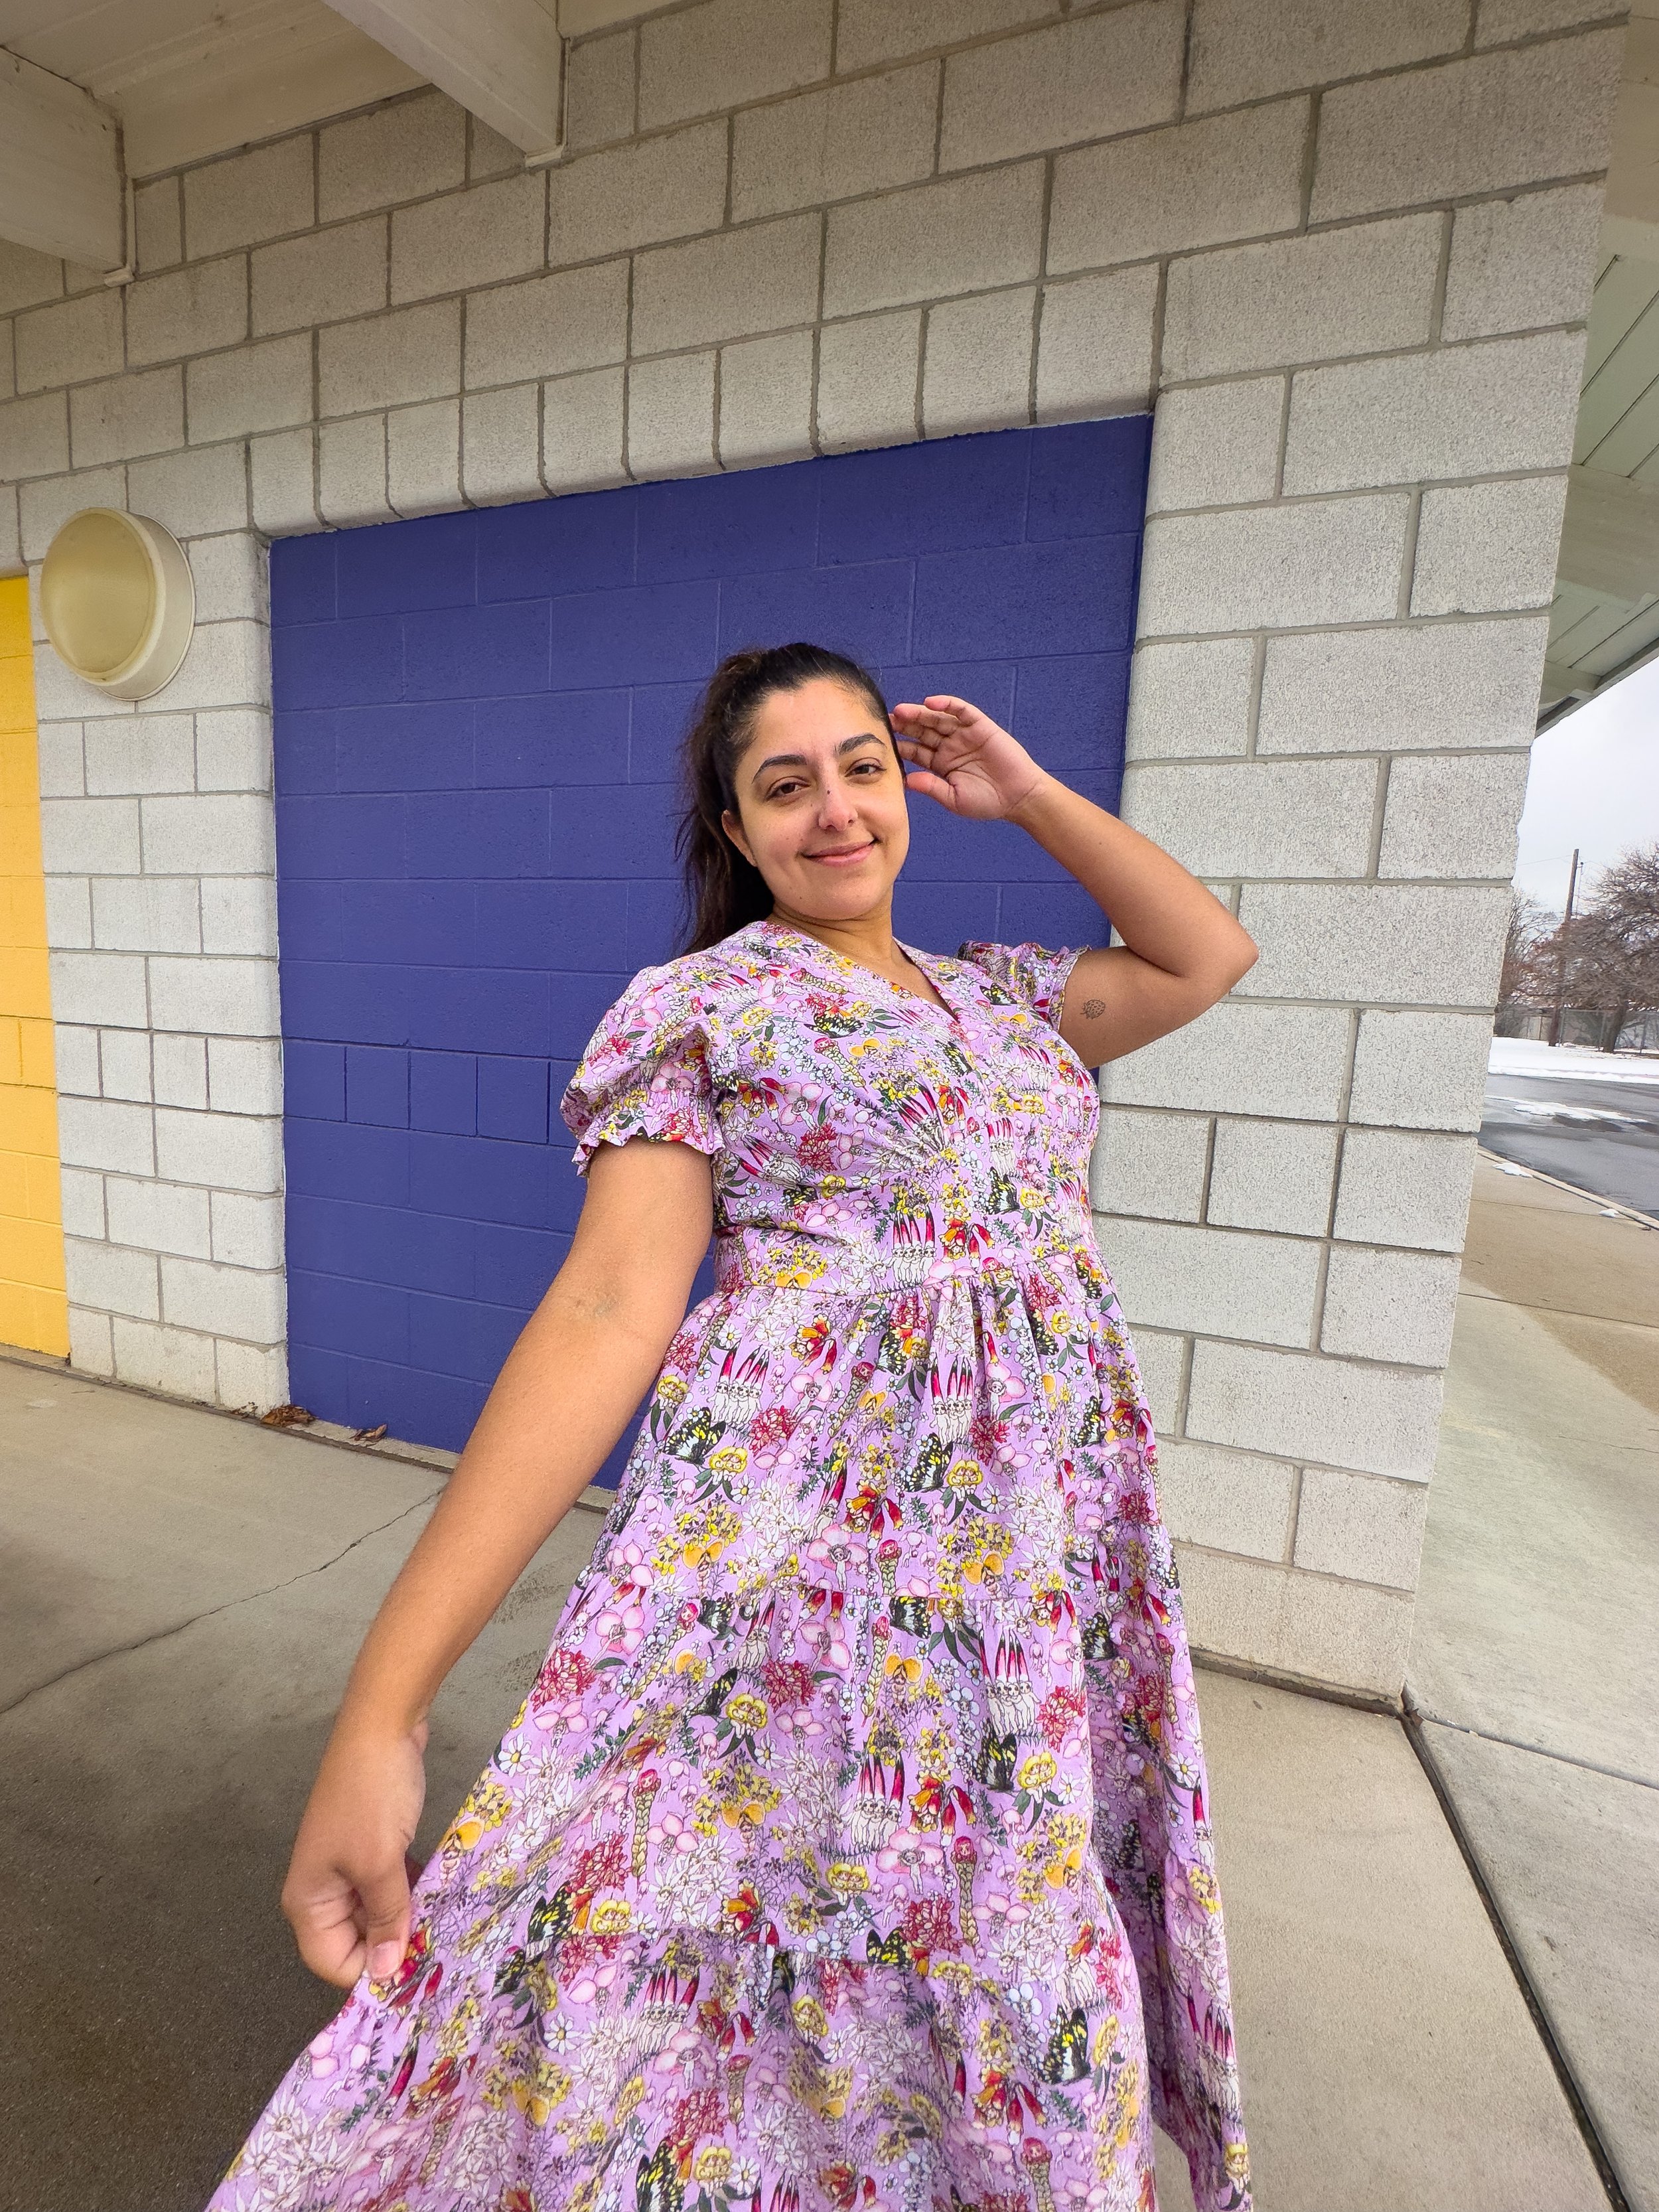
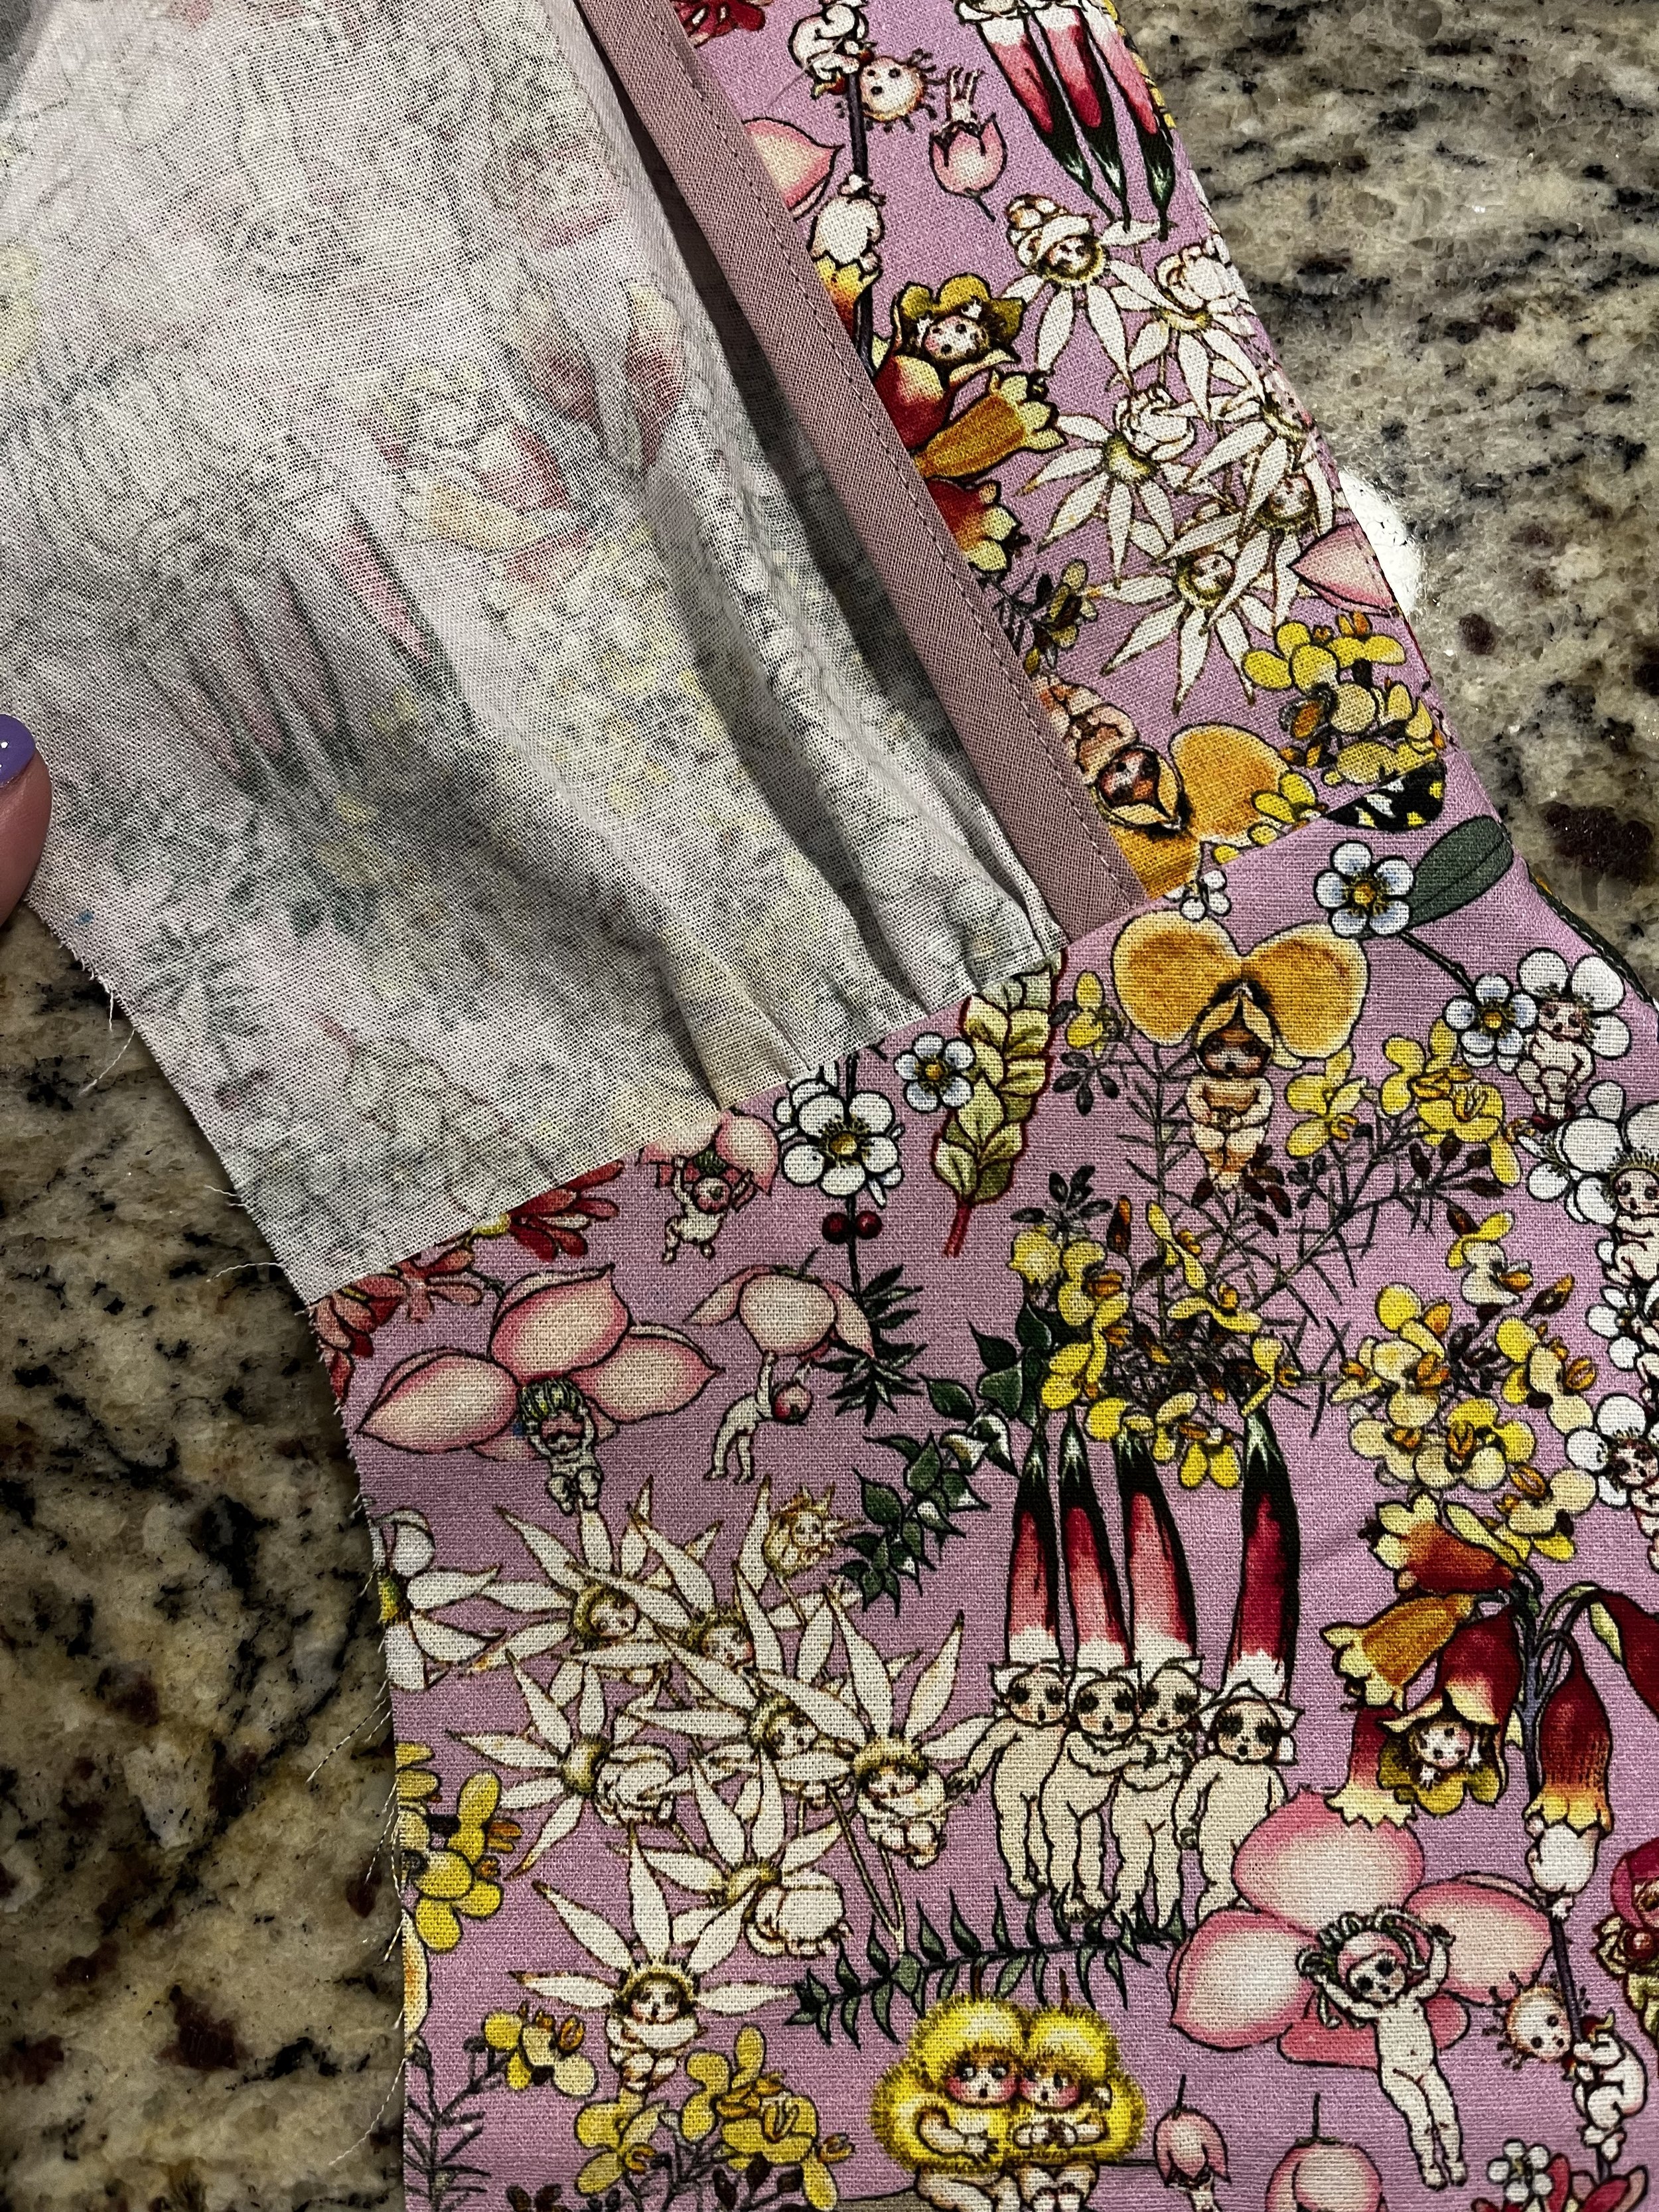
· Added 1 inch extra to the bodice front and front facing for extra coverage.
· Chose a tiered skirt instead of the skirt included in the pattern. My pattern piece was 19"x9.5". I cut two pieces for the first tier, three for the second, and four for the last tier.
· Shortened the pocket piece to fit the first tier without any issues.
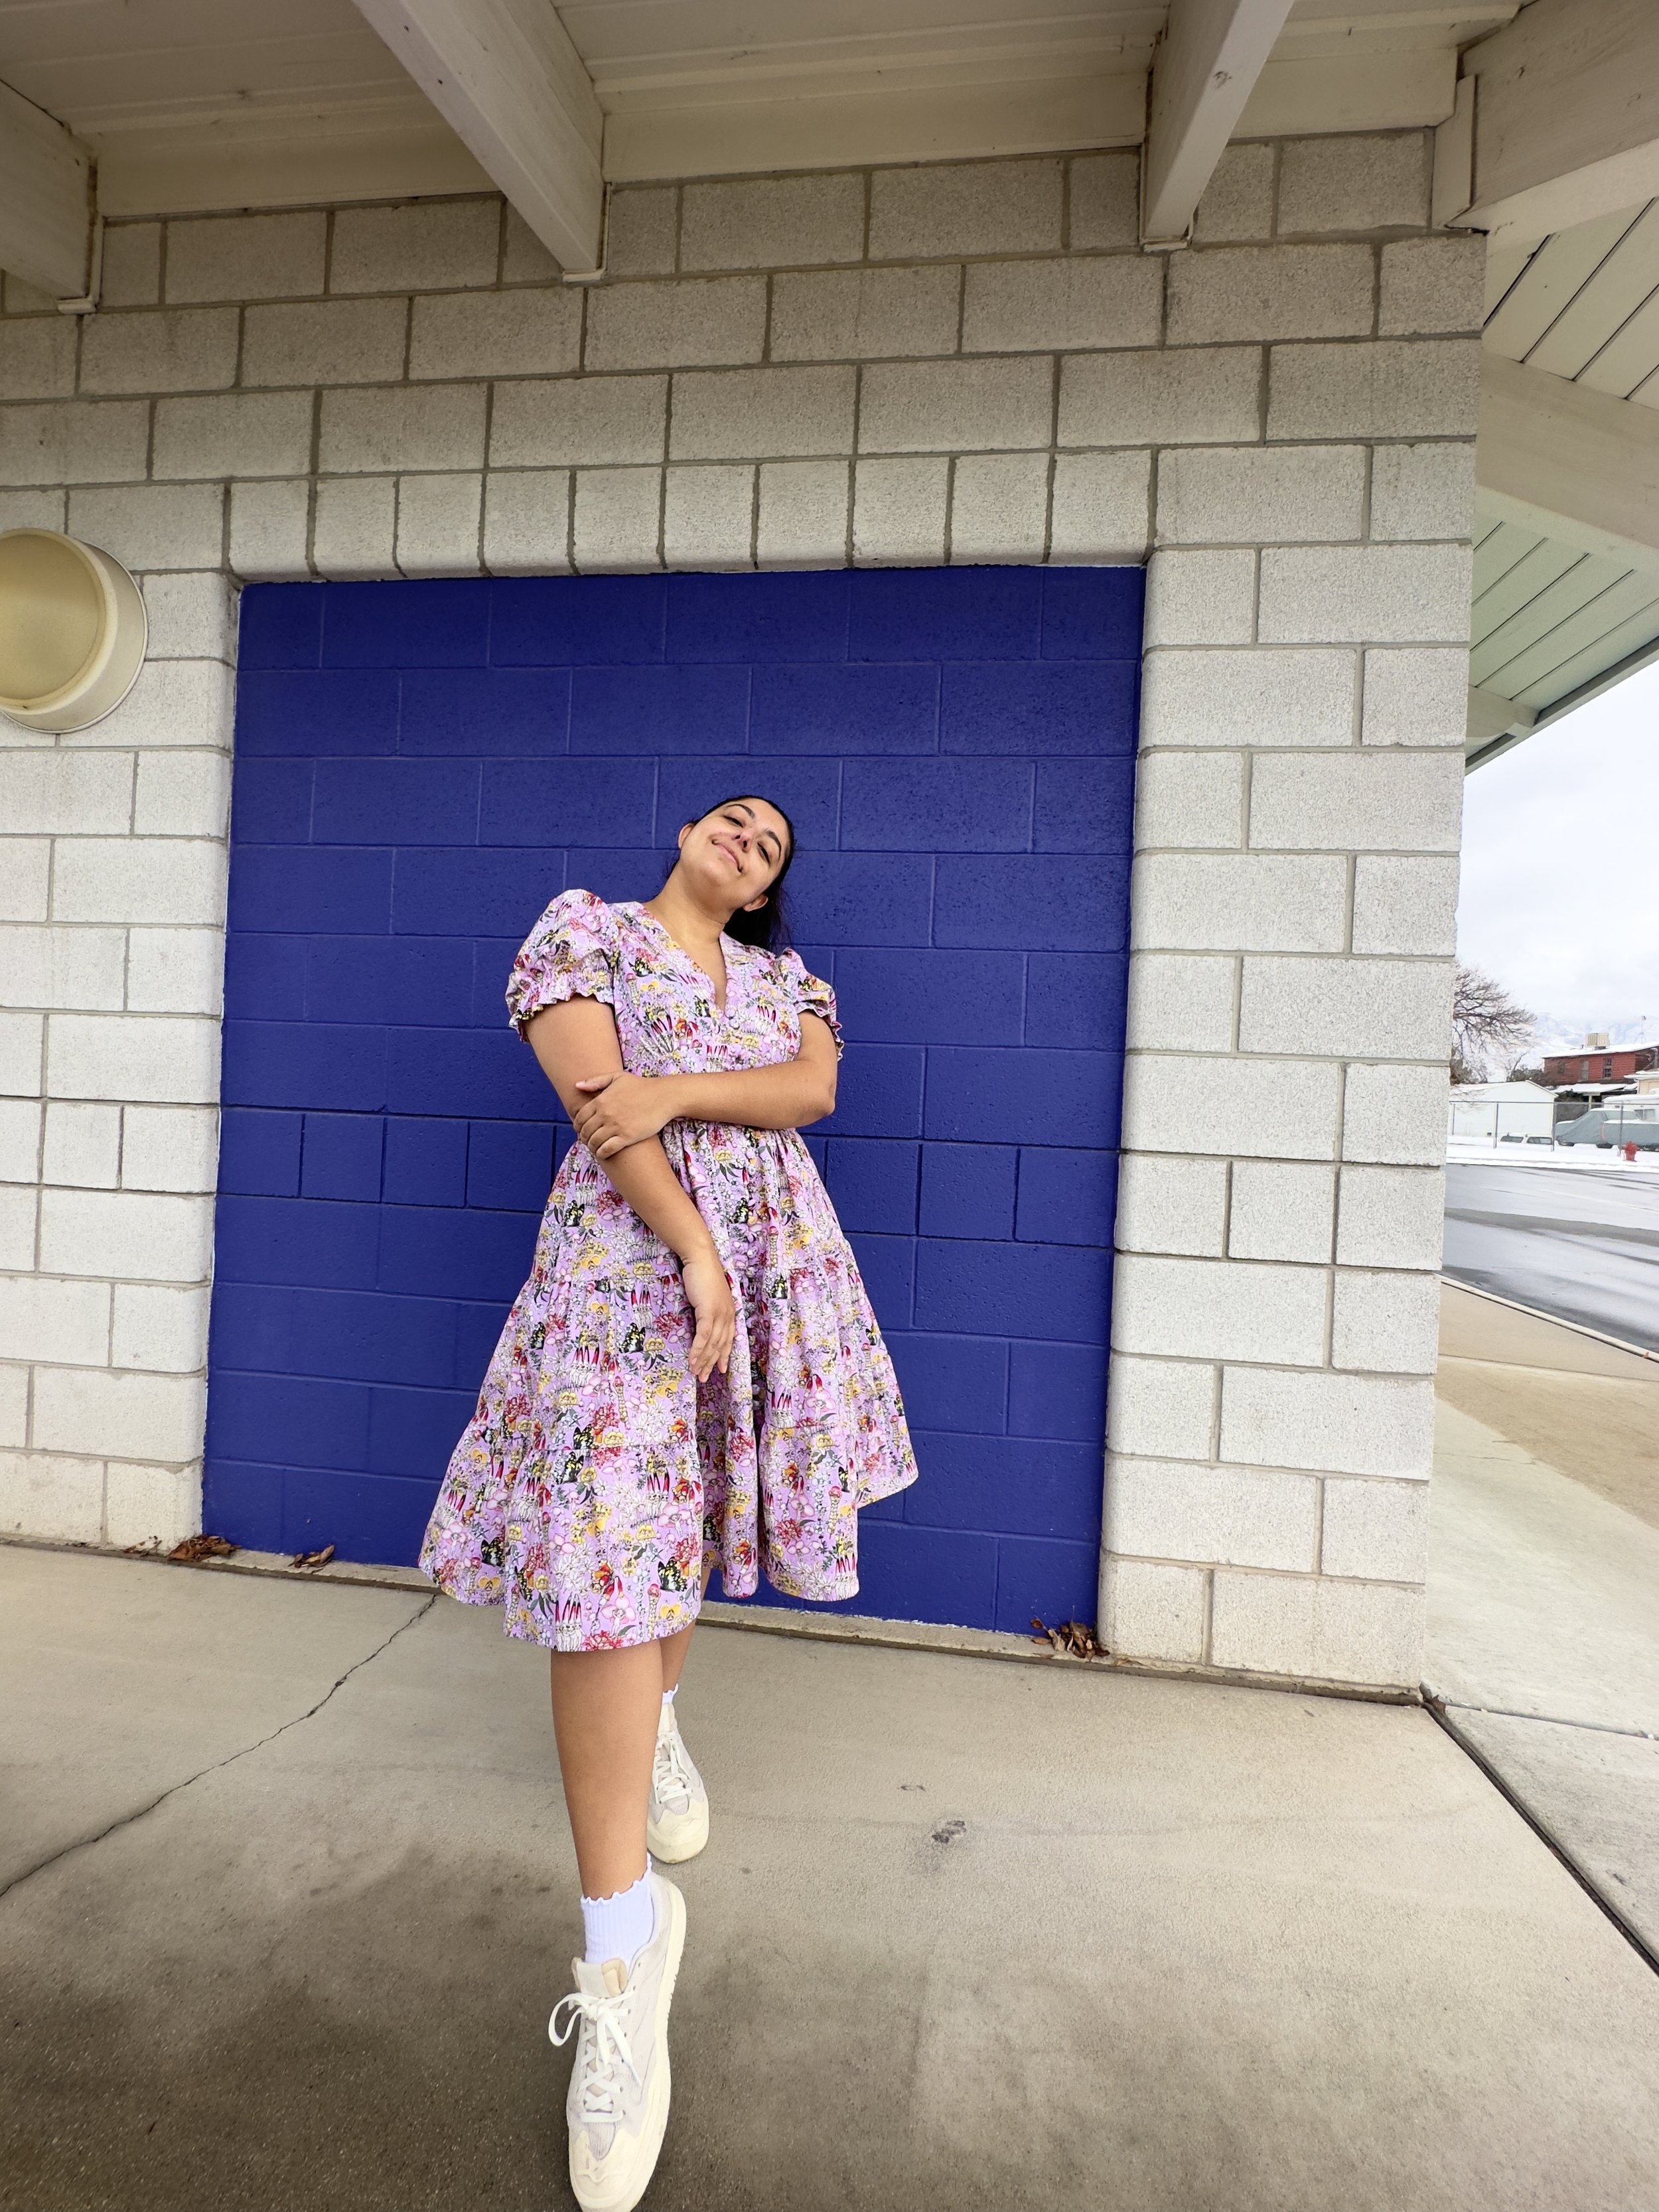
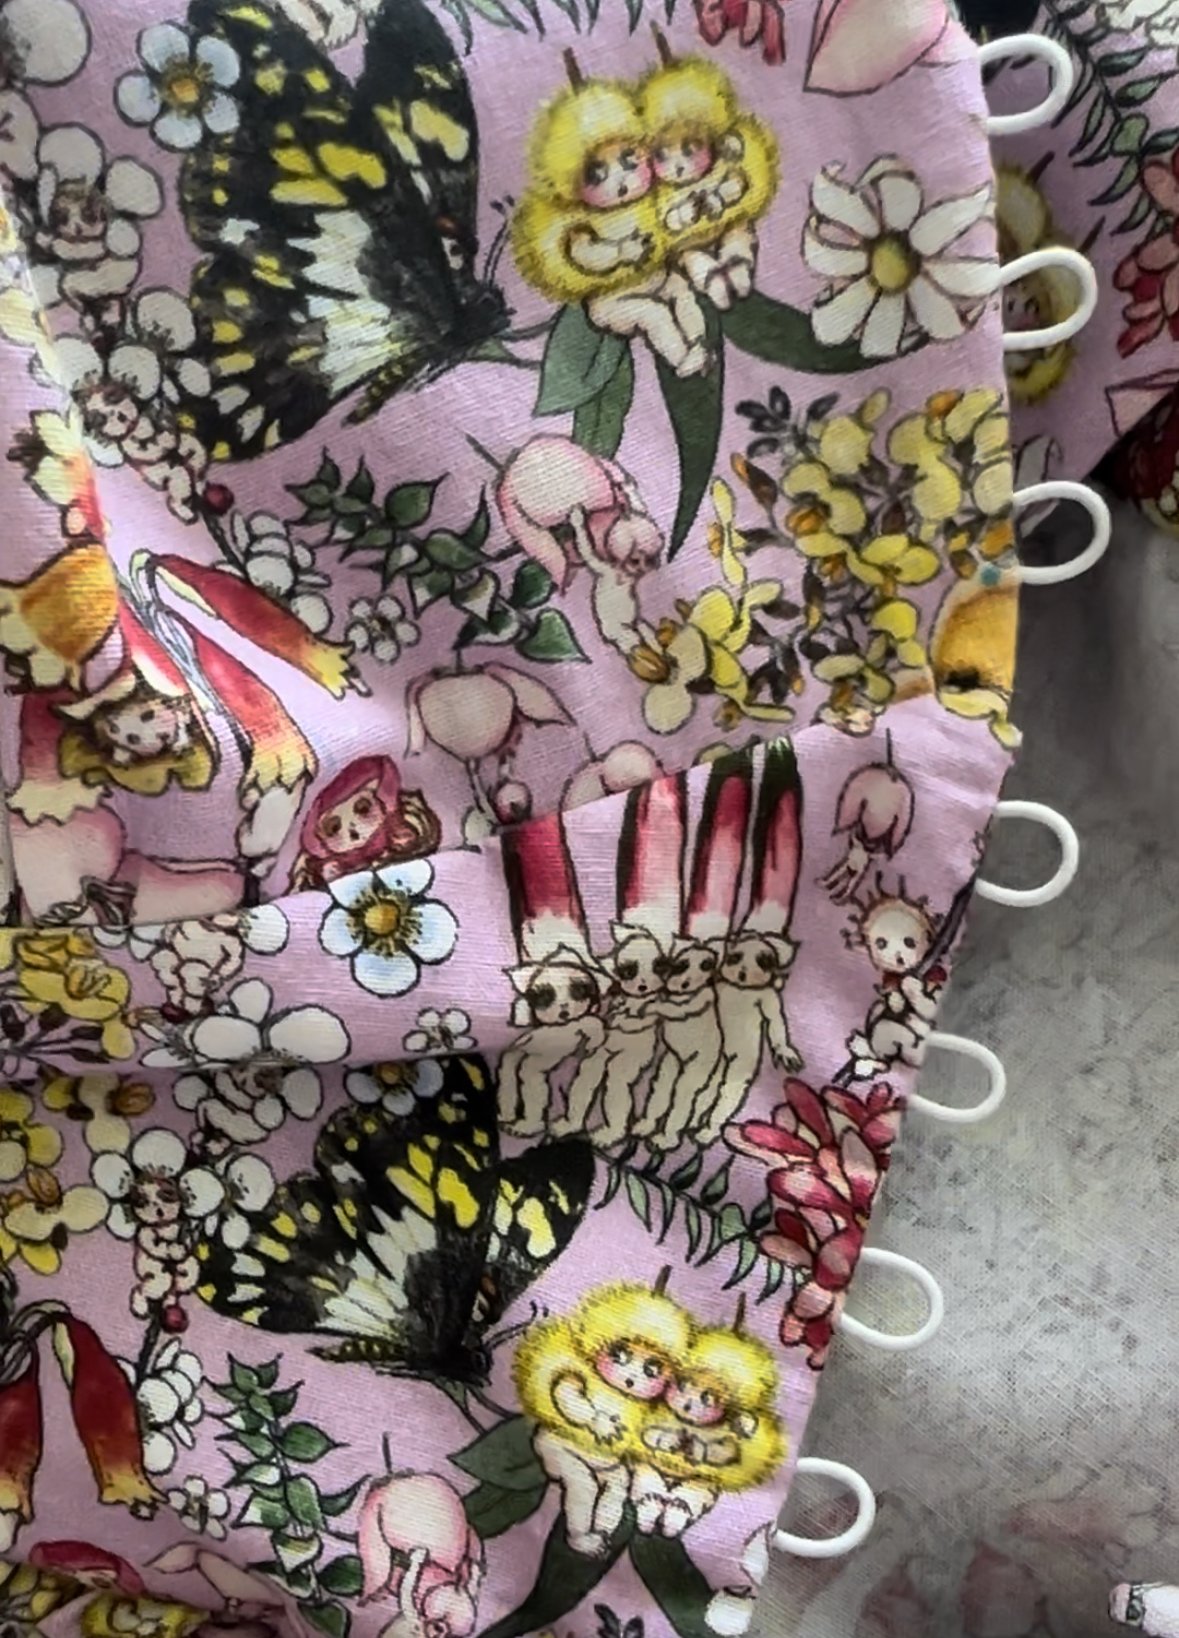
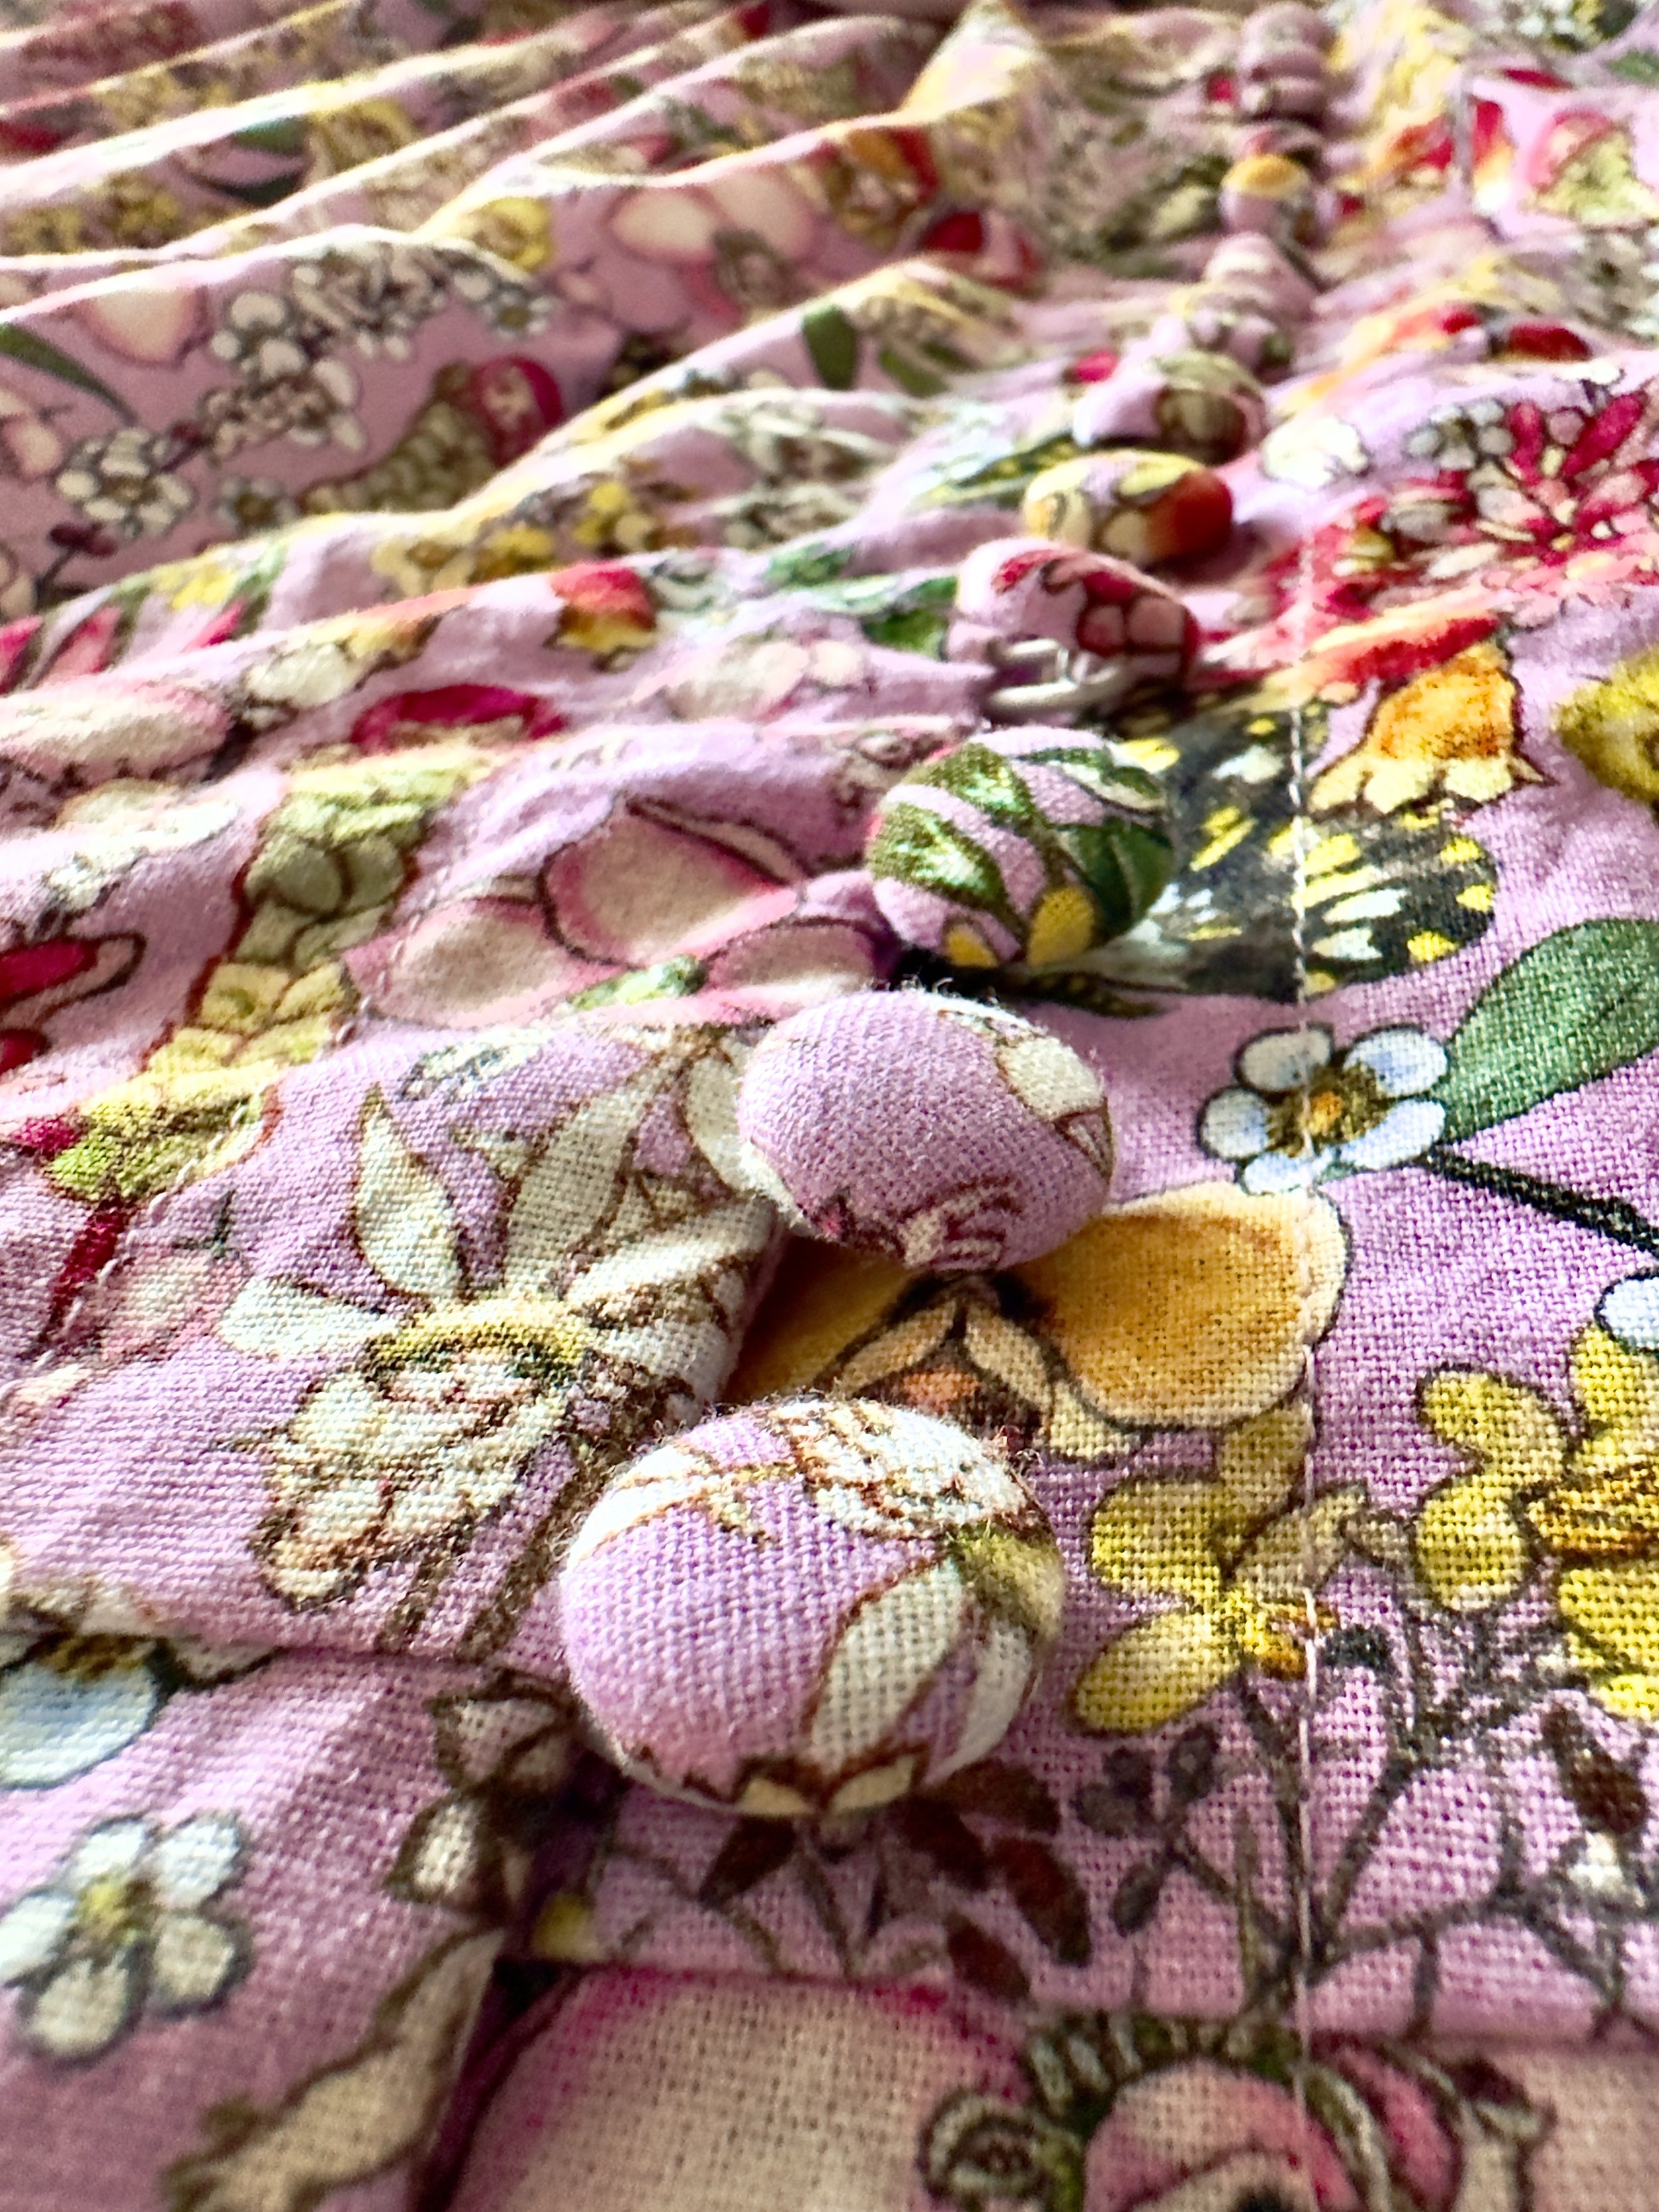
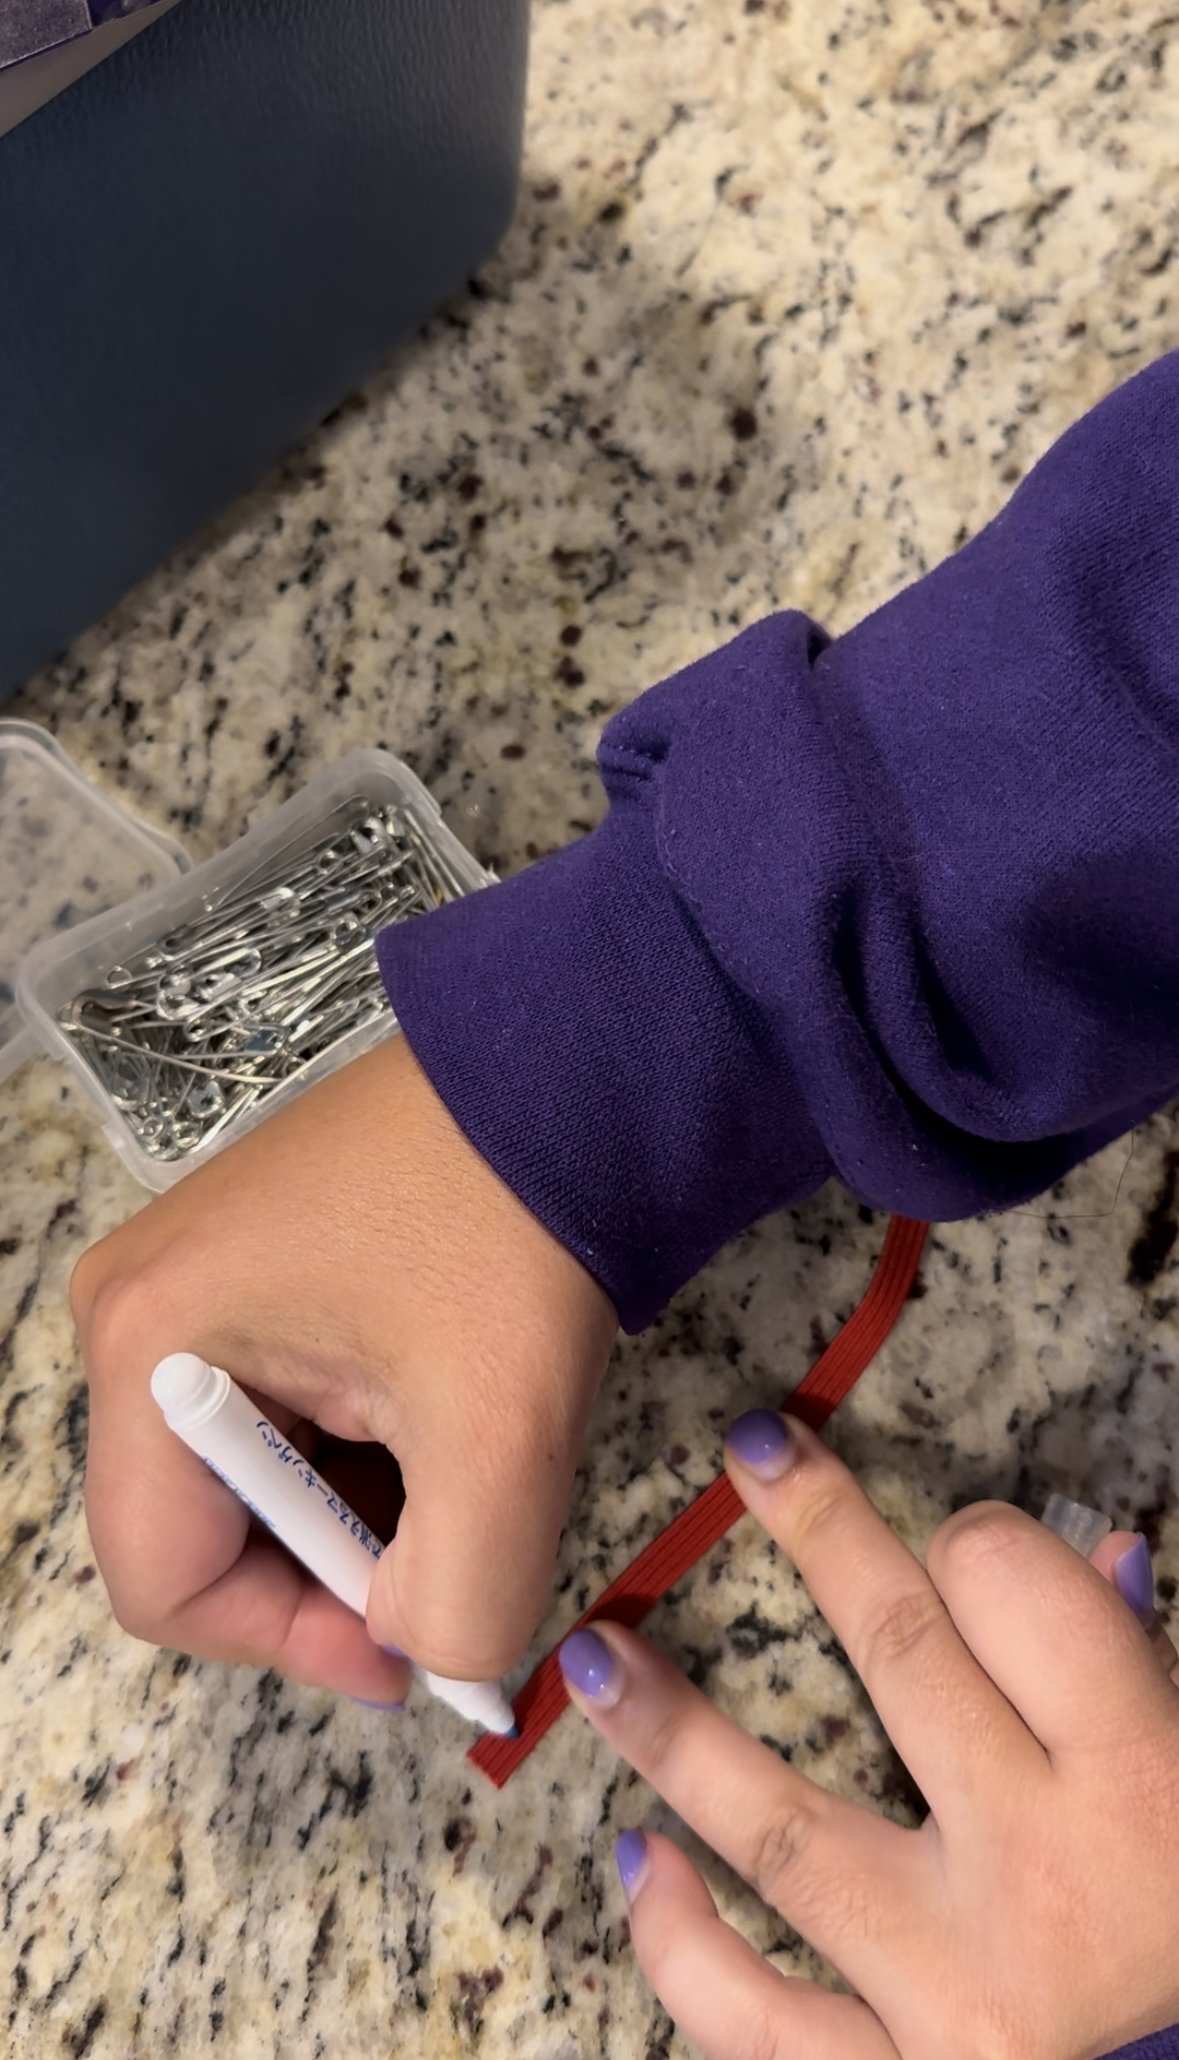
· Used elastic button loop trim for my closure and matched it with fabric-covered buttons I made. (Don't be like me and try to be fancy by adding it between the fabric pieces. I'll elaborate on this later).
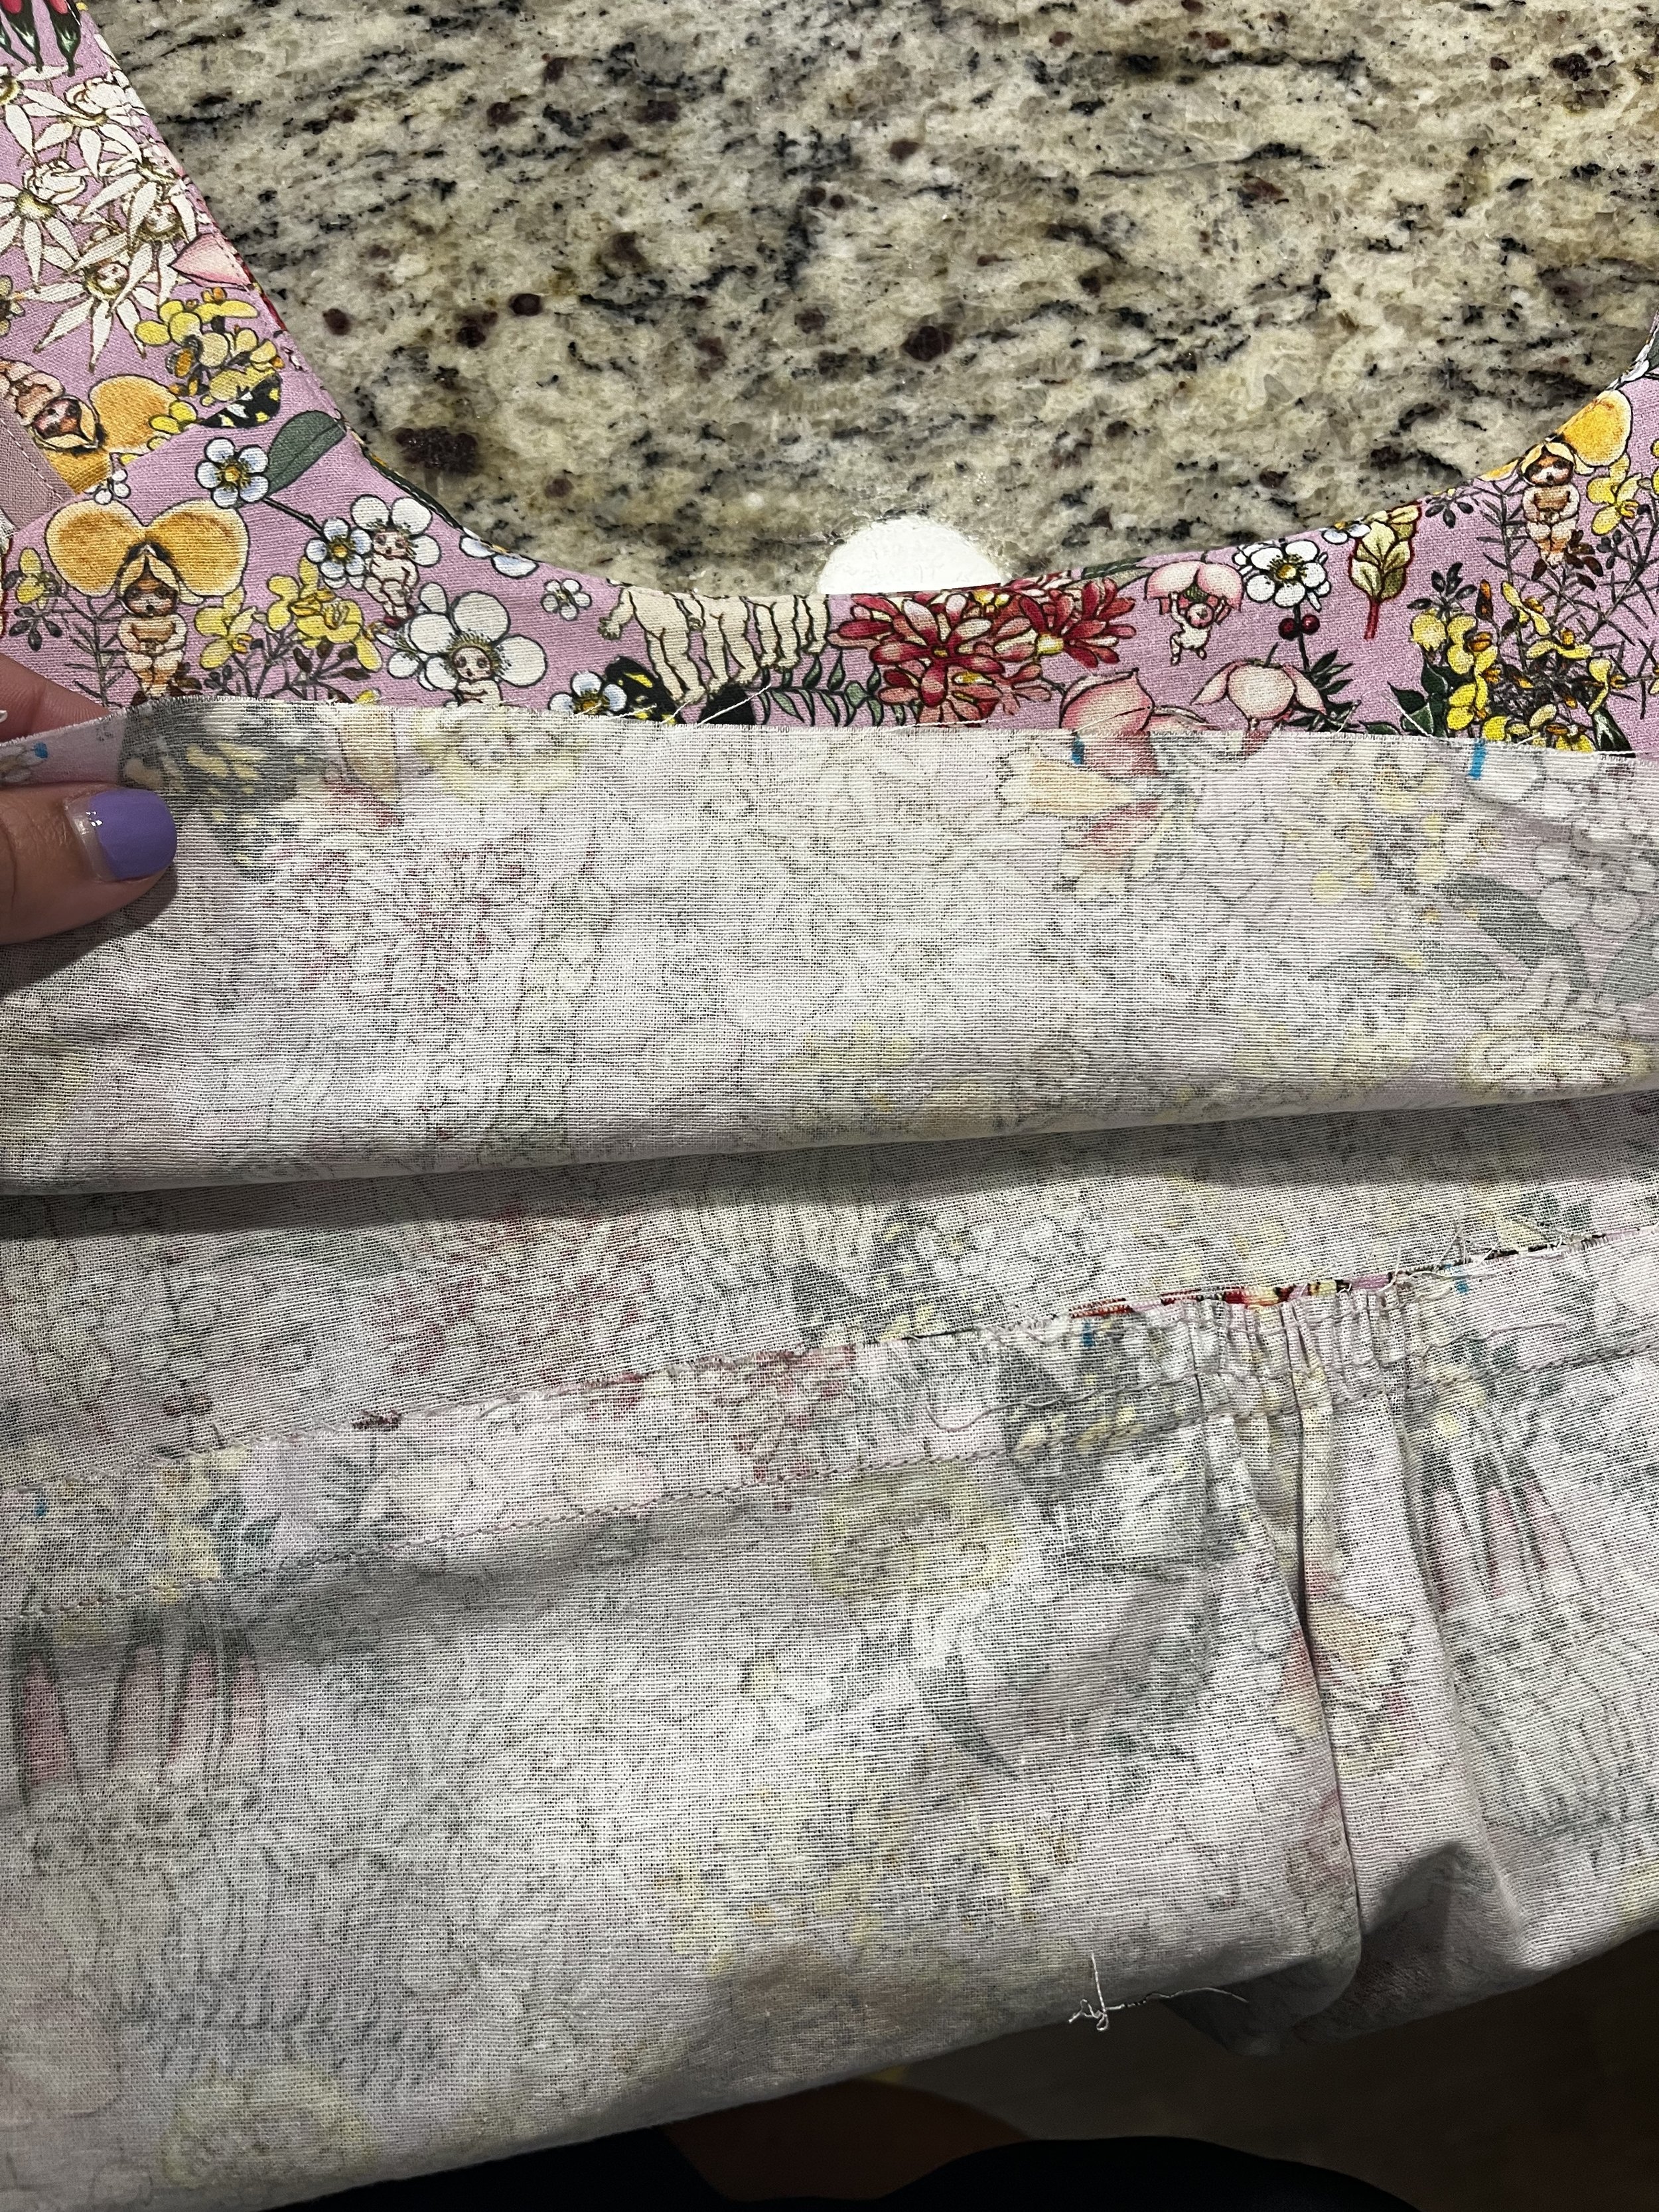
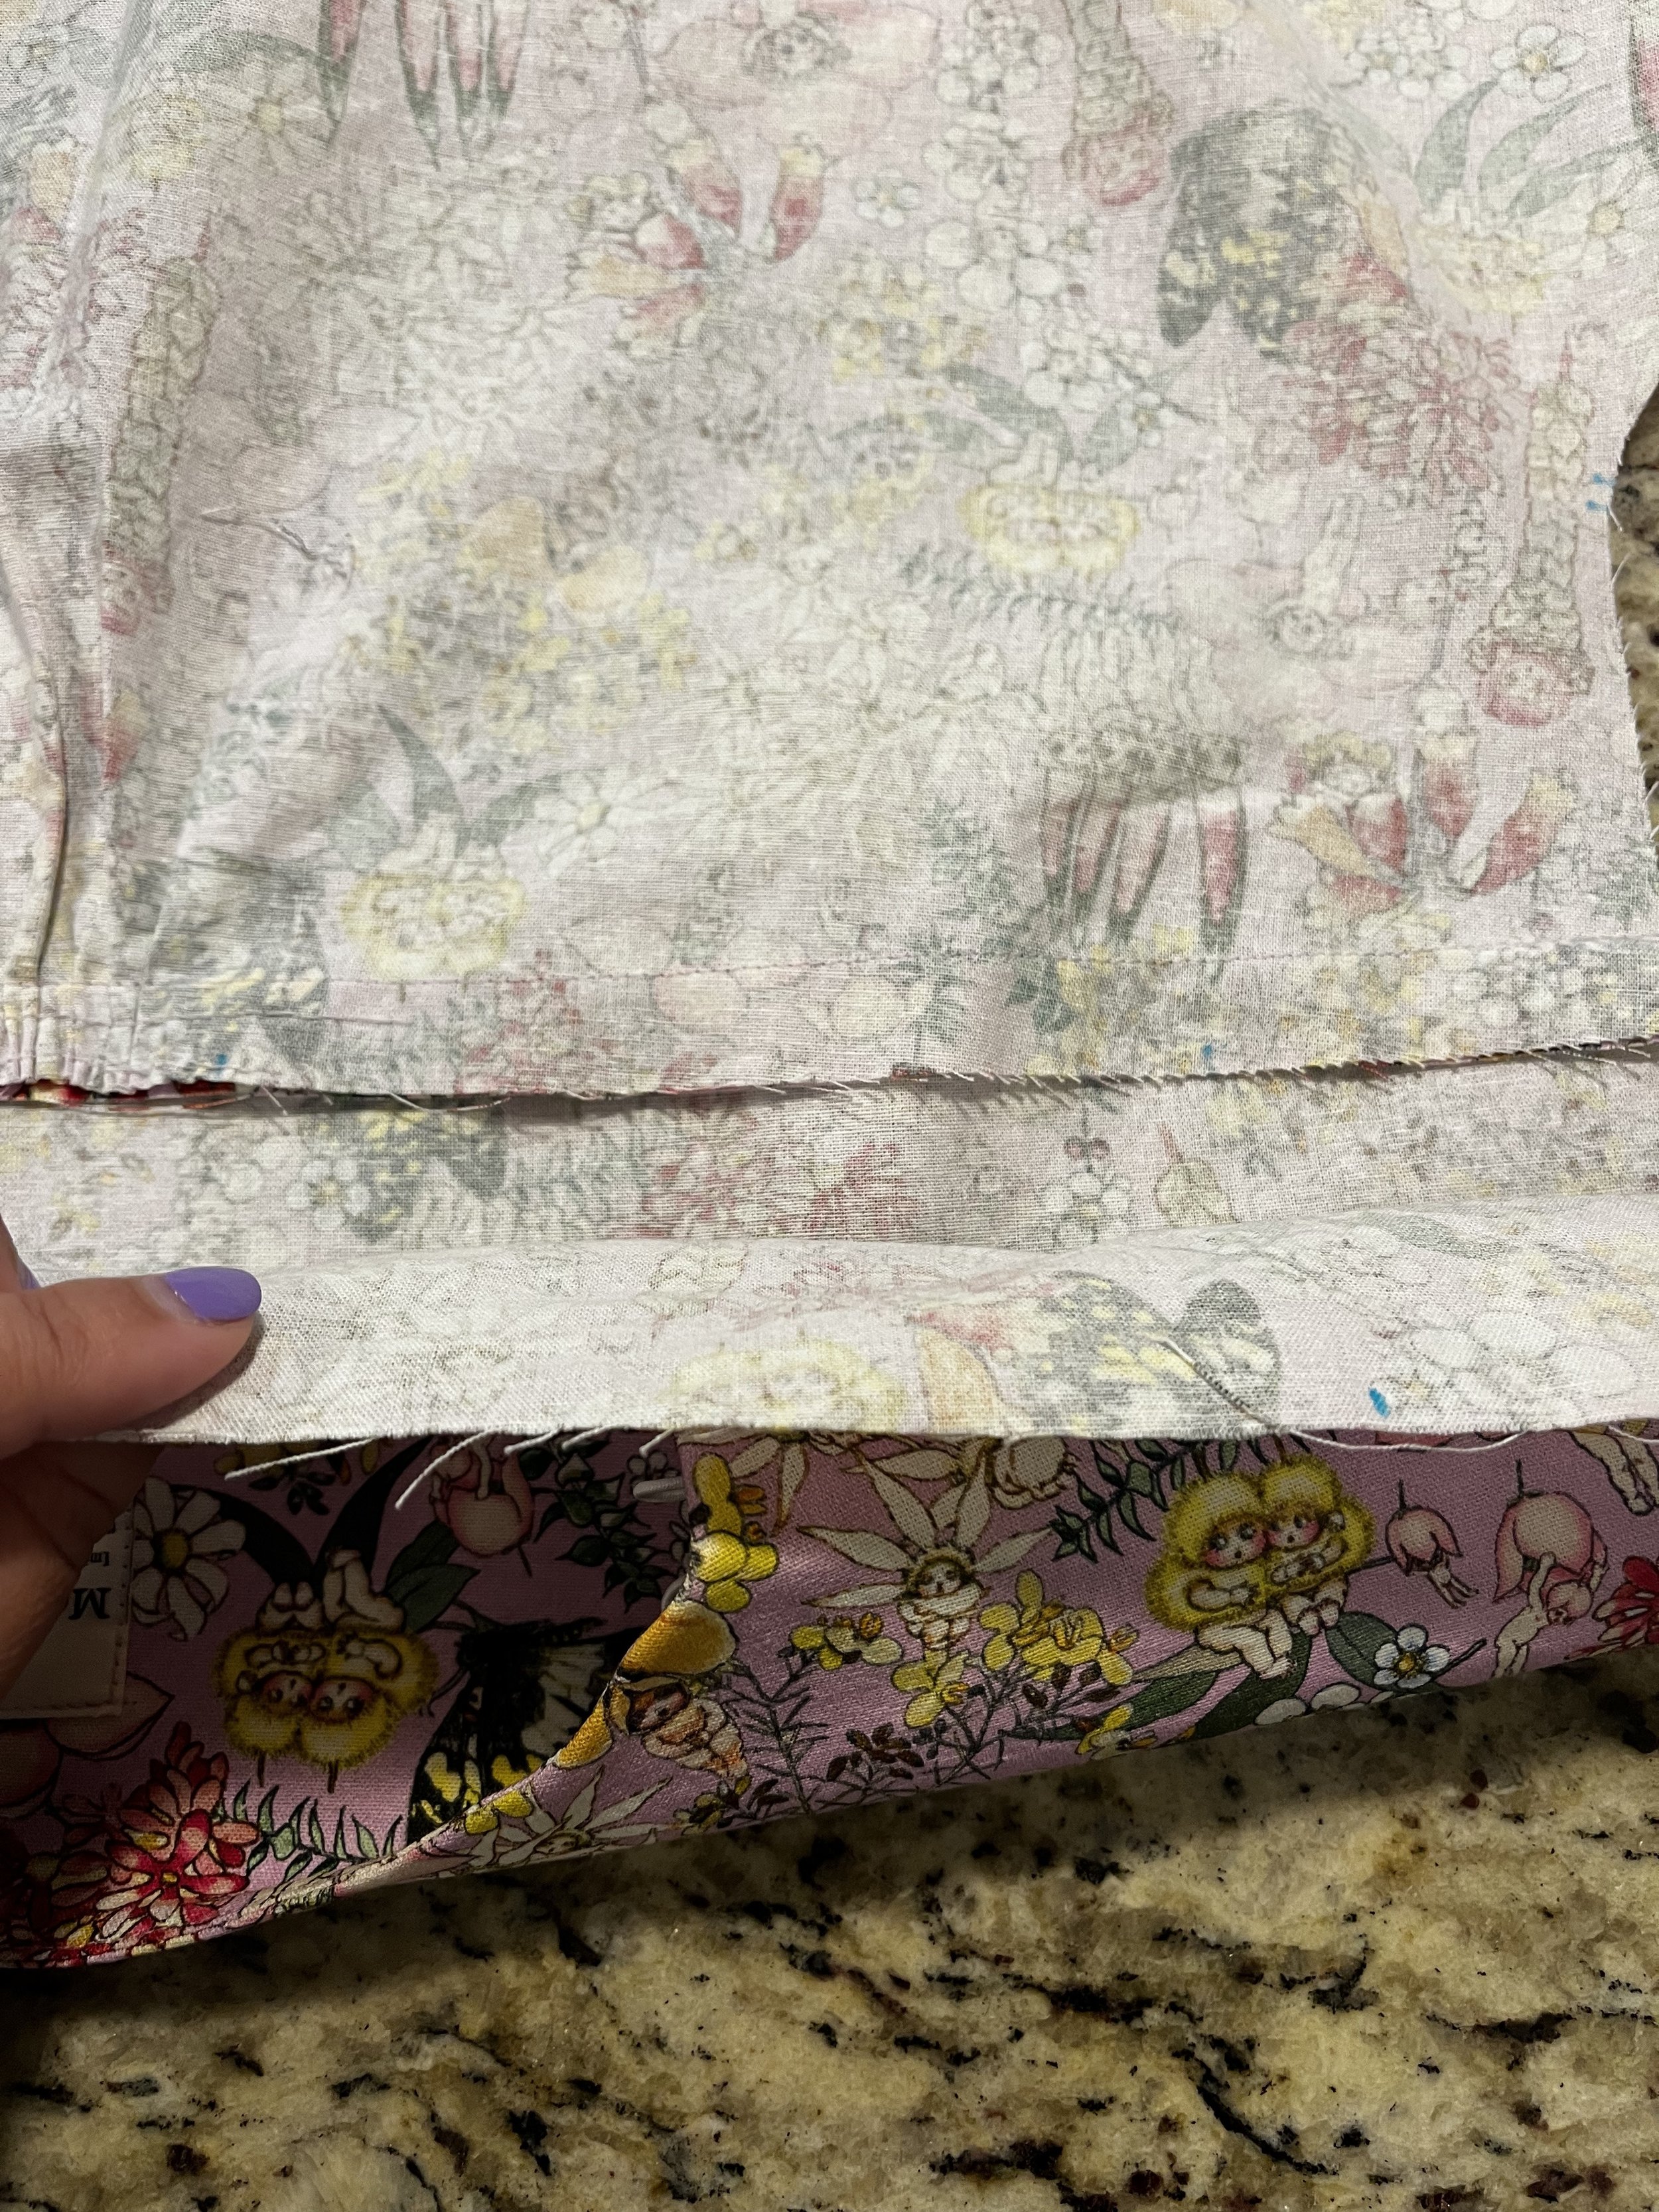
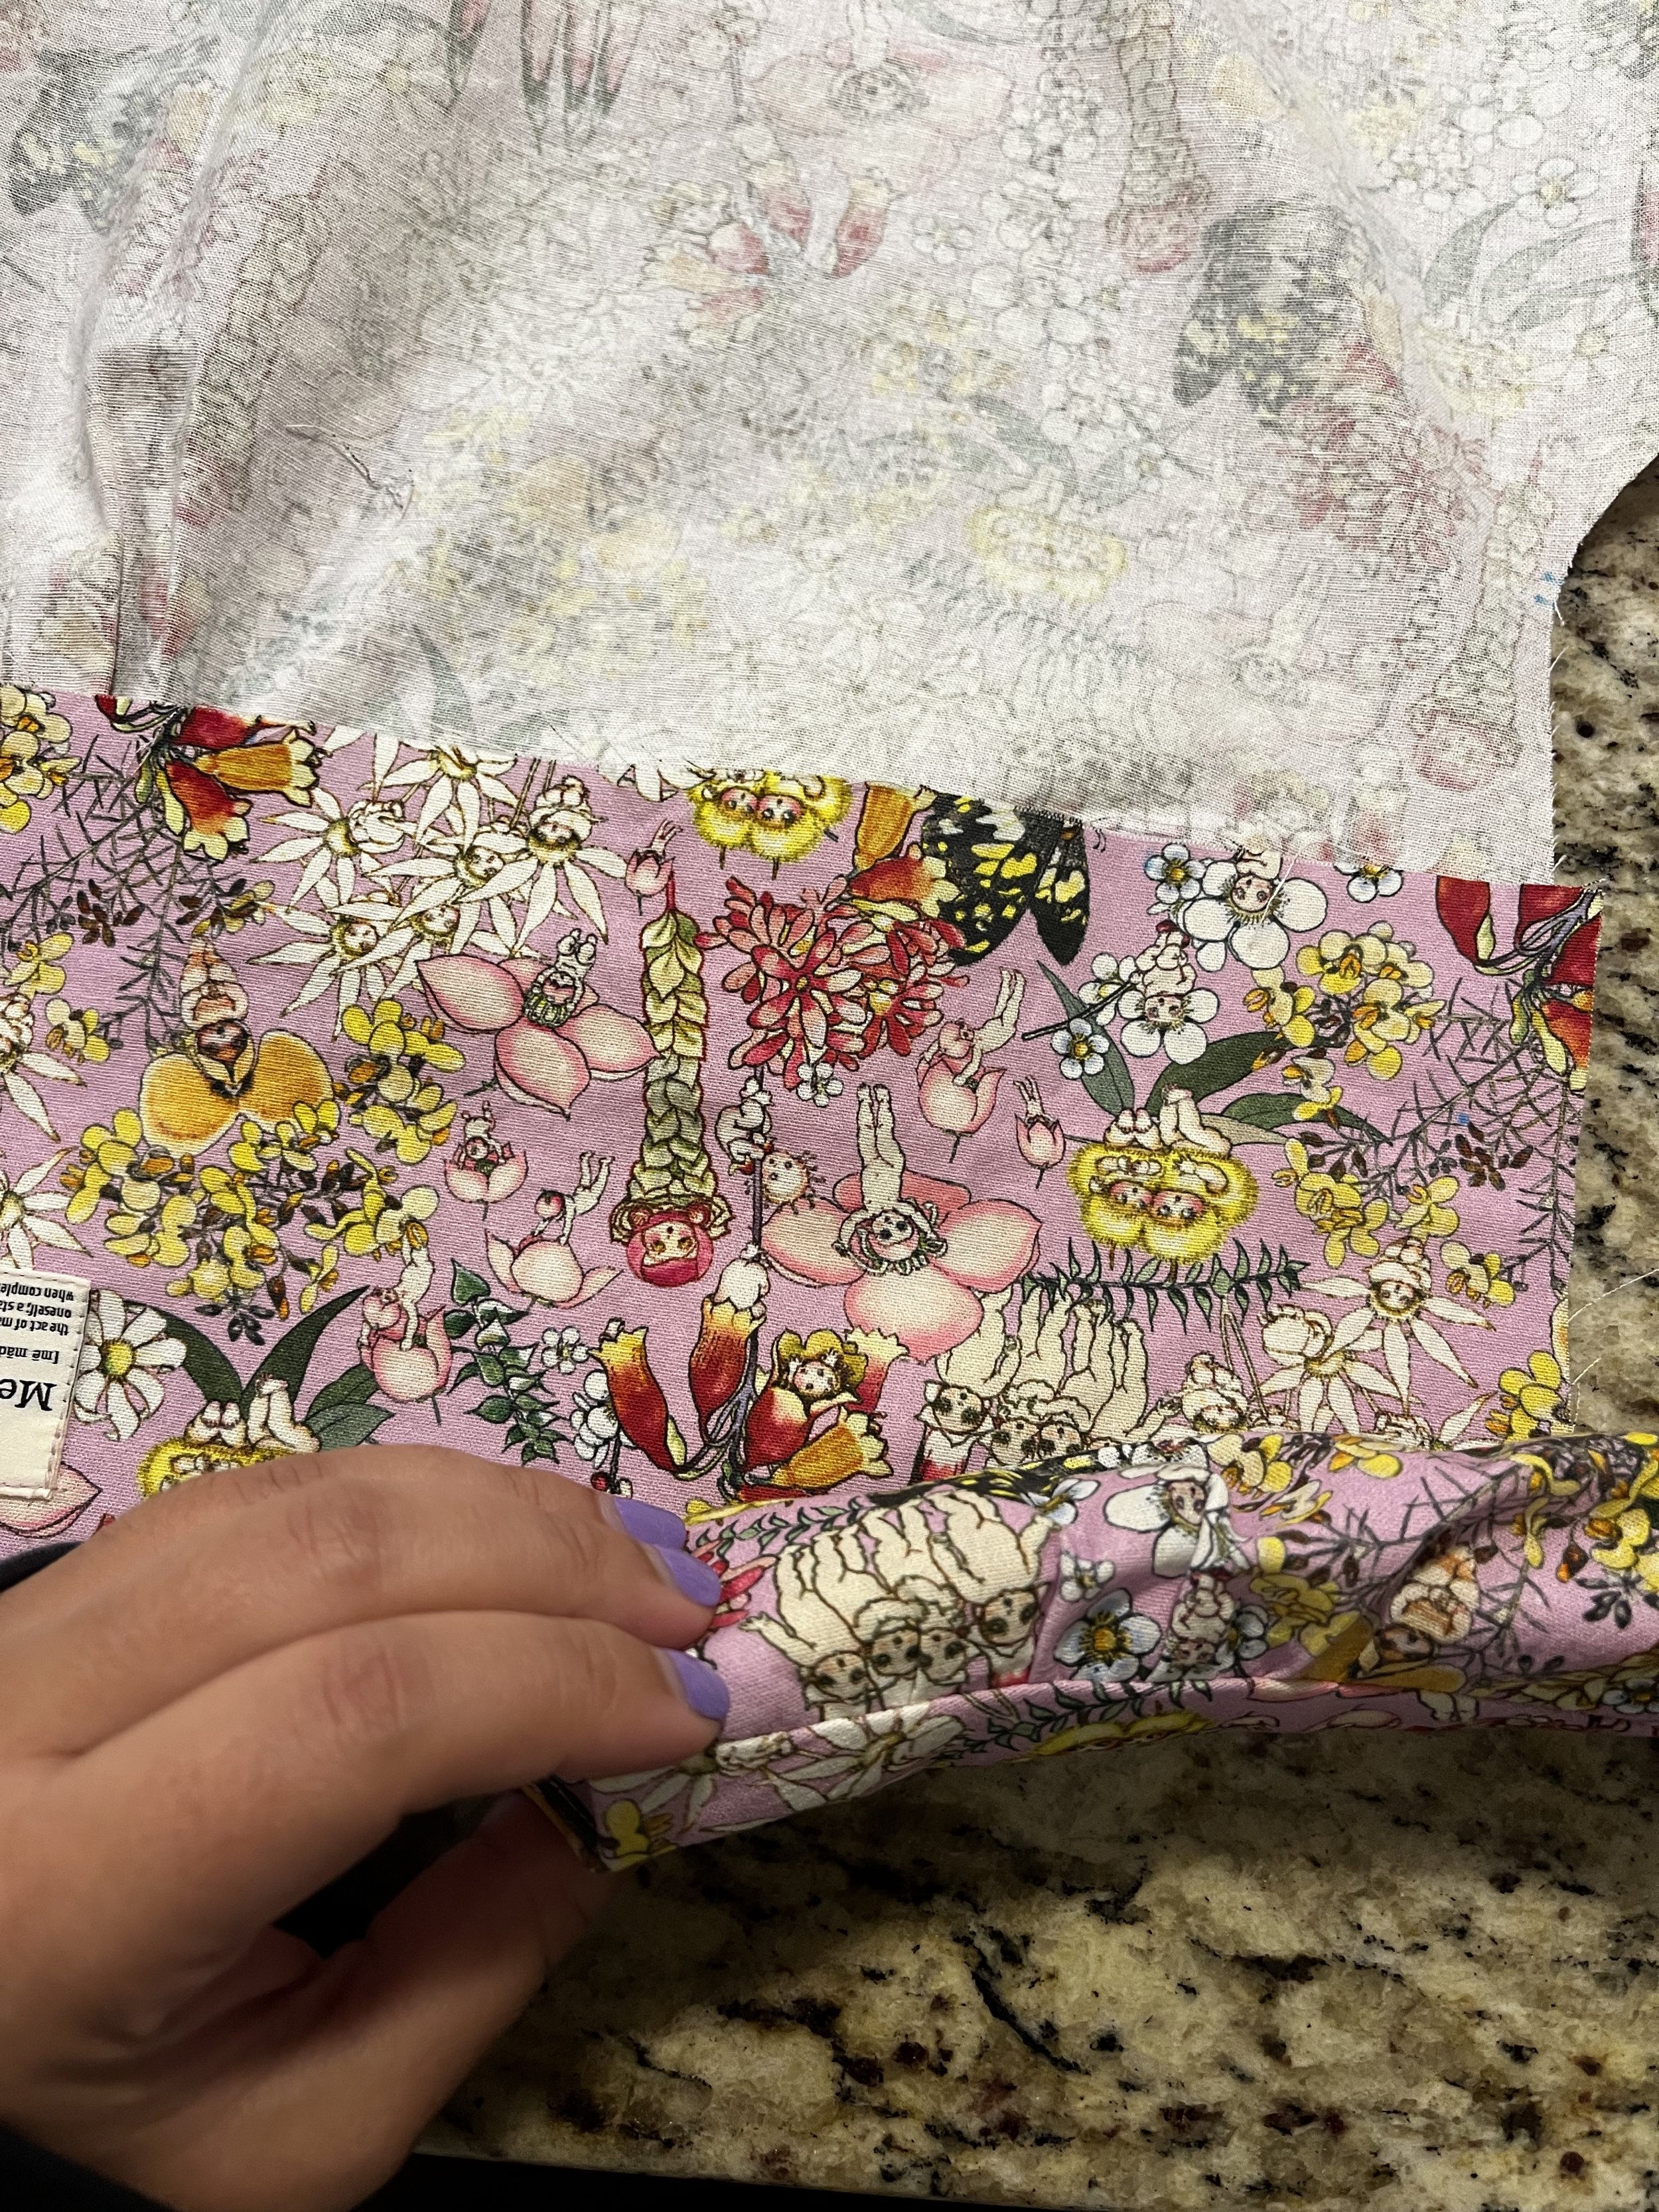
· For the hem, I ironed the raw edge to the wrong side by 1/4 inch, then again by 3/8 inch and stitched.
For more details, I wrote a step-by-step guide for Spotlight and you can find it here.

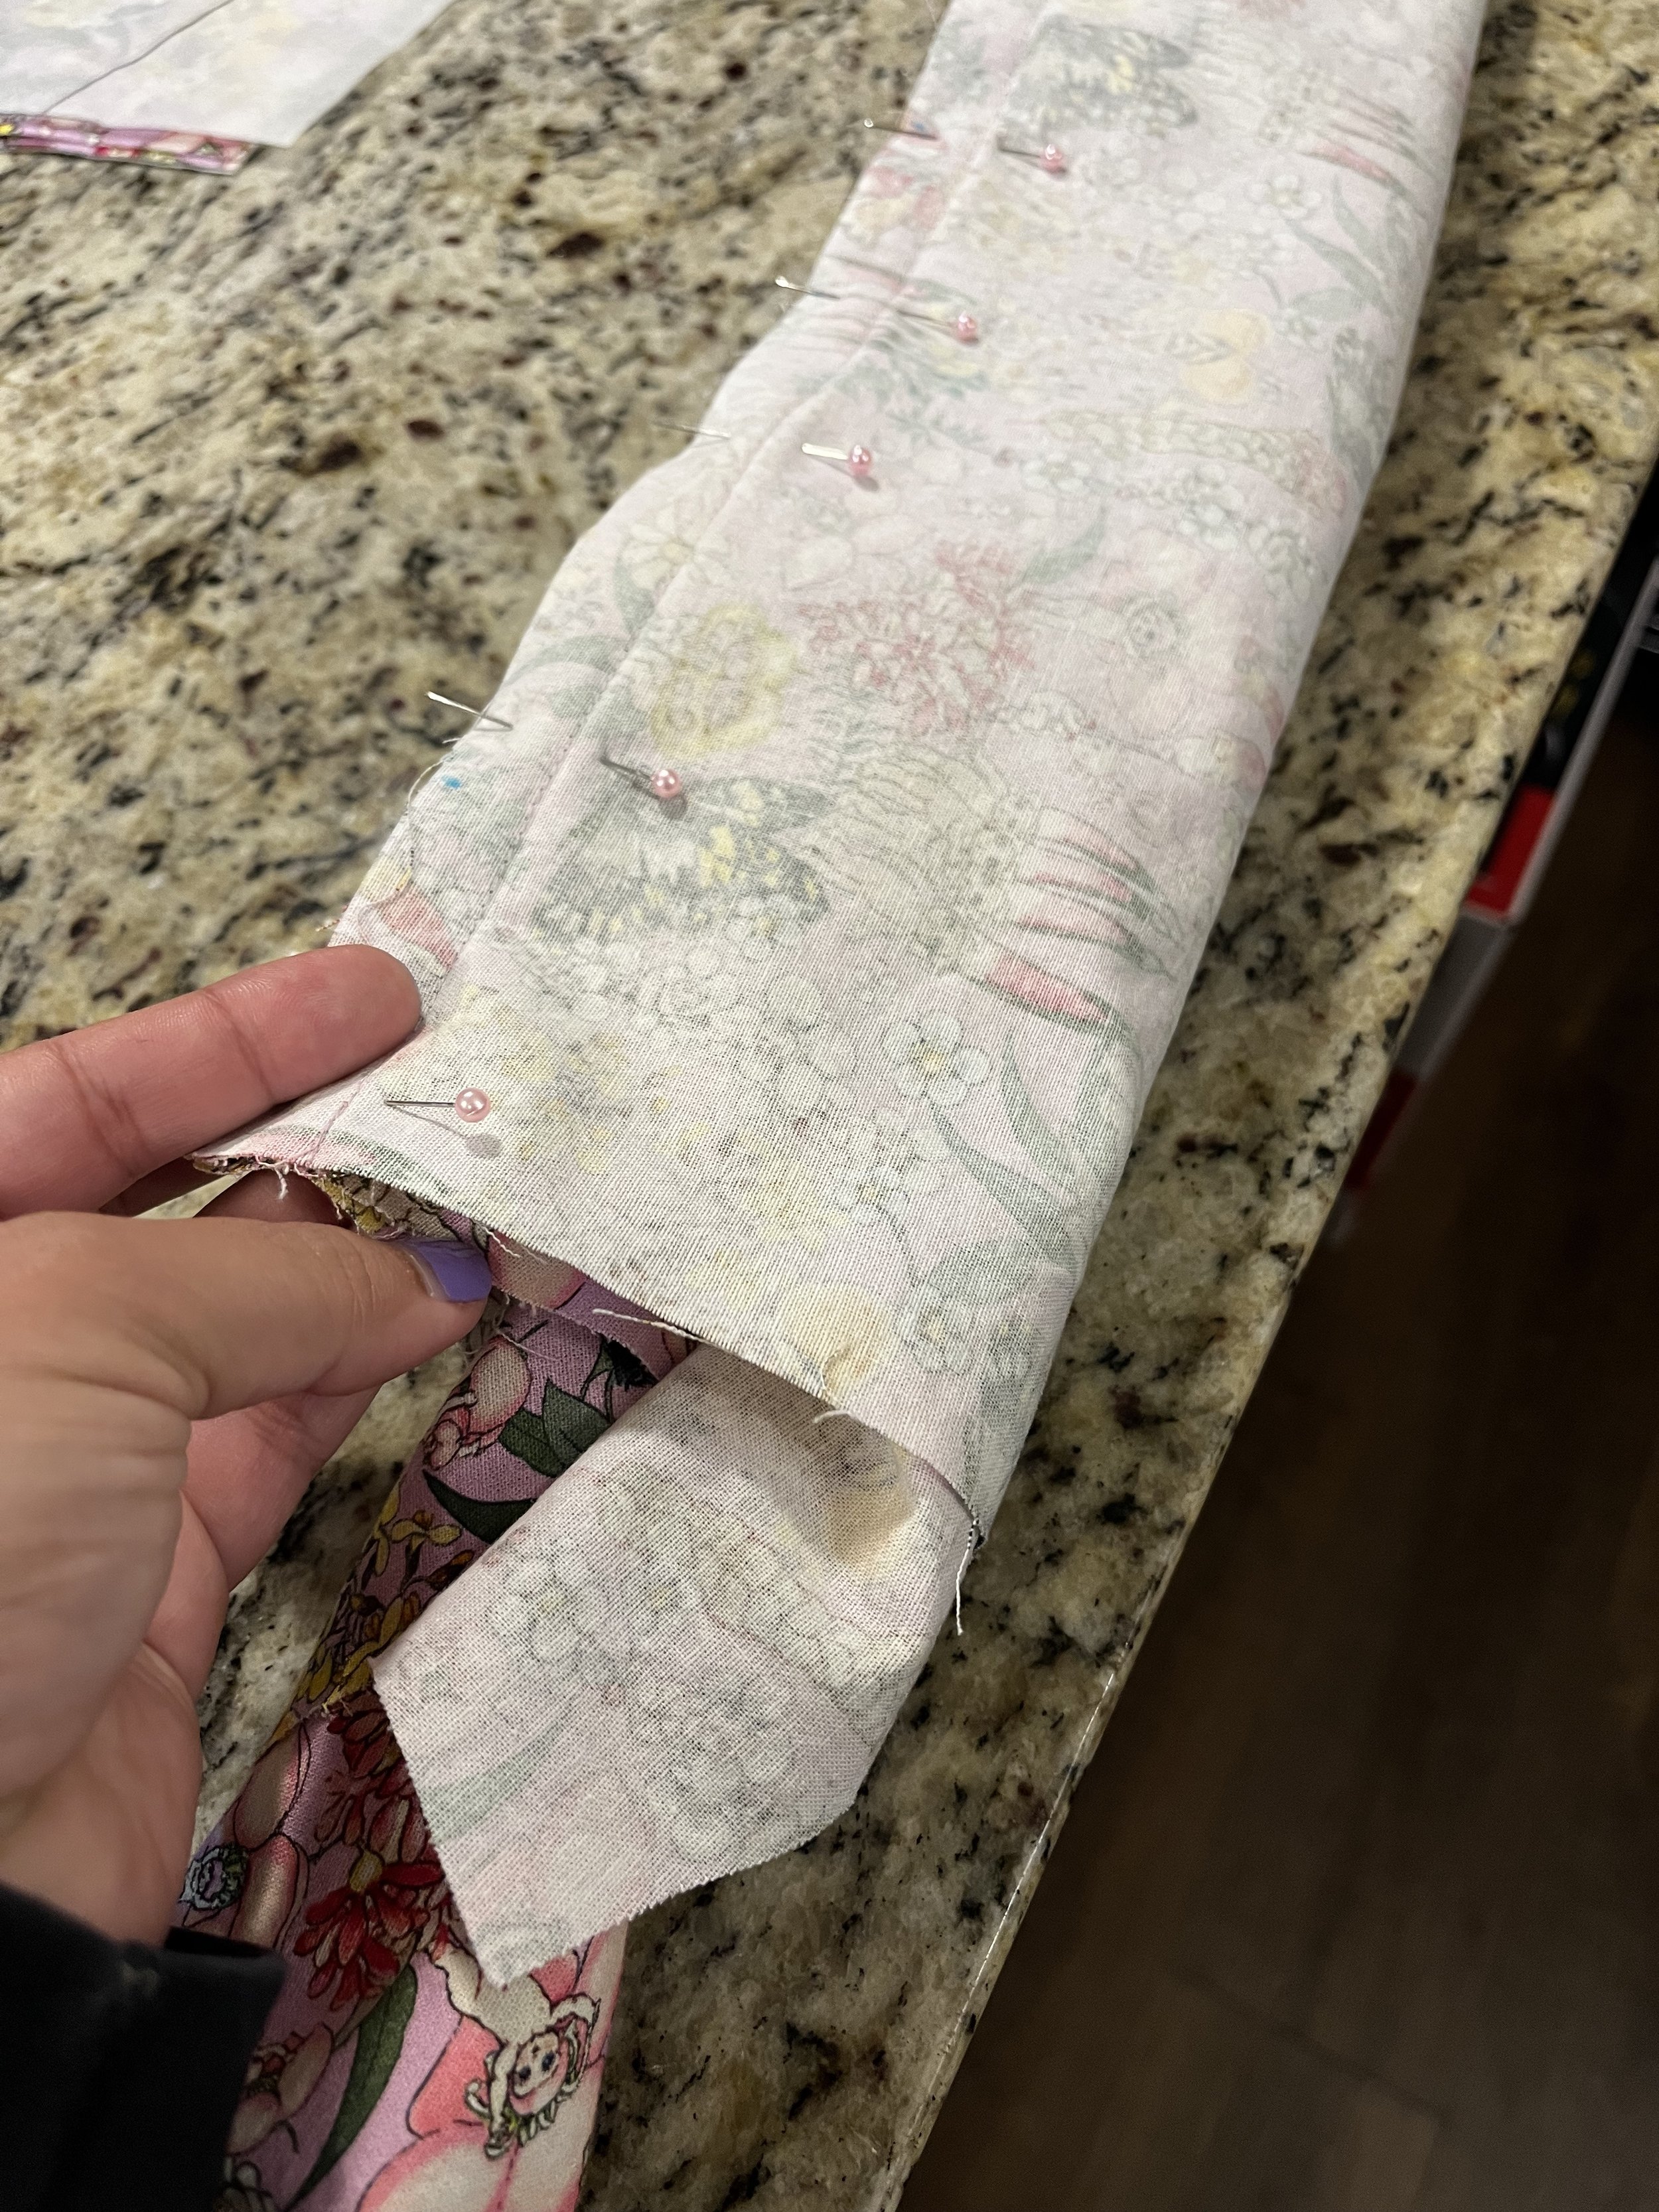
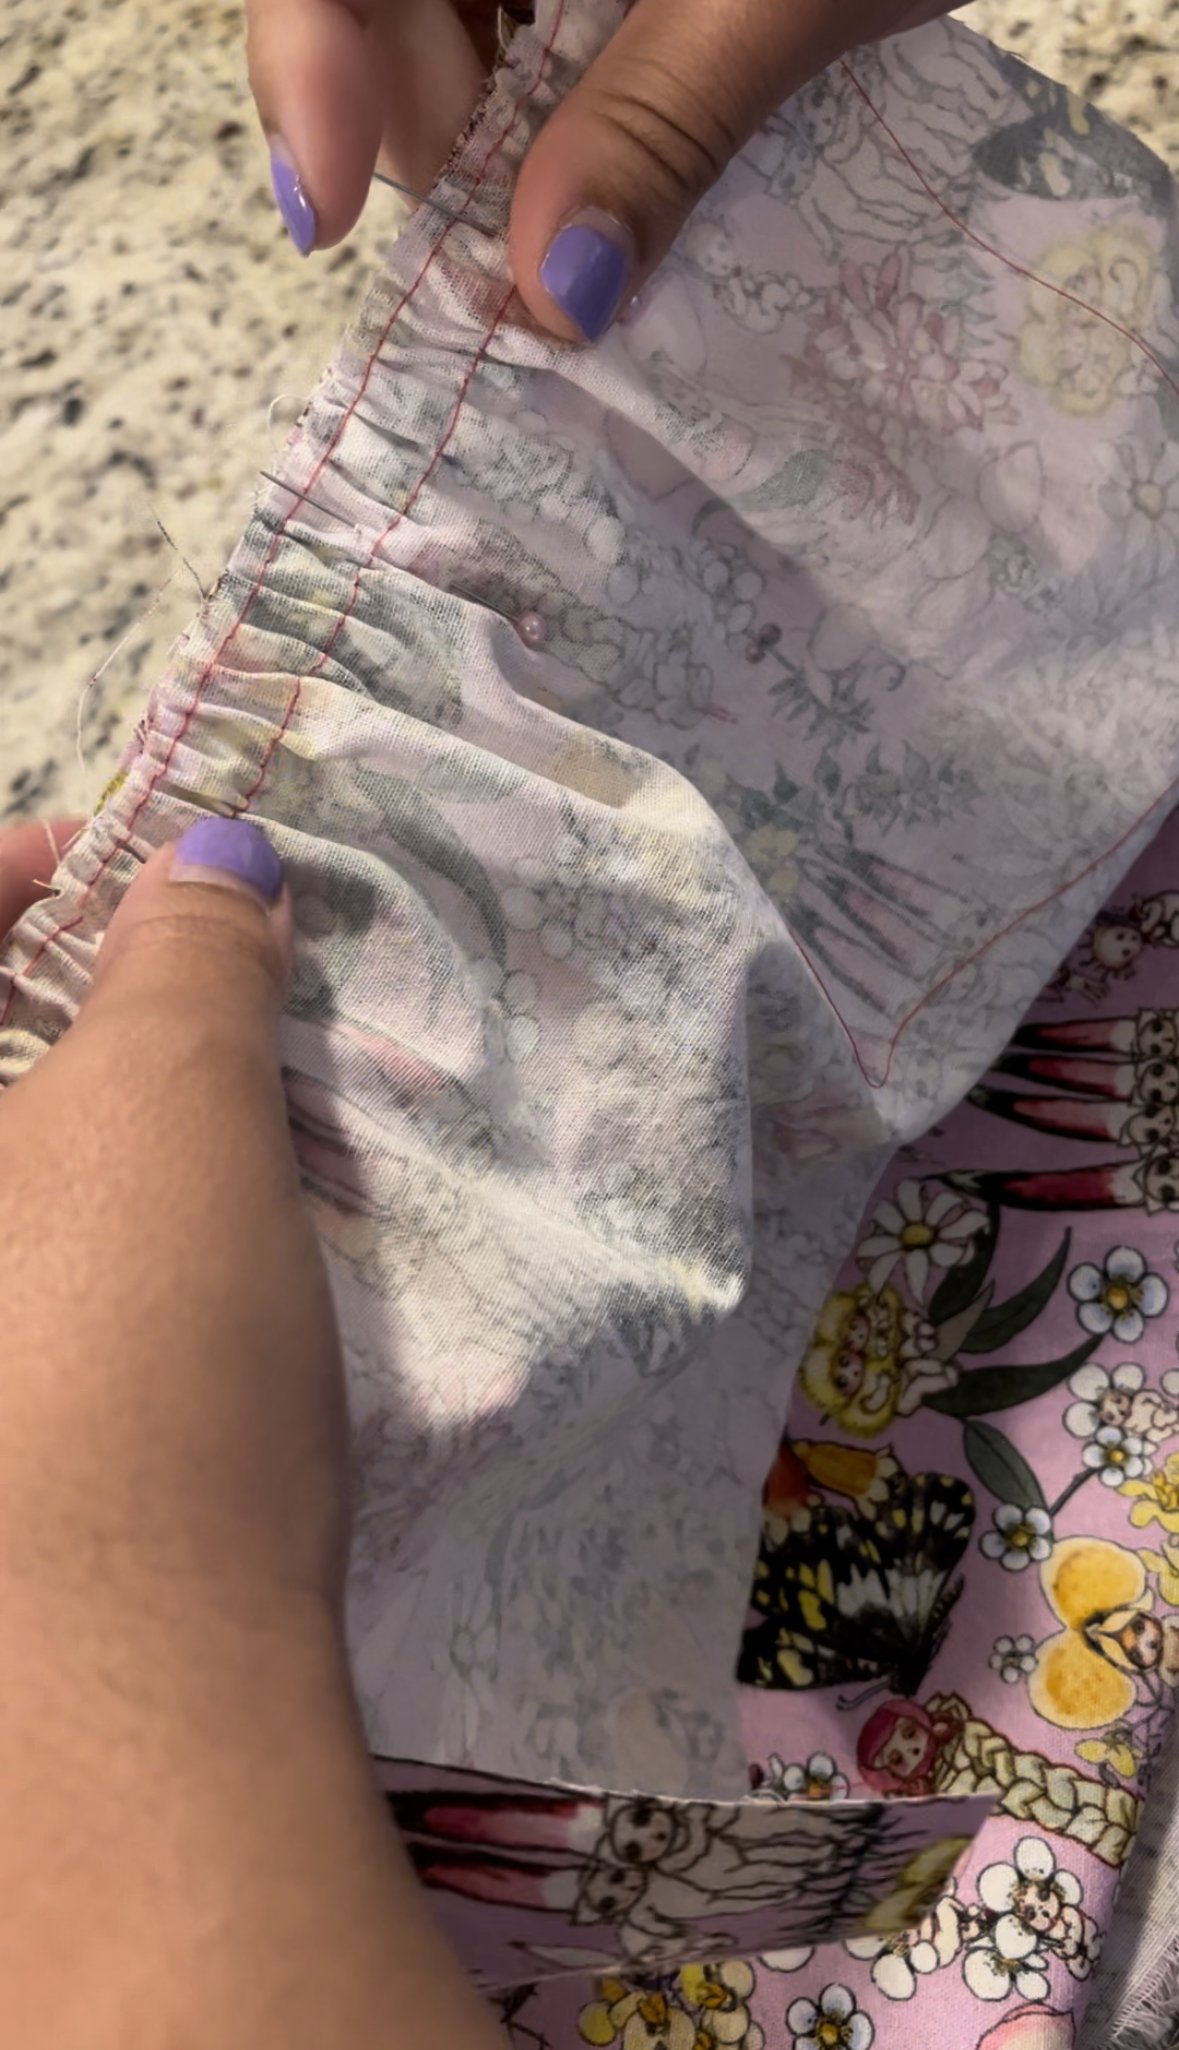
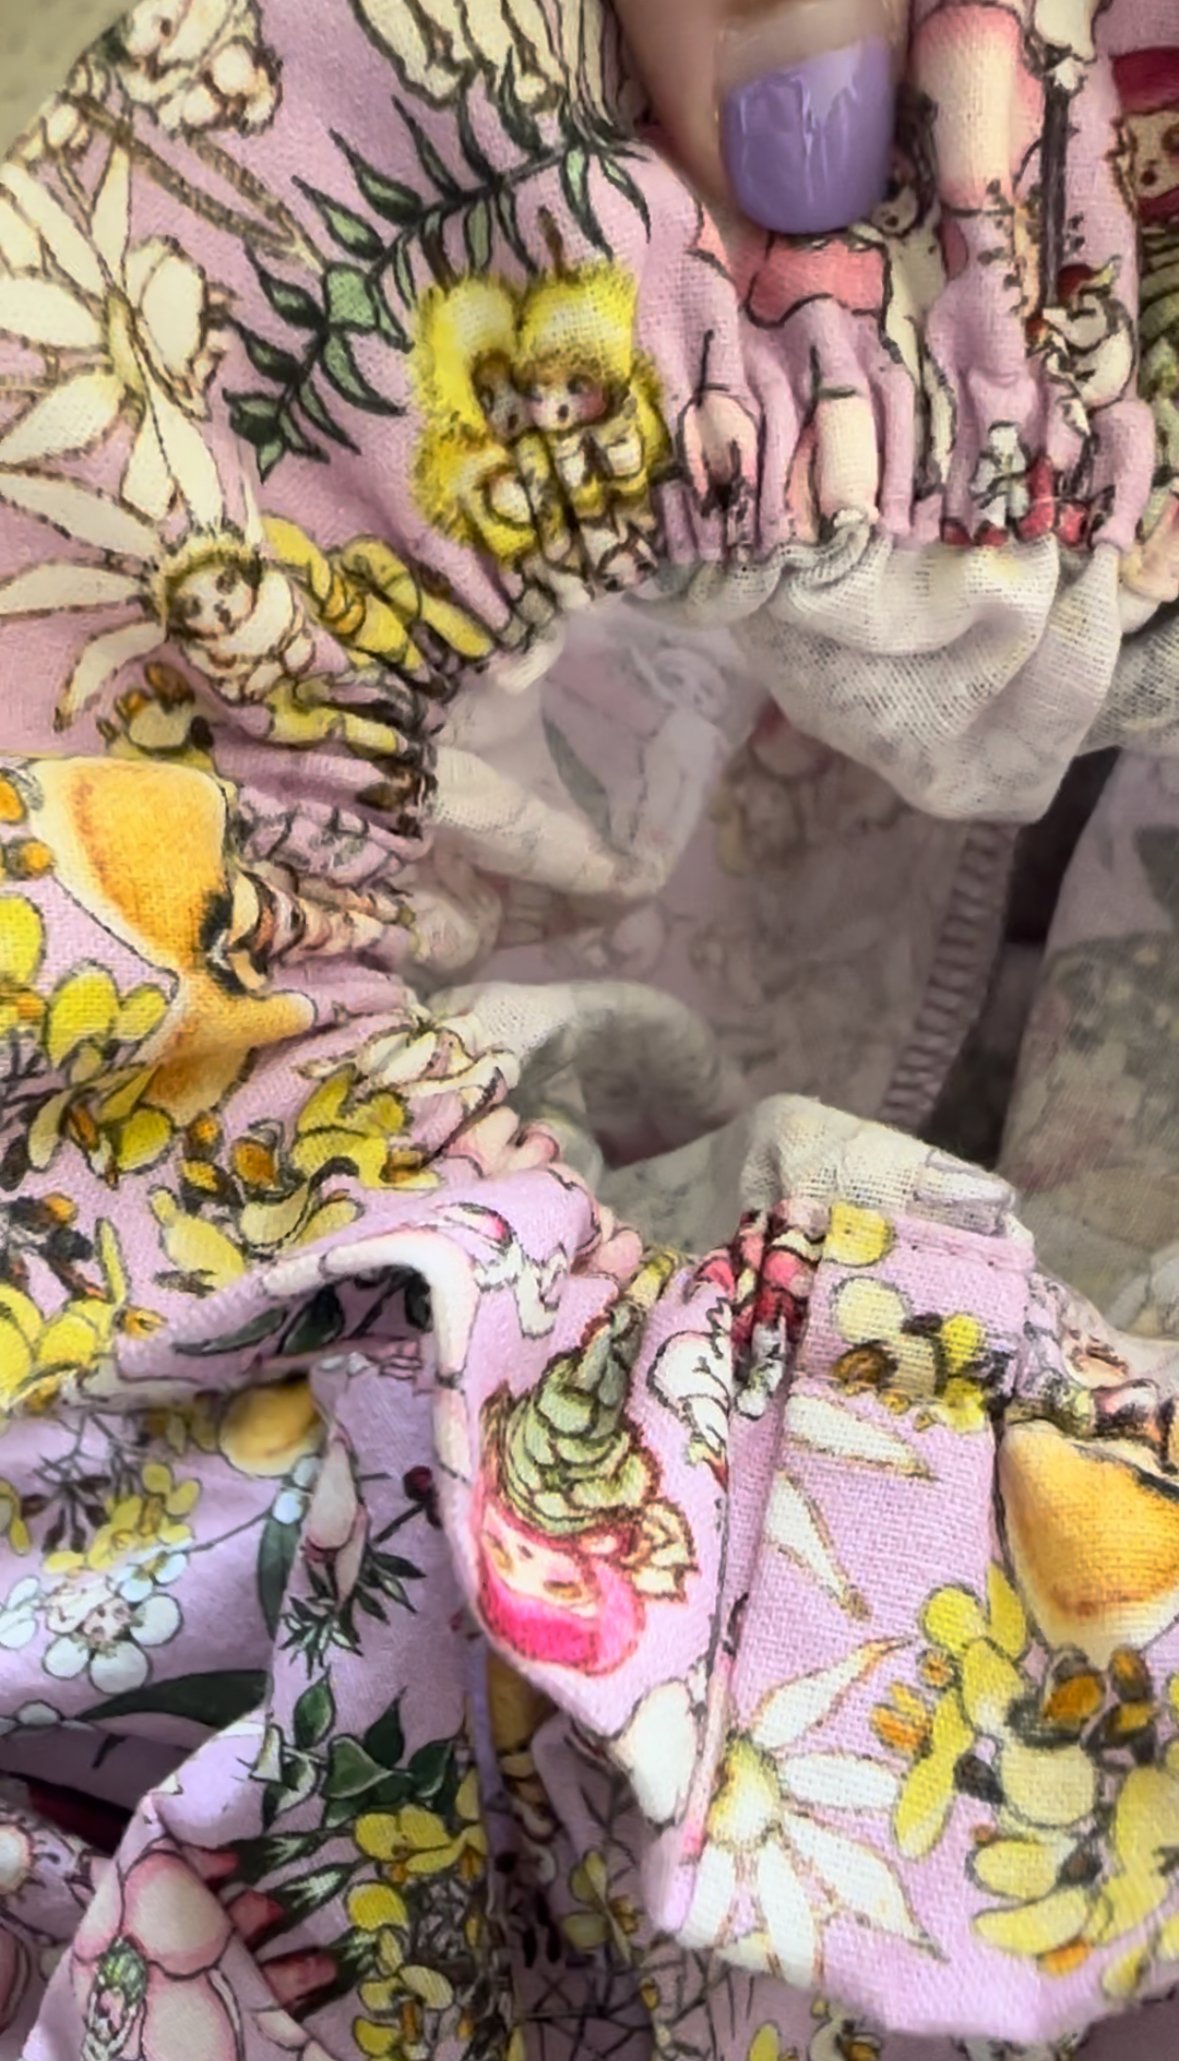
Now, let's talk about the elastic button loop trim. It deserves its own section as at first I thought I made a terrible mistake trying this method. It seemed too easy, but the perfectionist in me didn't want anyone to see the trim itself, only the button loops. This involved a lot of basting around the bodice section. When I reached the skirt portion, I realized there was no separate button placket. I went on to cut a separate button placket piece to keep my trim covered, but I don't recommend it. Just put it in at the end. It’s still a lovely finish and you will not waste years of your life trying to achieve what I did.

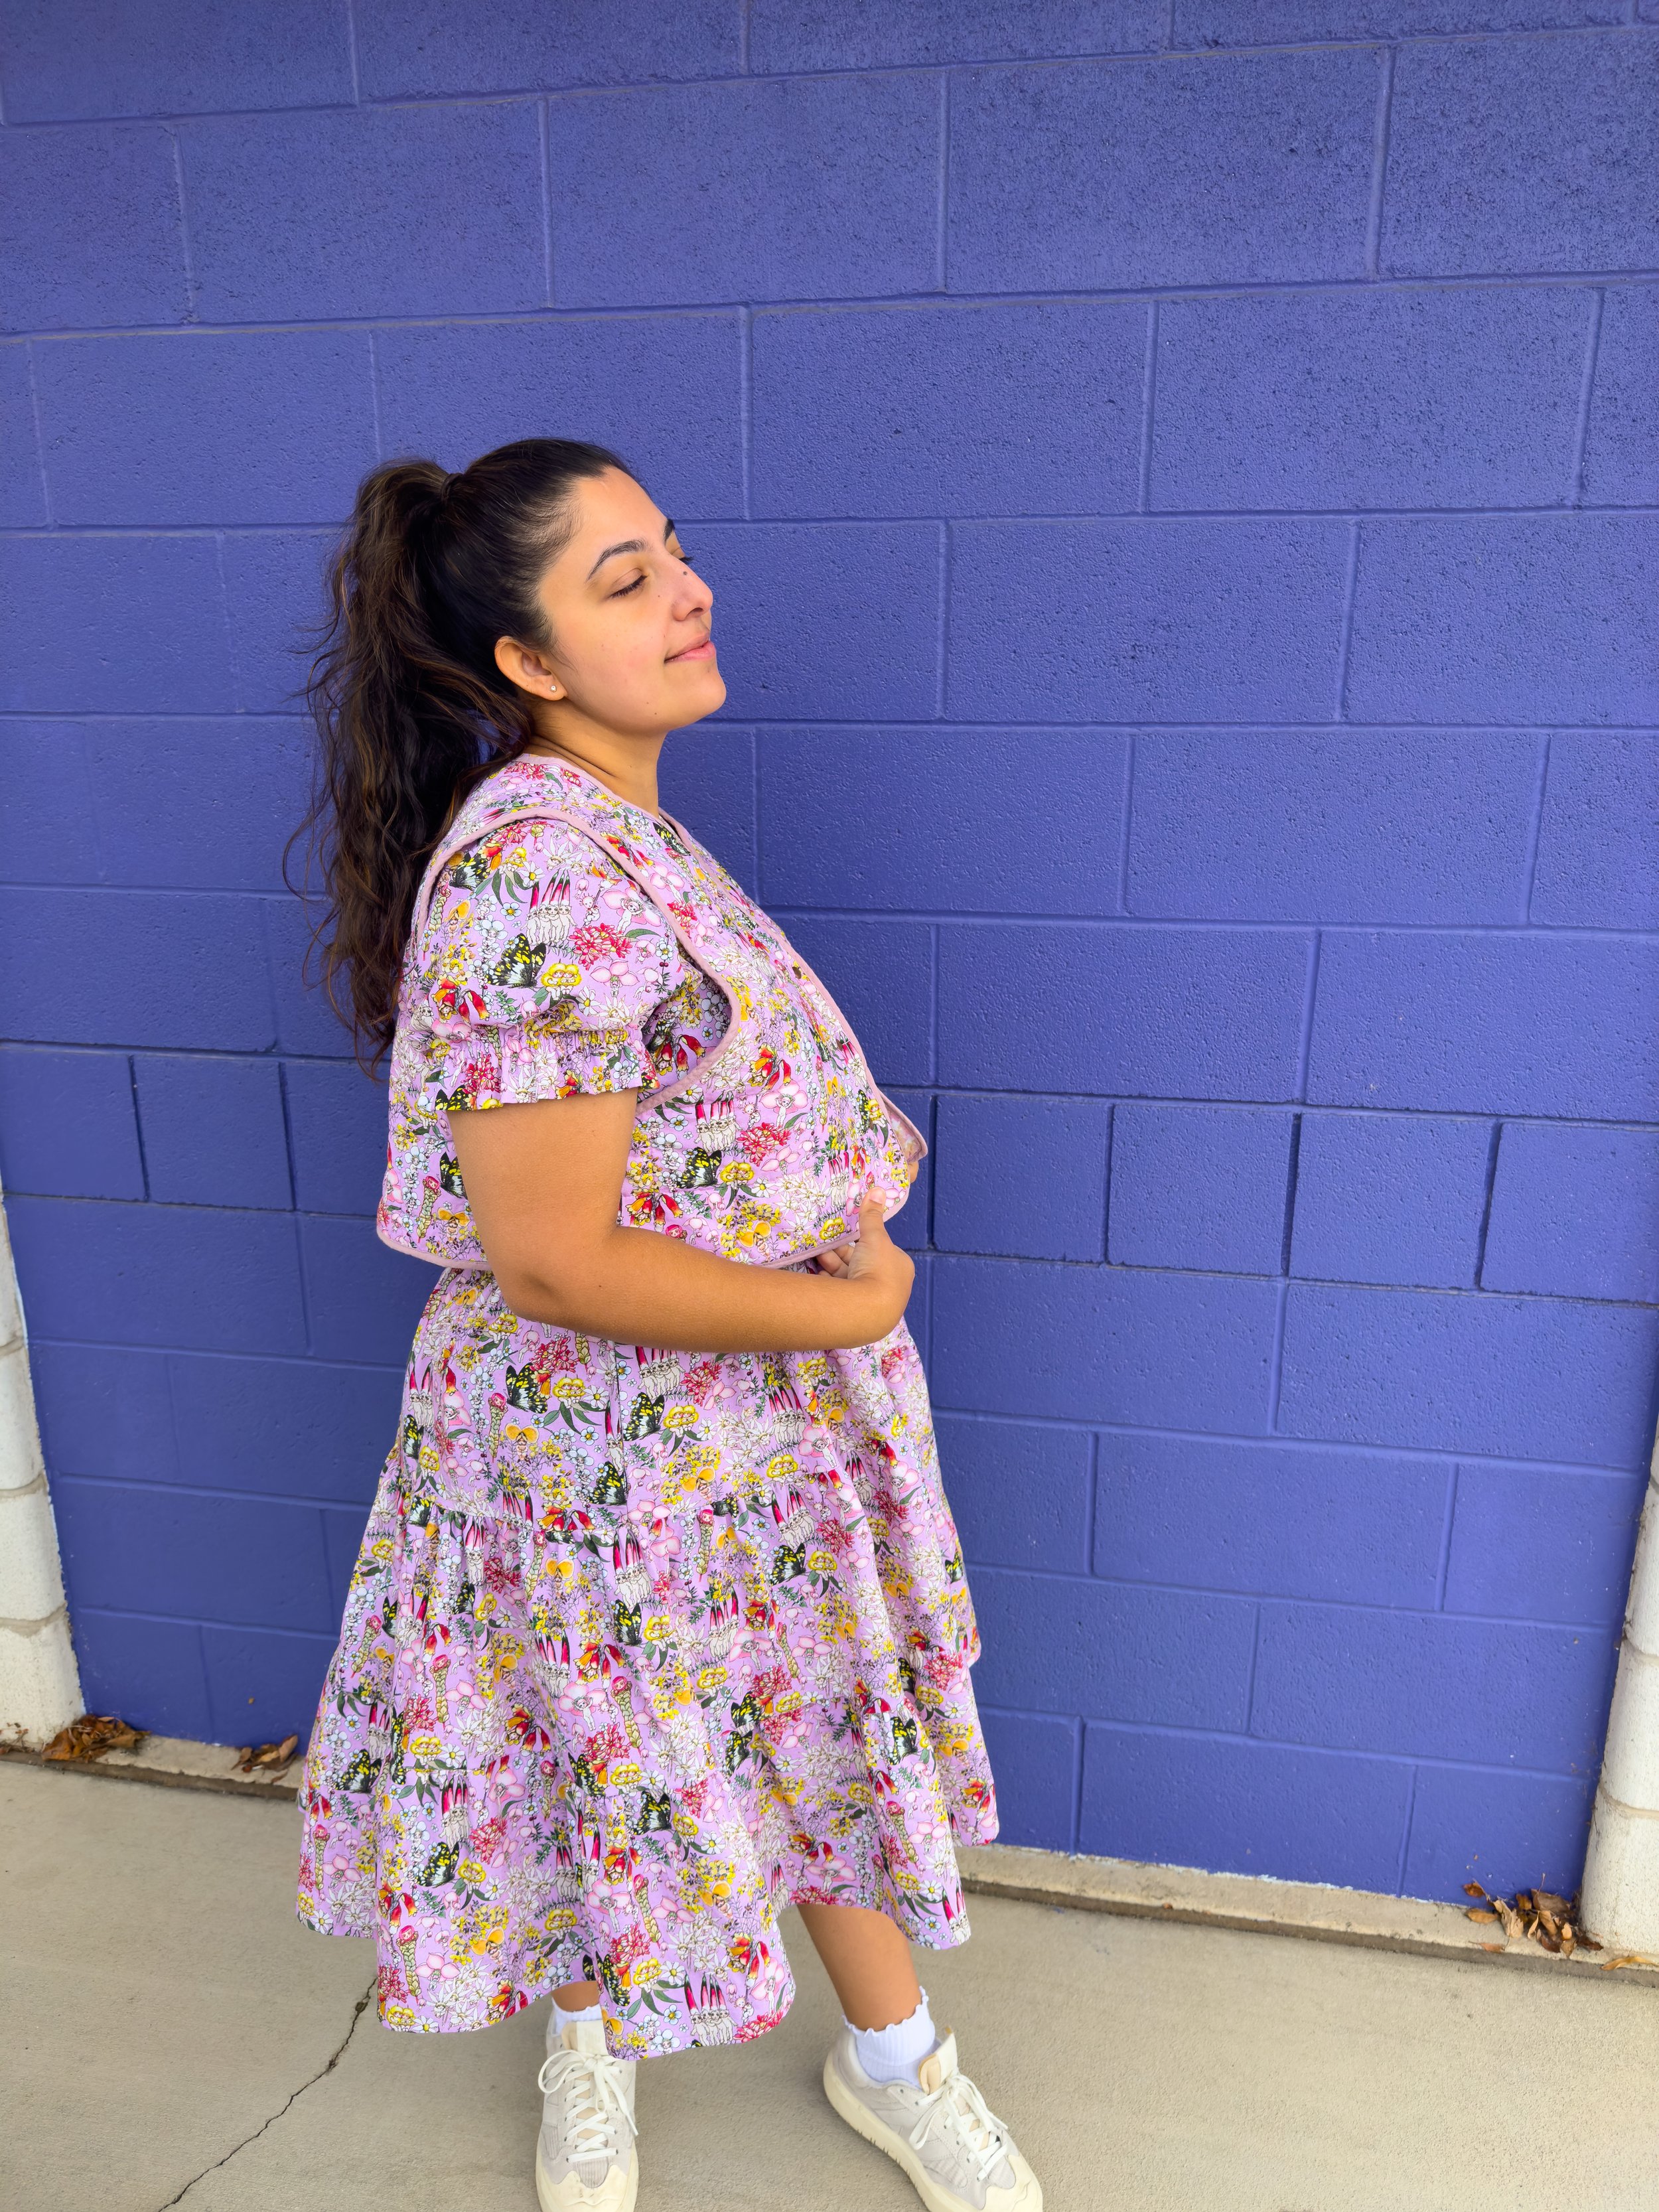
After finishing the dress, I had some leftover fabric and decided to use it for a quilted vest to match. I made it reversible and it was the best decision. I followed the All Well Cardigan pattern and their vest hack on their Instagram feed. I made two toiles until I was satisfied with the result. The vest came together in a day, from drafting to finish, and I added double spring snaps for closure.

I'm in love with my new outfit! It's my first make of 2023, and I feel like I'm off to a good start. This year, I'm taking things slow, and I'm glad I stuck to that mindset while making this. I made the dress in sections at different times, which was much better for my mental health. Being a perfectionist, having to redo parts repeatedly can be overwhelming, but working on it in sections kept me sane.
I hope you enjoy my new dress and vest. The details are important, as they represent my blood, sweat and tiers. Get it? "Tiers"? Haha! That's my cue to sign off. Until next time!